Loading ...
Loading ...
Loading ...
15
Touch and hold the START/PAUSE button for 3 seconds
to start the cycle. To pause a cycle in progress, touch the
START/PAUSE button once; then touch again to continue the
cycle. To cancel a cycle, touch the “X” on the touch screen to
the right of the estimated time remaining and run Drain & Spin
to remove any excess water.
At each stage of the process, you may notice sounds or
pauses that are different from traditional washers.
After you touch and hold the START/PAUSE button, you
will notice the ‘Add Garment’ prompt on the machine. See
the ‘Unlocking the door to add garments’ section for more
information on what this means. The drum will make a partial
turn. The door will click when it locks. Once the door has
locked, the washer will begin spinning to sense load size.
This sensing process will continue throughout the cycle. After
the load size is sensed, the estimated time based on load
size will be displayed and water will be added. You may hear
water owing through the dispenser, adding detergent to the
load. The actual cycle time may be lengthened; however, the
display will continue to show the estimated time.
Unlocking the door to add garments:
If you need to open the door to add one or two missed
garments, you may do so when “Add Garments” appears on
the display. The time allowed to add a garment will vary based
on cycle selection and load size.
Touch ADD GARMENTS once; the door will unlock once
the washer movement has stopped. This may take several
seconds. Then close the door and touch and hold Start again
to restart the cycle.
Adding items after “Add Garments” is no longer displayed:
Cancel the current cycle. Water will drain and you will need
to reselect the cycle and restart.
12. Touch and hold START/PAUSE
button for 3 seconds to begin cycle
13. Touch POWER button to turn off
washer after cycle ends
The Power button is also used to turn on the washer
before use.
Info
Touch to access Service & Support, Store Demo Mode,
Restore Factory, WiFi Terms and Conditions, and Software Terms
and Conditions. Follow the screen prompts.
NOTE: All changes to settings will remain in effect until settings are
changed again.
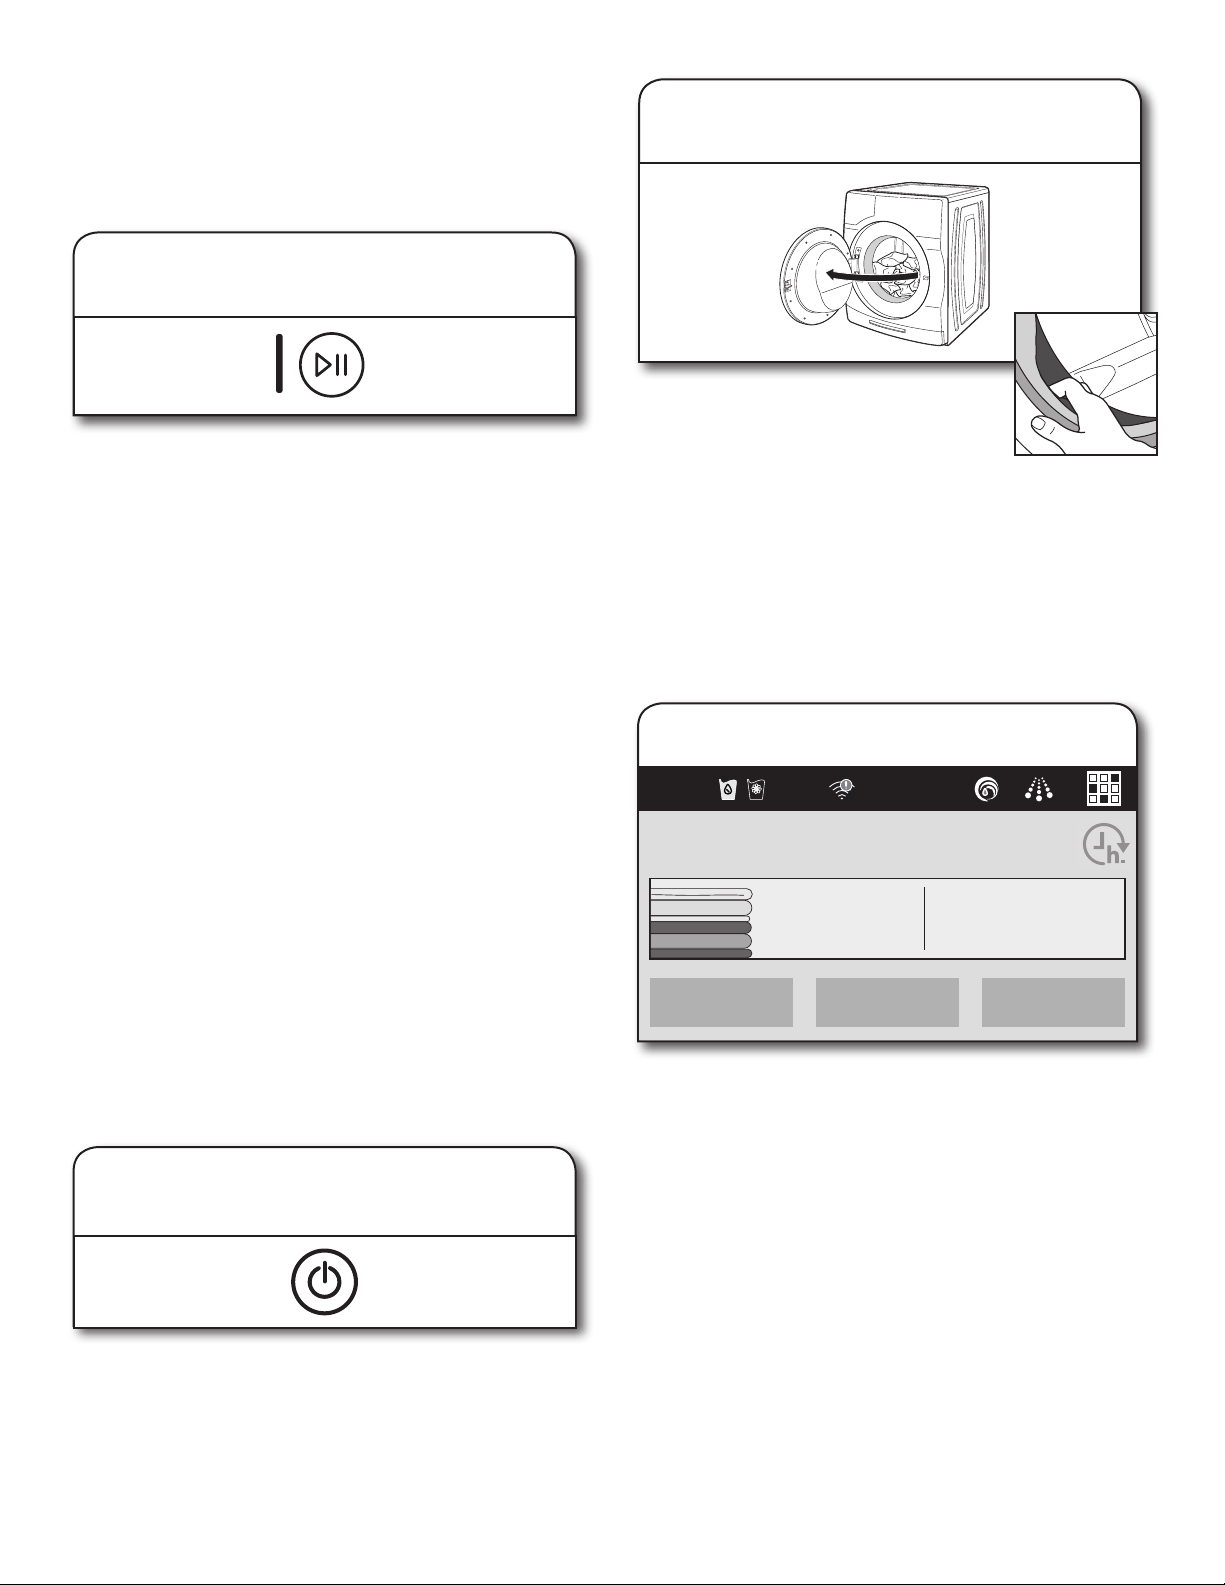
14. Remove garments promptly
after cycle is nished
Promptly remove garments after cycle has completed to avoid
odor and rusting of metal objects on garments. When unloading
garments, pull back the door seal and check for small items
between the tub and the washer drum.
If you will be unable to remove the load promptly after a wash-
only cycle, use the FanFresh
®
option (see Step 10).
NOTES:
n
This washer has a tight seal to avoid water leaks. To avoid
odors, leave the door open to allow the washer to dry
between uses.
Setting a delayed start
Touch POWER until the indicators turn on. From the home
screen, make sure the washer is set to the correct time and
date (if it is not, see Step 11 for instructions on how to set the
time and date).
Touch the clock icon on the far right portion of the touch
screen. The “Select a start time” screen will show on the
display. Scroll horizontally to select a preferred start time
for your wash cycle. The times will display in 15-minute
increments up to 8 hours. Touch OKAY to set the start time.
The display will return to the home screen and the clock icon
will turn brown.
To delete or modify the delayed start, touch the clock icon
again and follow the screen prompts.
Temperature
WARM
Soil Level
LOW
Spin Speed
EXTRA FAST
What to Wash
REGULAR
How to Wash
NORMAL
3:15
4:28
Loading ...
Loading ...
Loading ...