Owners' Guide Audio
REFERENCE (n):
- the standard, the benchmark, the point used for comparison
- the embodiment of the legendary Klipsch sound
LOUD AND PROUD SINCE 1946
In 1946, Paul W. Klipsch revolutionized the audio industry by creating our proprietary horn technology and the acoustic principles that are the driving force behind our highly acclaimed signature sound. Today, we remain true to PWK’s vision and pack the better part of a century’s worth of sweat and genius into every product we make. These speakers are the result of our obsession with that aural perfection. Experience the power, detail and emotion of Klipsch Reference. We are the Keepers of the Sound ® .
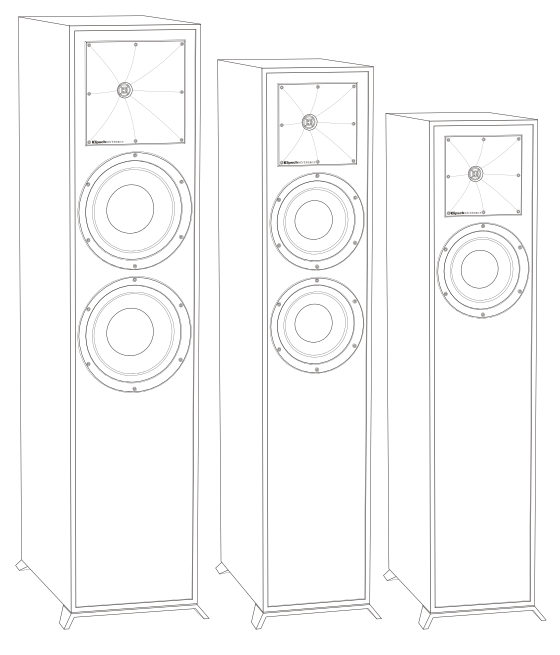
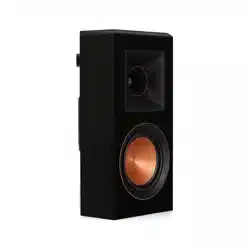
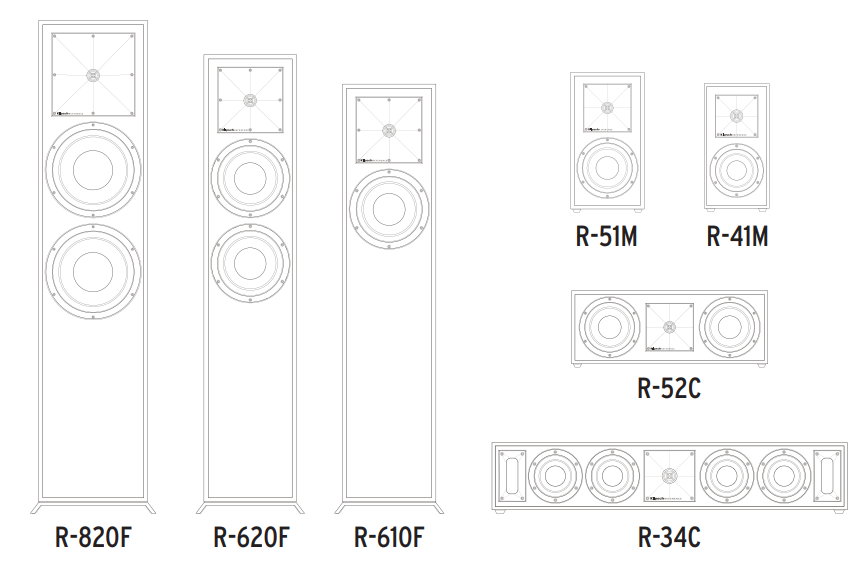
REFERENCE SPEAKERS
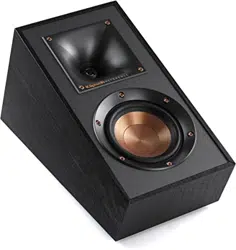
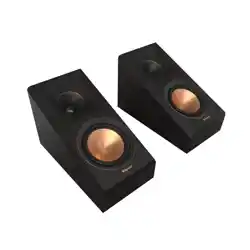
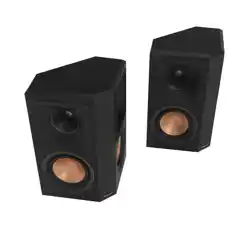
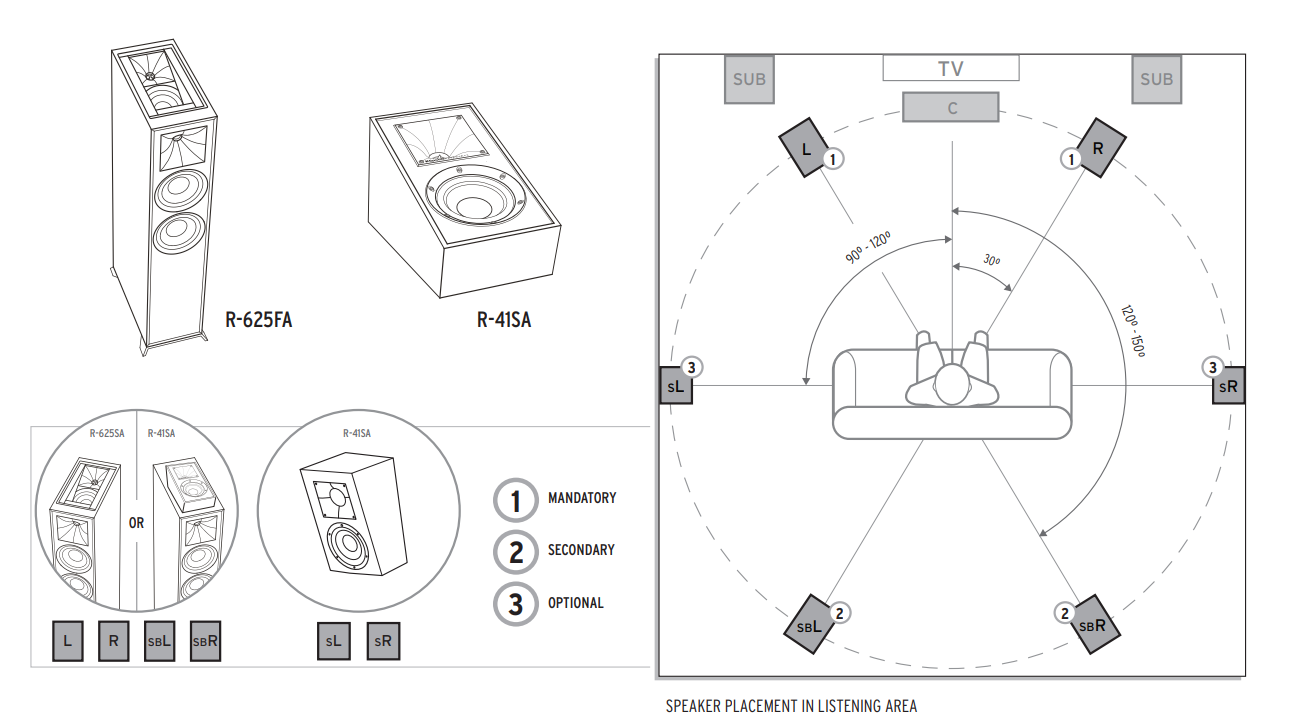
DOLBY ATMOS®
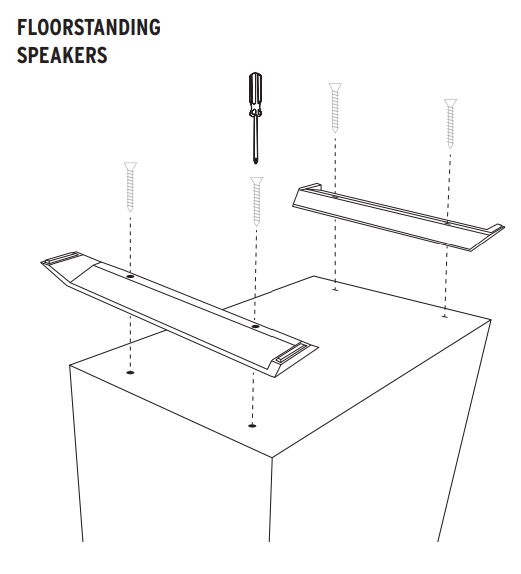
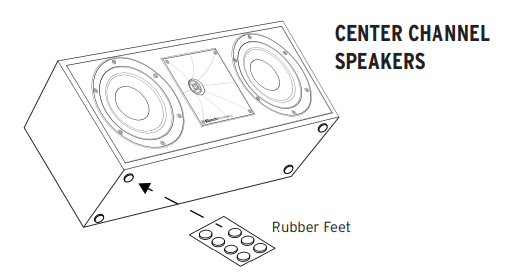
BEFORE YOU START
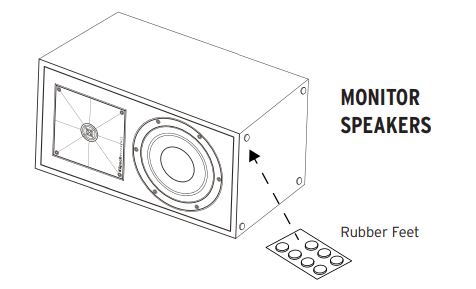
Some Klipsch® speakers have feet and other accessories that may need to be installed prior to use.
ROOM PLACEMENT
Left and Right Main Channel Speakers — For optimum performance, Klipsch Group, Inc. (KGI) suggests placing your speakers 6 to 15 feet (1.8 to 4.6m) apart. They may also be toed-in slightly for better stereo imaging. The listening position should be about 1 to 1.5 times the distance separating the speakers. Refer to Figures 1 and 3 for connection and placement.
Center Channel Speakers — Center channel speakers are designed to place dialogue and primary sounds so that they appear to come from the video screen. The speakers should therefore be placed as close to the screen as possible, preferably directly on top of or below the screen. Refer to Figures 1, 2 and 3 for connection and placement.
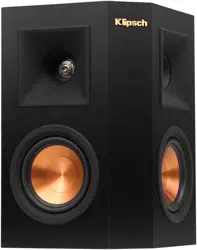
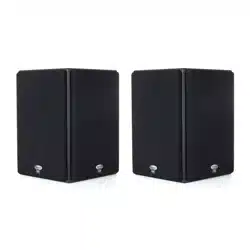
Rear Surround Channel Speakers — Klipsch surround speakers should be placed approximately 2 feet above the listening position. Typically this will be about 5-7 feet above the floor. The surrounds should be placed on the walls directly adjacent to the listening position. Another option would be on the wall behind the listening position. The final surround speaker placement depends on your room’s characteristics. They are designed to recreate the sense of space and ambience that many of today’s surround sound technologies provide. Refer to Figures 1, 3 and 4 for connection and placement.
CONNECTION
Conventional Connection — Using 16-12 gauge speaker wire, connect the RED “positive” (+) terminal of the LEFT speaker to the RED “positive” (+) terminal of your amplifier’s LEFT channel. Connect the BLACK “negative” (–) terminal of the LEFT speaker to the BLACK “negative” (–) terminal of your amplifier’s LEFT channel.
Repeat the above procedure for connecting all remaining speakers to the appropriate amplifier channels. Refer to Figure 3. Make sure that no bare wires from any of the connections touch any other terminals as this could cause a short and damage your equipment.
Some Klipsch Reference speakers come with dual binding posts that are connected by a metal strip. Do not remove this strip or your speakers will not function correctly. Keep this strip in place and connect your speaker wire to the top set of the binding posts. It is possible to “Bi-wire” a speaker that has two sets of binding posts. Please see your receiver’s manual for further instructions.
Amplifier Requirements — Klipsch speakers are highly efficient and will operate easily on a wide variety of amplifiers. All Klipsch speakers are 8-ohm compatible and can be driven to very high levels with low distortion. Due to the high output levels Klipsch speakers are capable of reproducing, exercise caution with the volume control. Excessive volume over long periods can permanently damage your hearing. Overdriving your amplifier could also damage your speakers. Check with your dealer or amplifier manual to make sure your particular amplifier is best suited to your application. We want you listening for a lifetime.
FIGURE 1
SPEAKER PLACEMENT IN LISTENING AREA
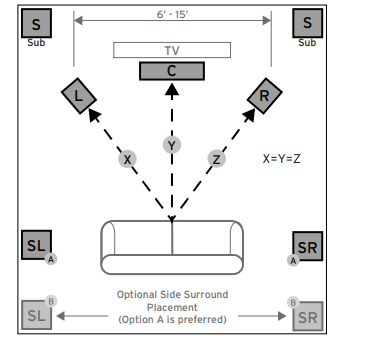
FIGURE 2
CENTER CHANNEL

FIGURE 3
STANDARD CONNECTIONS
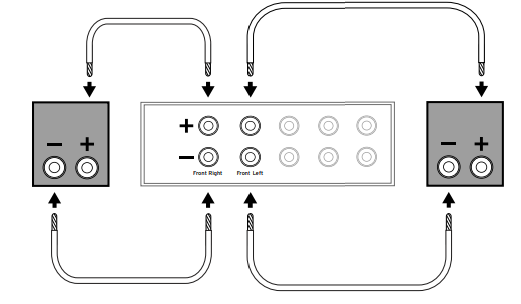
FIGURE 4
WALL MOUNTING SURROUND SPEAKERS
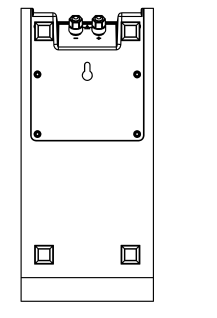
CAUTION! Do not use keyhole for ceiling mounting!
#10 or #12 2.5" - 3" panhead wood screws Mount in wall stud or use anchors - leave 1/4" exposed

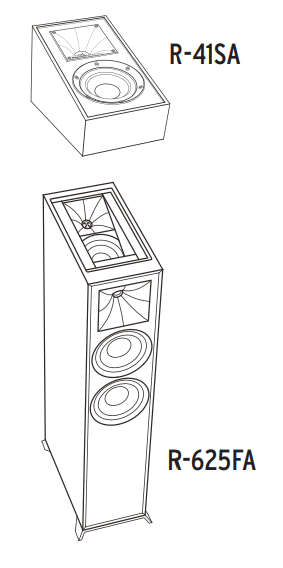
REFERENCE WITH DOLBY ATMOS® TECHNOLOGY
CARE AND CLEANING
The only thing you should ever need to do to your speakers is dust them occasionally. Never apply any abrasive or solvent-based cleaner or any harsh detergent. You can clean the grilles with the brush attachment of a vacuum cleaner.