Loading ...
Loading ...
Loading ...
Broadcasting
152
• Enter a full fax number with the numeric keys (max. 60 digits) and then
press . (Note: A maximum of 20 full fax numbers can be entered.
Less can be entered if a large number of programs, timer operations, and/
or group keys have been stored.)
• Press , enter an e-mail address, and then press . (Only if the
network scanner option is installed; maximum of 20 full addresses.)
Note: If you need to delete a destination, press or to select the
destination and then press .
Note: Scan to FTP and Scan to Desktop destinations cannot be selected.
4
Press .
5
If desired, press and/or to set the resolution and
contrast.
6
If you are sending the document to only fax destinations, press
twice. Transmission will begin.
If e-mail recipients are included in the destinations, press once
and go to Step 7.
7
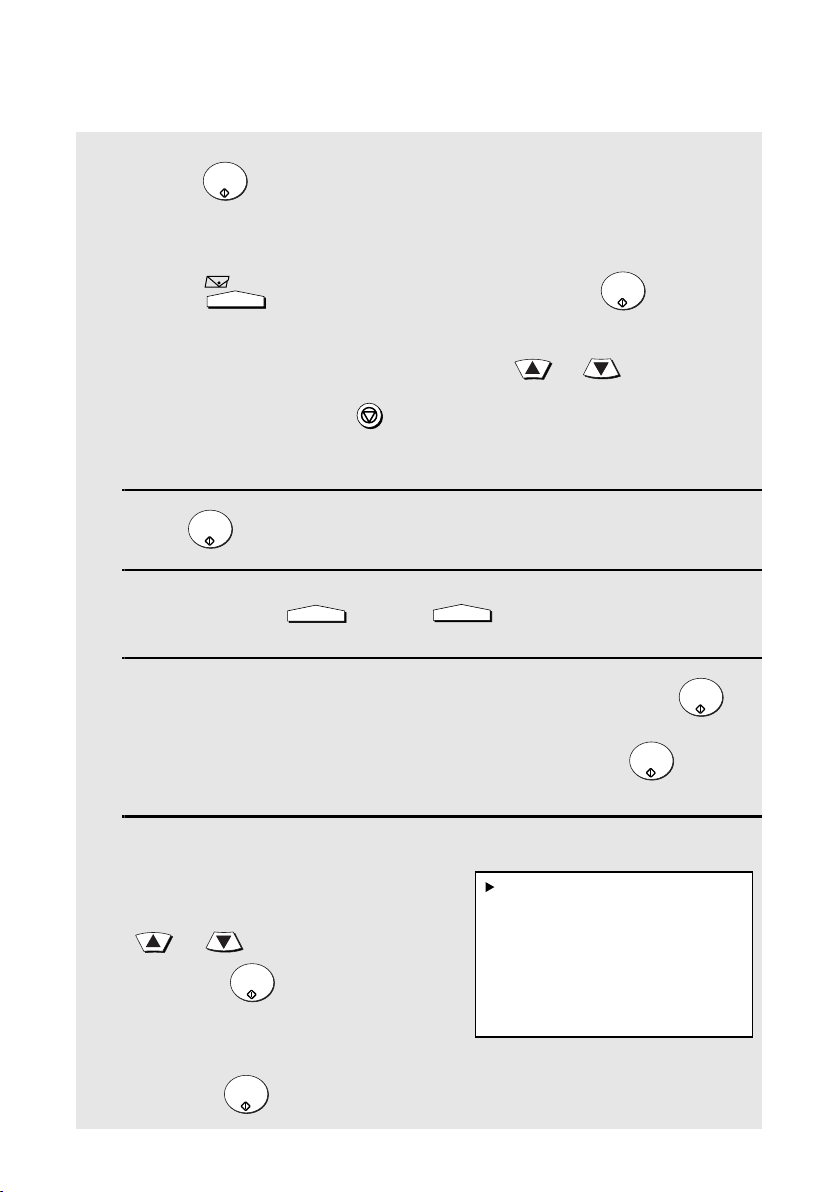
If you are sending the document to e-
mail destinations, the display at right
will appear to let you adjust the e-mail
settings. To adjust a setting, press
or to select the setting and
then press (see Step 6 on page
89).
When you are ready to send the
document, select “START SCANNING”
and press .
START/
ENTER
e-mail
START/
ENTER
STOP
START/
ENTER
RESOLUTION
CONTRAST
START/
ENTER
START/
ENTER
START/
ENTER
START/
ENTER
Display when e-mail recipients
have been selected:
1:START SCANNING
2:FROM
XXX
3:FILE FORMAT
XXX
4:MESSAGE
NO MESSAGE
Note: If fax destinations have also
been selected, the selections for
the file format are “TIFF-G4” and
“PDF-G4” (G3 cannot be used).
all.book Page 152 Thursday, May 13, 2004 8:51 AM
Loading ...
Loading ...
Loading ...