Loading ...
Loading ...
Loading ...
14
E:\SONY\2659813111\01US02GET.fm
DCR-HC36/HC46/HC96
2-659-813-11(1)
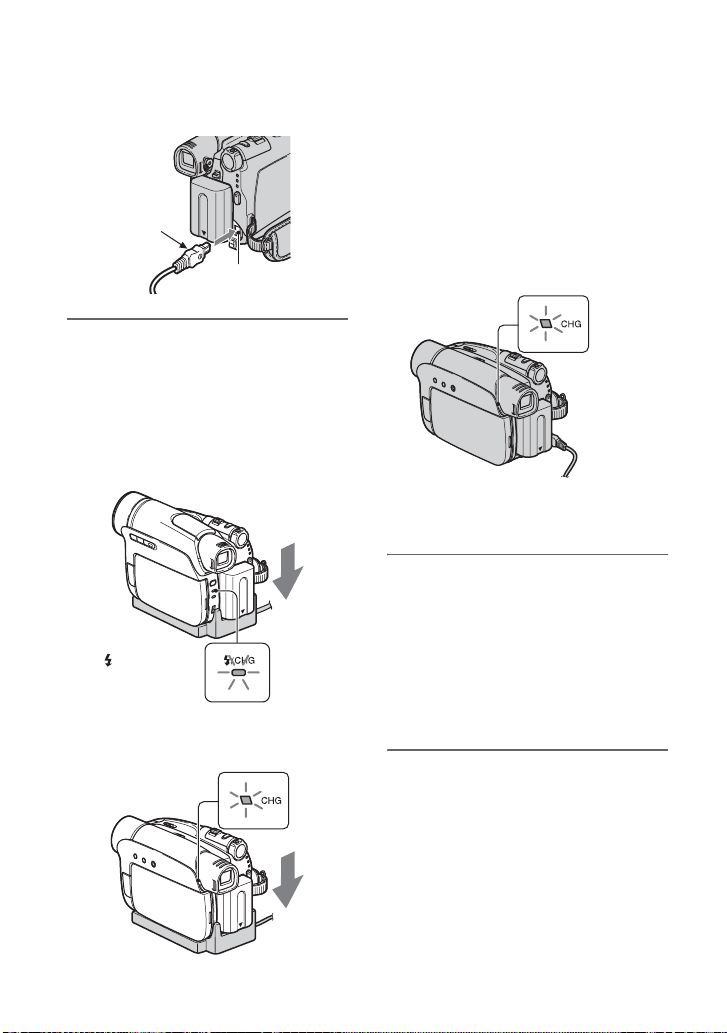
For DCR-HC36:
4 For DCR-HC46/HC96:
Connect the power cord to the AC
Adaptor and the wall outlet. Insert
the camcorder into the Handycam
Station securely, all the way to
the bottom.
DCR-HC96:
DCR-HC46:
The CHG (charge) lamp lights up and
charging starts.
• When inserting the camcorder into the
Handycam Station, close the DC IN jack
cover.
For DCR-HC36:
Connect the power cord to the AC
Adaptor and the wall outlet.
The CHG (charge) lamp lights up and
charging starts.
5 The CHG (charge) lamp turns off
when the battery is fully charged.
Disconnect the AC Adaptor from
the DC IN jack.
For DCR-HC46/HC96:
Disconnect the AC Adaptor from the
DC IN jack holding both the Handycam
Station and the DC plug.
For DCR-HC46/HC96:
To charge the battery pack using only
the AC Adaptor
Turn off the power, then connect the AC
Adaptor to the DC IN jack on your
camcorder.
• You can operate your camcorder connected to a
power source such as a wall outlet as shown in
the illustration. The battery pack will not lose its
charge in this case.
DC IN jack
With the v mark
facing to the LCD
screen
/CHG
(charge) lamp
CHG (charge) lamp
CHG (charge) lamp
Step2: Charging the battery pack (Continued)
Loading ...
Loading ...
Loading ...