Loading ...
Loading ...
Loading ...
18
SETTING UP BUTTON MANAGER
Button Manager is a software program that works with the scanner driver to enable scanning from the operation
panel of the machine.
To scan using the operation panel of the machine, Button Manager must be linked with the destination that appears
in the display. Follow the steps below to link Button Manager to machine scanner events.
WINDOWS XP
1
Click the [start] button, click [Control
Panel], click [Printers and Other
Hardware], and then click [Scanners
and Cameras].
2
Click the [SHARP AR-XXXX] icon and
select [Properties] from the [File]
menu.
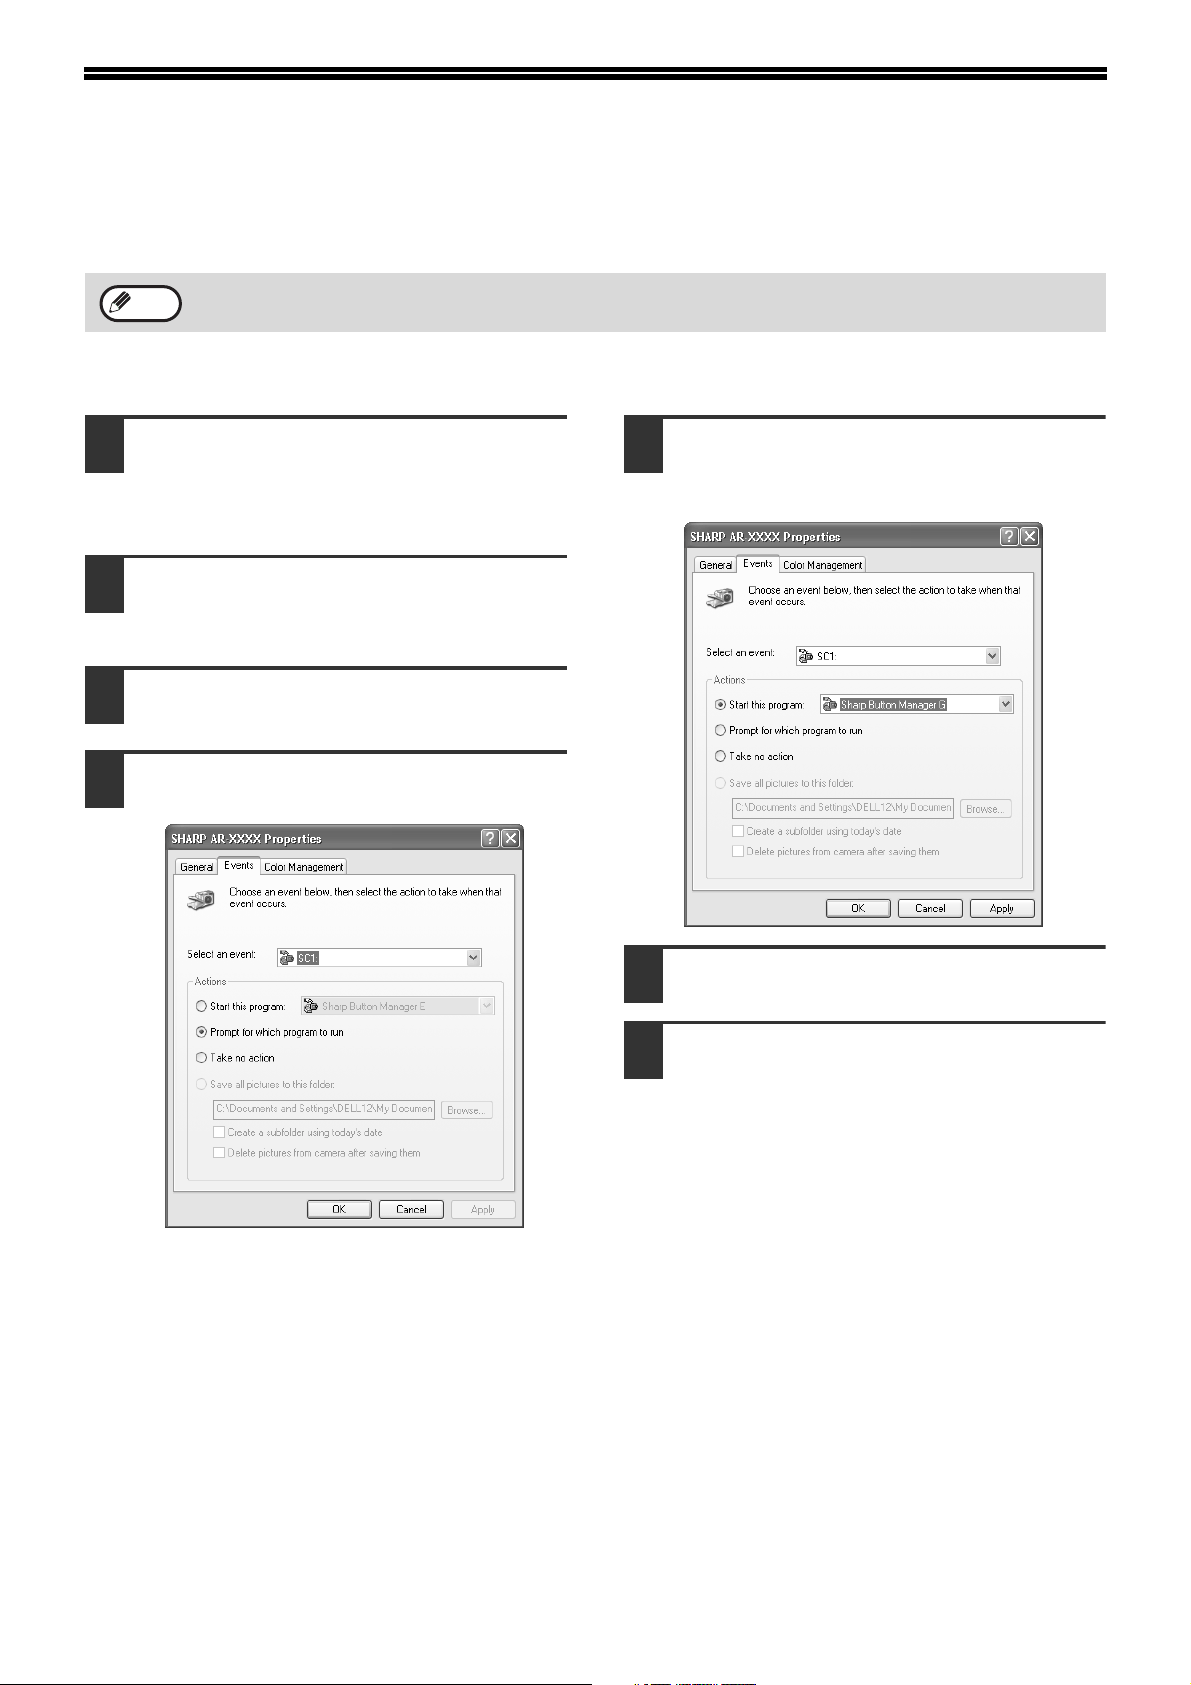
3
In the "Properties" screen, click the
[Events] tab.
4
Select [SC1:] from the "Select an
event" pull-down menu.
5
Select [Start this program] and then
select [Sharp Button Manager G] from
the pull-down menu.
6
Click the [Apply] button.
7
Repeat Steps 4 through 6 to link
Button Manager to [SC2:] through
[SC6:].
• Select [SC2:] from the "Select an event"
pull-down menu. Select [Start this program],
select [Sharp Button Manager G] from the
pull-down menu, and then click the [Apply]
button. Do the same for each ScanMenu
through [SC6:].
• When the settings have been completed, click
the [OK] button to close the screen.
Button Manager is now linked to the machine scan
destinations SC1 to SC6.
• The scan settings for each of scan destinations SC1
through SC6 can be changed in the setting window
of Button Manager.
•
For the default settings for destinations SC1 to SC6 and
the procedures for configuring Button Manager settings,
see "SCANNING USING THE KEYS ON THE
MACHINE" and "BUTTON MANAGER SETTINGS" in
"Operation Manual (for printer and scanner)" in the
"Software CD-ROM (1)" that accompanies the machine.
If computers are connected to both of the USB ports on the machine, separate Button Manager settings are
required for USB-1 and USB-2. (when the dual function board is installed.)
Note
Pegasus-E_Setup_Eng.book 18 ページ 2005年1月14日 金曜日 午前10時30分
Loading ...
Loading ...
Loading ...