Loading ...
Loading ...
Loading ...
16
INSTALLING THE SOFTWARE (THAT ACCOMPANIES THE MACHINE)
USING THE MACHINE AS A SHARED PRINTER VIA A
SERVER
The machine can be used as a shared printer in a Windows 95/98/Me/NT 4.0/2000/XP network environment. Note
that the Windows network environment must already be established.
Follow these steps to install the printer driver in the client computer.
Ask your network administrator for the server name and printer name of the machine on the network.
1
Insert the "Software CD-ROM (1)" that
accompanies the machine into your
computer's CD-ROM drive.
2
Click the [start] button, click [My
Computer] ( ), and then double-click
the [CD-ROM] icon ( ).
In Windows 95/98/Me/NT 4.0/2000, double-click
[My Computer] and then double-click the
[CD-ROM] icon.
3
Follow steps 4 through 7 in
"INSTALLATION METHOD 2".
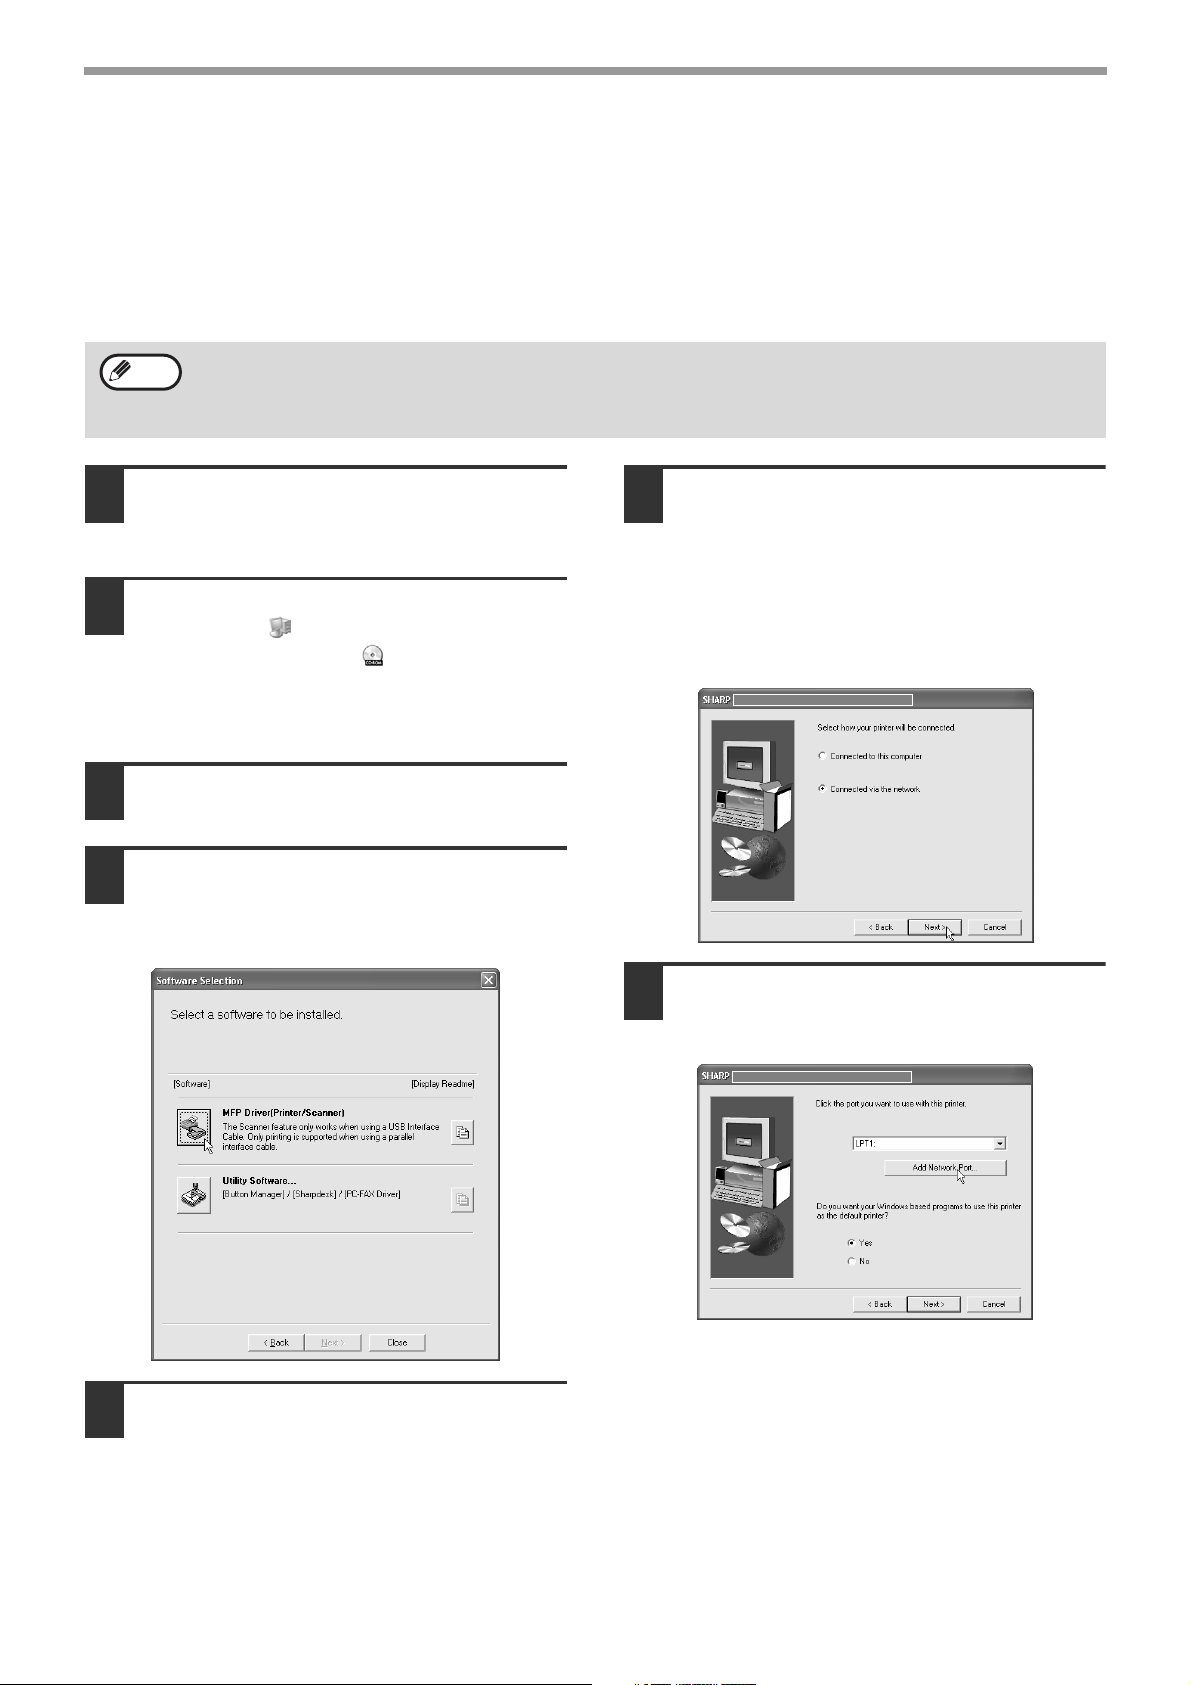
4
Click the [MFP Driver (Printer/Scanner)]
button.
To view information on the software, click the
[Display Readme] button.
5
Click the [Next] button.
6
The files required for installation of
the MFP driver are copied (if "MFP
Driver" was selected in Step 4).
Follow the on-screen instructions.
When you are asked how the printer is
connected, select [Connected via the
network] and click the [Next] button.
7
When you are asked to select the
printer port to be used, click the [Add
Network Port] button.
For the procedure for configuring settings in the printer server, see the "Operation manual (for printer and
scanner)".
The "printer server" explained here is a computer that is connected to the machine, and "clients" are other
computers connected to the same network as the printer server.
Note
Pegasus-E_Setup_Eng.book 16 ページ 2005年1月14日 金曜日 午前10時30分
Loading ...
Loading ...
Loading ...