Loading ...
Loading ...
Loading ...
5
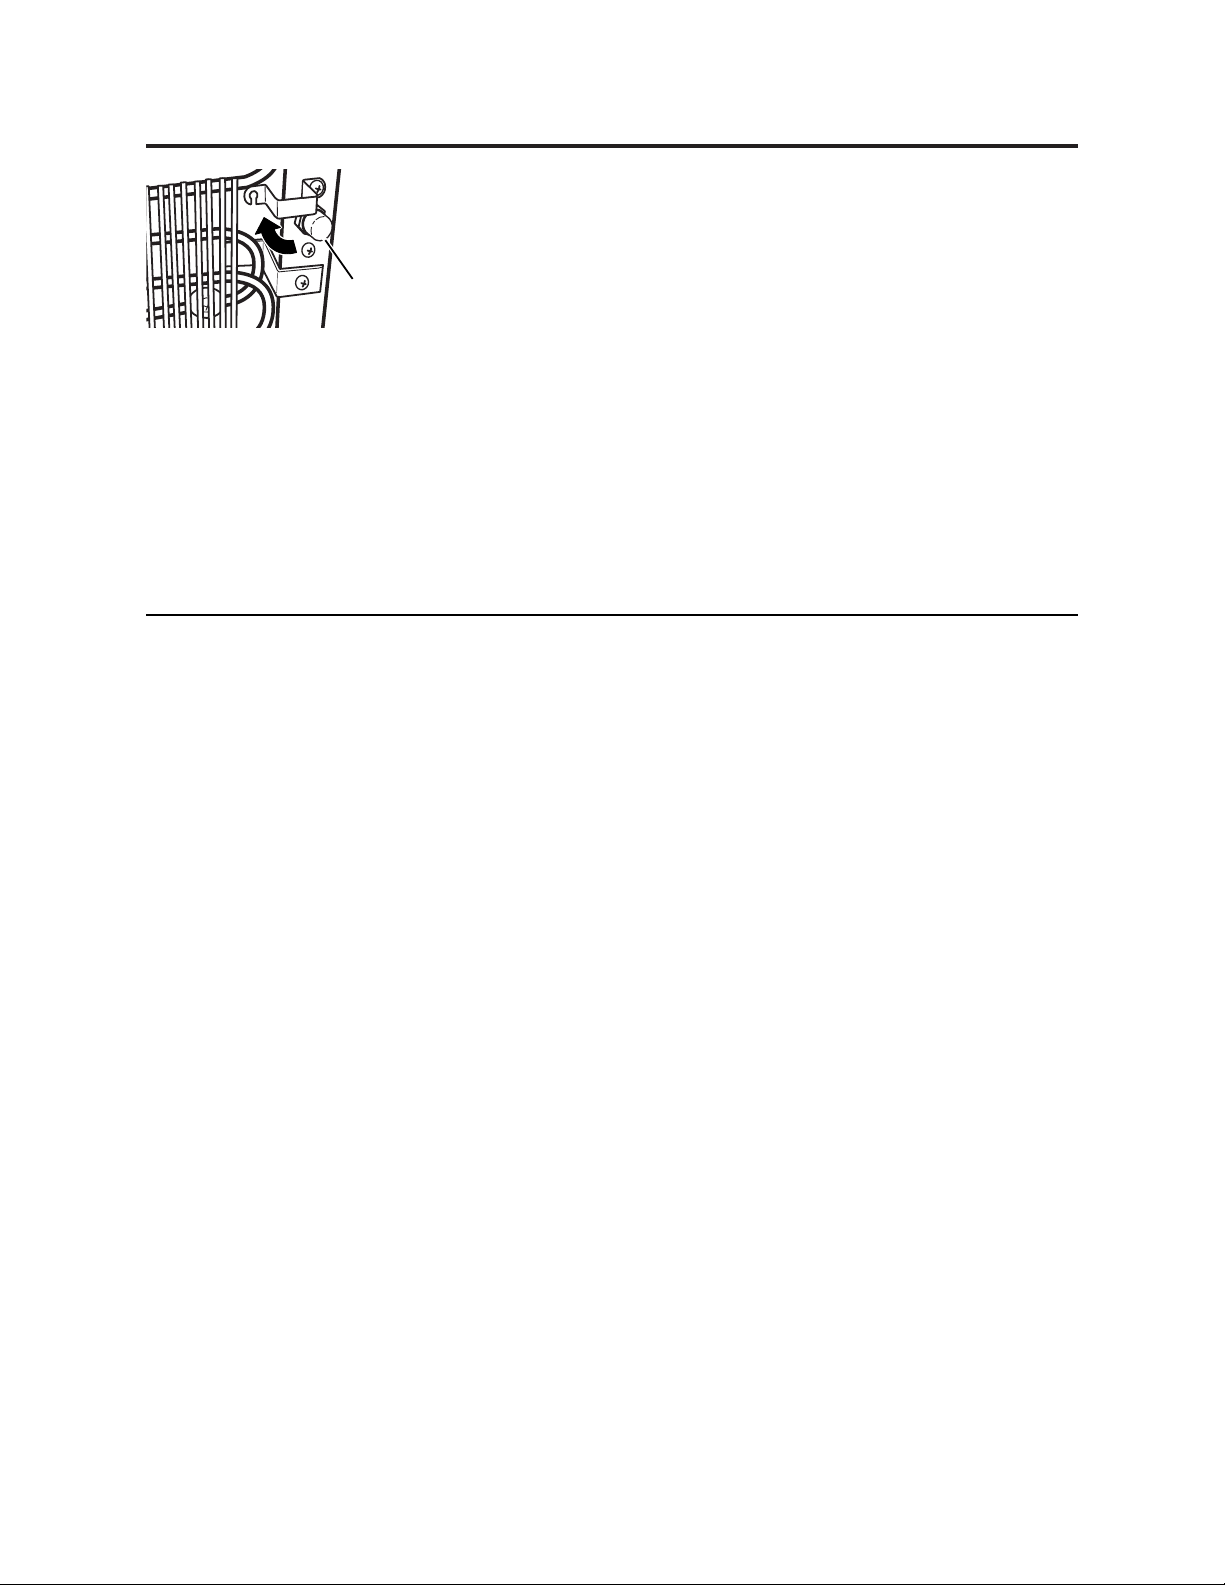
Draining the Dispenser
Drain
outlet cap
(rear of dispenser)
The dispenser should be drained before
cleaning the tanks and before leaving for
long vacations or absences.
1. Unplug the dispenser.
2. Remove the water bottle from the
dispenser.
3. Put a container that will withstand hot
water under the hot water tap. Press the
hot dispenser button until the water is
cool (about 1 quart). Add water to the
cold water reservoir (on top where the
bottle supplies water) as needed.
4. Dispense water from both buttons into
container(s) until no more water can be
dispensed (about 1 quart of water still
remains in the dispenser).
5. Place a large bucket beneath the drain
outlet on the rear of the dispenser.
6. Using a Phillips screwdriver, loosen the
screws on the bracket covering the drain
outlet cap. Rotate the bracket out of
the way to allow access to the cap.
7. Remove the cap and silicon stopper from
the drain outlet and and allow water to
drain. After draining, replace the stopper
and cap.
8. Rotate the bracket back into place and
tighten screws.
Make sure to install a full bottle and
dispense water from the hot water tap
before plugging in and turning on the
dispenser (see Loading the Dispenser and
Start Up section).
1. Before cleaning, unplug the water dispenser.
NOTE: For first time installation, skip steps 2–4.
2. Empty the water bottle, then remove it from the dispenser.
3. Drain the water tanks (see Draining the Dispenser).
4. Reinstall the silicon stopper and drain cap (see Draining
the Dispenser).
5. DO NOT ADD BLEACH FIRST OR DIRECTLY TO THE
DISPENSER. Concentrated bleach may damage plastic.
Add 1/2 teaspoon (2.5 ml) of ordinary 6.0%
maximum household bleach to a 2 quart (2 liter)
pitcher filled with tap water.
6. Pour the solution in the opening at the top of
the dispenser.
7. Repeat steps 5 and 6 until the dispenser is full.
8. Press the hot and cold dispenser buttons until
the water just begins to flow from the taps.
9. Allow to sit for 15–20 minutes.
10. Rinse out the bleach solution:
— Drain the water tanks into a large bucket
(see Draining the Dispenser).
— Make sure that the silicon stopper is NOT installed.
— IMPORTANT: Remove the separator and wipe out the
cold water reservoir (see Cleaning the Separator).
— Clean, then reinstall the separator and collar
(see Cleaning the Separator).
— Pour approximately 1 gallon (4 quarts or 4 liters)
of fresh tap water into the top and allow to drain
into the bucket.
— Flush with an additional 1 gallon (4 quarts or
4 liters) of fresh tap water and allow to drain
into the bucket.
11. Reinstall the silicon stopper and drain cap (see Draining
the Dispenser).
12. Install a fresh water bottle (see Loading the Dispenser).
13. Dispense 1 quart (1 liter) of water from each tap and
taste to make sure the bleach solution is completely
removed.
If you continue to taste the chlorine from the bleach solution,
repeat steps 10–13 until the taste is gone.
14. Plug in the dispenser.
Sanitizing and Cleaning the Water Tanks
IMPORTANT: Before initial use and periodically, the water dispenser tanks must be sanitized to prevent unpleasant tastes in the
water and cleaned to remove mineral deposits that can impair flow.
To Remove Mineral Deposits:
Mix 2 quarts (2 liters) of water with two quarts of vinegar OR mix 1 gallon of water (4 liters) with 16 ounces (454 g) of citric acid
crystals. Bleach does not remove mineral deposits. Do this in place of step 5 when removing mineral deposits.
To Sanitize:
Loading ...
Loading ...
Loading ...