Loading ...
Loading ...
Loading ...
135
If you press the <m>, <o >,<n>, or <A> button
during Live View shooting, the setting screen will appear on the LCD
monitor and you can turn the <6> or <5> dial to set the respective
function. The <q> metering mode cannot be set.
During Live View shooting, you can press the <Q> button to set the
Auto Lighting Optimizer and image-recording quality. And with f,
you can select the AF point and set the AF area selection mode.
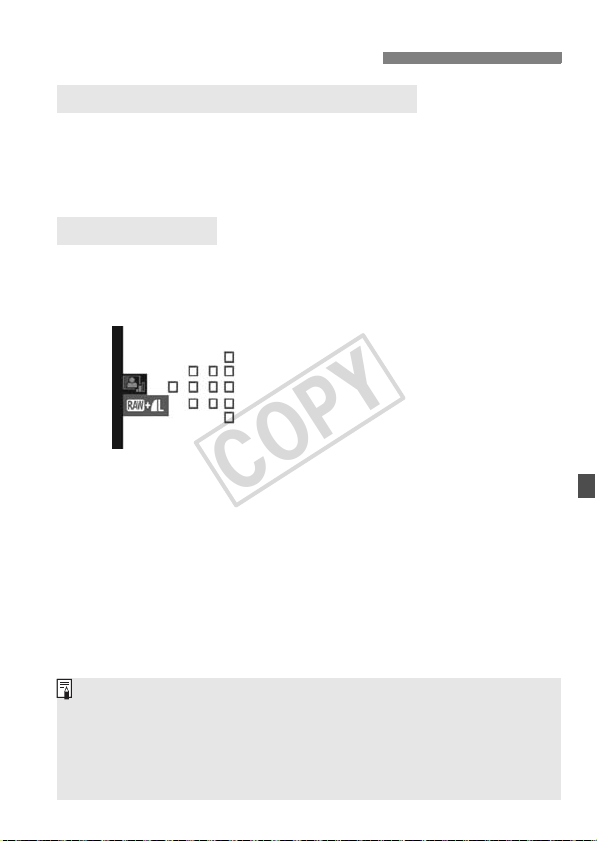
1
Press the <Q> button.
X The settable functions will be
highlighted in blue.
When <f> is selected, the AF
points will also be displayed.
2
Select a function and set it.
Use <9> to select a function.
X The setting of the selected function is
displayed at the bottom.
Turn the <5> or <6> dial to
change the setting.
When the selection of the AF point is
enabled, the AF area selection mode
for <f> can be selected with the
<B> button.
Shooting Function Settings
i / y / f / R / B / A Settings
Q Quick Control
The metering mode will be fixed to evaluative metering for Live View shooting.
To check the depth of field, press the depth-of-field preview button.
During continuous shooting, the exposure set for the first shot will also
be applied to subsequent shots.
You can also use a remote controller (sold separately, p.110) for Live
View shooting.
COPY
Loading ...
Loading ...
Loading ...