Loading ...
Loading ...
Loading ...
Servicing Your Honda 97
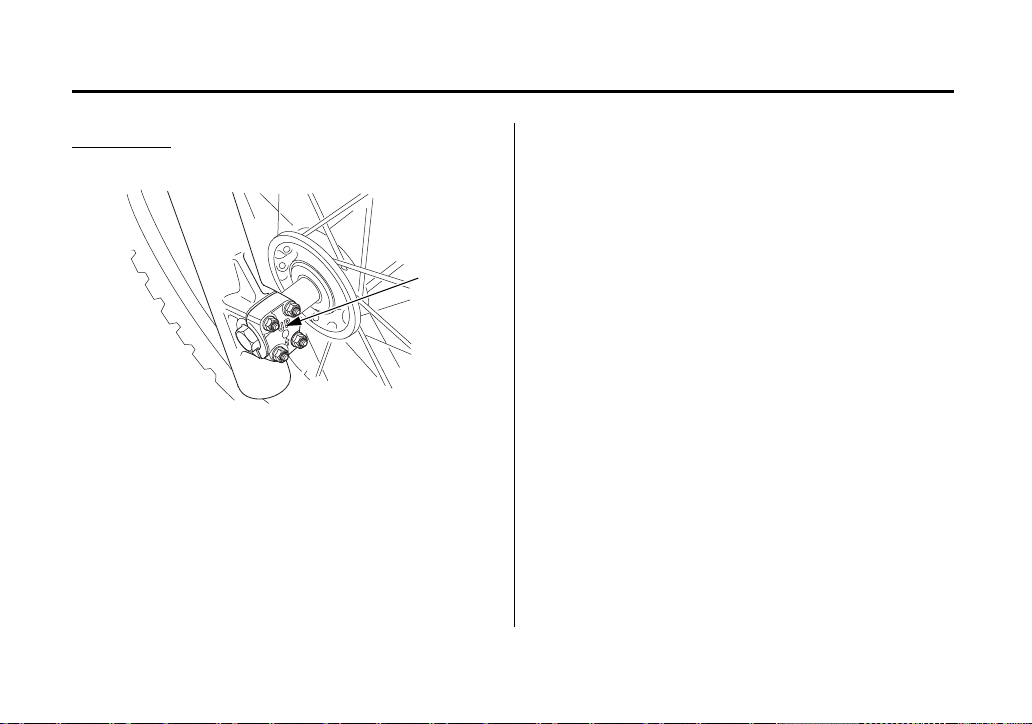
Wheels
Installation
1.Reverse the removal procedure. Install the
side collars into the wheel.
2.Insert the front axle shaft through the wheel
hub and left fork leg.
3.Tighten the front axle shaft to the specified
torque:
54 lbf∙ft (73.5 N∙m, 7.5 kgf∙m)
4.Install the axle holder with the UP mark (4)
upward and first tighten the upper axle
holder nuts until lightly seated, then tighten
the lower axle holder nuts until lightly
seated.
5.Operate the front brake and pump the fork
several times.
6.First tighten the upper axle holder nuts to the
specified torque, then tighten the lower axle
holder nuts to the same torque:
9 lbf∙ft (12 N∙m, 1.2 kgf∙m)
7.After installing the wheel, apply the brake
several times and then check if the wheel
rotates freely. Recheck the wheel if the brake
drags or if the wheel does not rotate freely.
Check front brake adjustment (page 87).
If a torque wrench was not used to install the
wheel, see your dealer as soon as possible to
verify proper assembly. Improper assembly
may lead to loss of braking capacity.
RIGHT FRONT
(4)
(4) UP mark
Loading ...
Loading ...
Loading ...