Moisture Manager Heavyweight (70 pt)
Moisture Manager Lightweight (30 pt)

To prevent any internal damage, it is very important to keep
refrigeration units (like this one) upright throughout their
journey. Please leave it standing upright and outside the
box for 24 HOURS before plugging it in.
BEFORE FIRST USE:

Important Safety Instructions
Parts Description
Operation
Care & Cleaning
Troubleshooting
Warranty
Warning
Drop Us A Line
4-5
6
7-9
10
10
11
11
11
TABLE OF CONTENTS
4
1. Do not exceed the rating of the power outlet or connection
device.
2. Do not operate or turn off the dehumidier by plugging in or
unplugging the device. Use the control panel instead.
3. Do not use if the power cord is broken or damaged.
4. Do not modify the power cord length or share the outlet with
other appliances.
5. Do not touch the plug with wet hands.
6. Do not install the dehumidier in a location that may be
exposed to combustible gas.
7. Do not place the dehumidier near a heat source.
8. Disconnect the power if strange sounds, smell, or smoke
comes from the dehumidier.
9. You should never try to take apart or repair the dehumidier
by yourself.
10. Make sure to turn off and unplug the dehumidier before
cleaning.
11. Do not use the dehumidier near ammable gas or
combustibles, such as gasoline, benzene, thinner, etc.
12. Do not drink or use the water drained from the dehumidier.
13. Do not take the water bucket out while the dehumidier is
working.
14. Do not use the dehumidier in small spaces.
15. Do not place the dehumidier in places where it may be
splashed by water.
16. Place the dehumidier on a level, sturdy section of the oor.
17. Do not cover the intake or exhaust openings with cloths or
towels.
18. Care should be taken when using the dehumidier in a room
with the following persons: infants, children, the elderly and
people not sensitive to humidity.
19. Do not use in areas where chemicals are handled.
20. Never insert your nger or other foreign objects into grills
or openings. Take special care to warn children of these
dangers.
21. Do not place a heavy object on the power cord and make
sure that the cord is not compressed.
22. Do not climb on or sit on the dehumidier.
23. If water enters the dehumidier, turn the dehumidier off and
disconnect the power, contact Vremi Customer Service at
646-490-9904 to avoid a hazard.
24. Do not place ower vases or other water containers on top of
the dehumidier.
IMPORTANT SAFETY INSTRUCTIONS
To prevent injury to the user or other people and property damage, the following instructions must be followed when using the
Dehumidier. Incorrect operation due to ignoring of instructions may cause harm or damage.
SAVE THESE INSTRUCTIONS
For Household Use Only
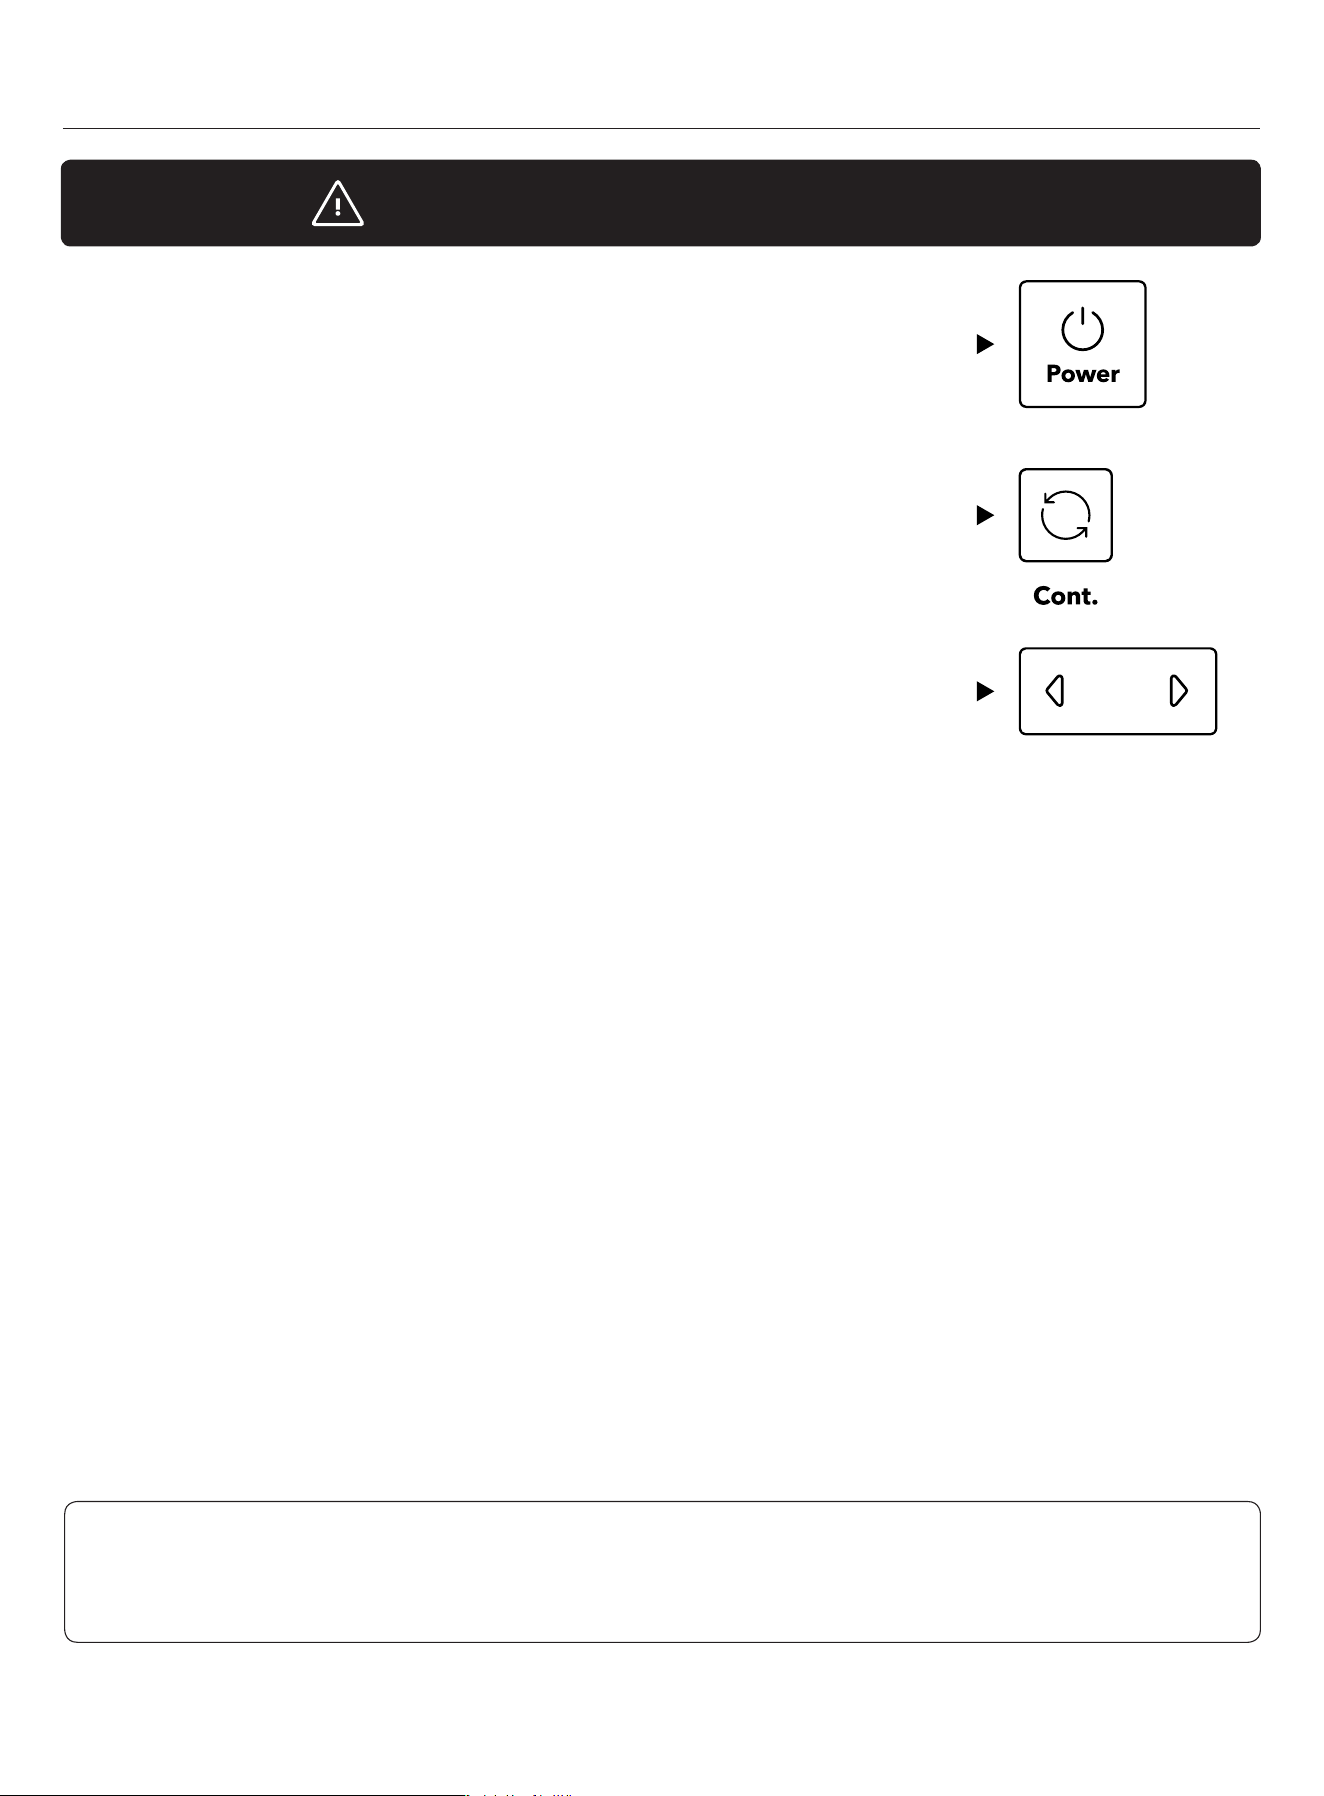
PLEASE NOTE:
This dehumidier defaults to CONTINUOUS
MODE, which disables use of the LEFT/RIGHT
buttons. To regain use of the buttons, turn off
CONTINUOUS MODE.
TURN ON
DEHUMIDIFIER
TURN OFF
CONTINUOUS MODE
BEGIN USING
LEFT/RIGHT BUTTONS
IMPORTANT NOTICE FOR FIRST TIME USE
5
Important Safety Instructions
ELECTRICAL INFORMATION
- This dehumidier can be used by children 8 years or older and
people with reduced physical, sensory, or mental capabilities.
Supervision and use of instructions are required for those with
lack of experience and knowledge concerning the dehumidier.
Cleaning and user maintenance shall not be done by children
without supervision.
- If the supply cord is damaged, it must be replaced by Vremi.
Please contact Vremi Customer Service at 646-490-9904 for a
replacement.
- Prior to cleaning or other maintenance, the dehumidier must
be disconnected from the supply mains.
- Do not install the dehumidier in a location that may be exposed
to combustible gas.
- If combustible gas accumulates around the dehumidier, it may
cause re.
- If this dehumidier is knocked over during use, turn off the
dehumidier and unplug it from the main power supply
immediately. Visually inspect the dehumidier to ensure this is
no damage. If you suspect this dehumidier has been damaged,
contact Vremi Customer Service at 646-490-9904 for repair or a
replacement.
- In a thunderstorm, the power must be cut off to avoid damage
to the dehumidier due to lightning.
- Do not run cord under carpeting. Do not cover cord with throw
rugs, runners, or similar coverings. Do not route cord under
furniture or other appliances. Arrange cord away from trafc area
and where it will not be tripped over.
- Do not operate dehumidier with a damaged cord or plug.
Please contact Vremi Customer Service at 646-490-9904.
- To reduce the risk of re or electric shock, do not use this
dehumidier with any solid-state speed control device.
- The dehumidier shall be installed in accordance with national
wiring regulations.
- Contact Vremi Customer Service at 646-490-9904 for repair or
maintenance of this dehumidier.
- The Vremi nameplate is located on the rear panel of the
dehumidier and contains electrical and other technical data
specic to this dehumidier.
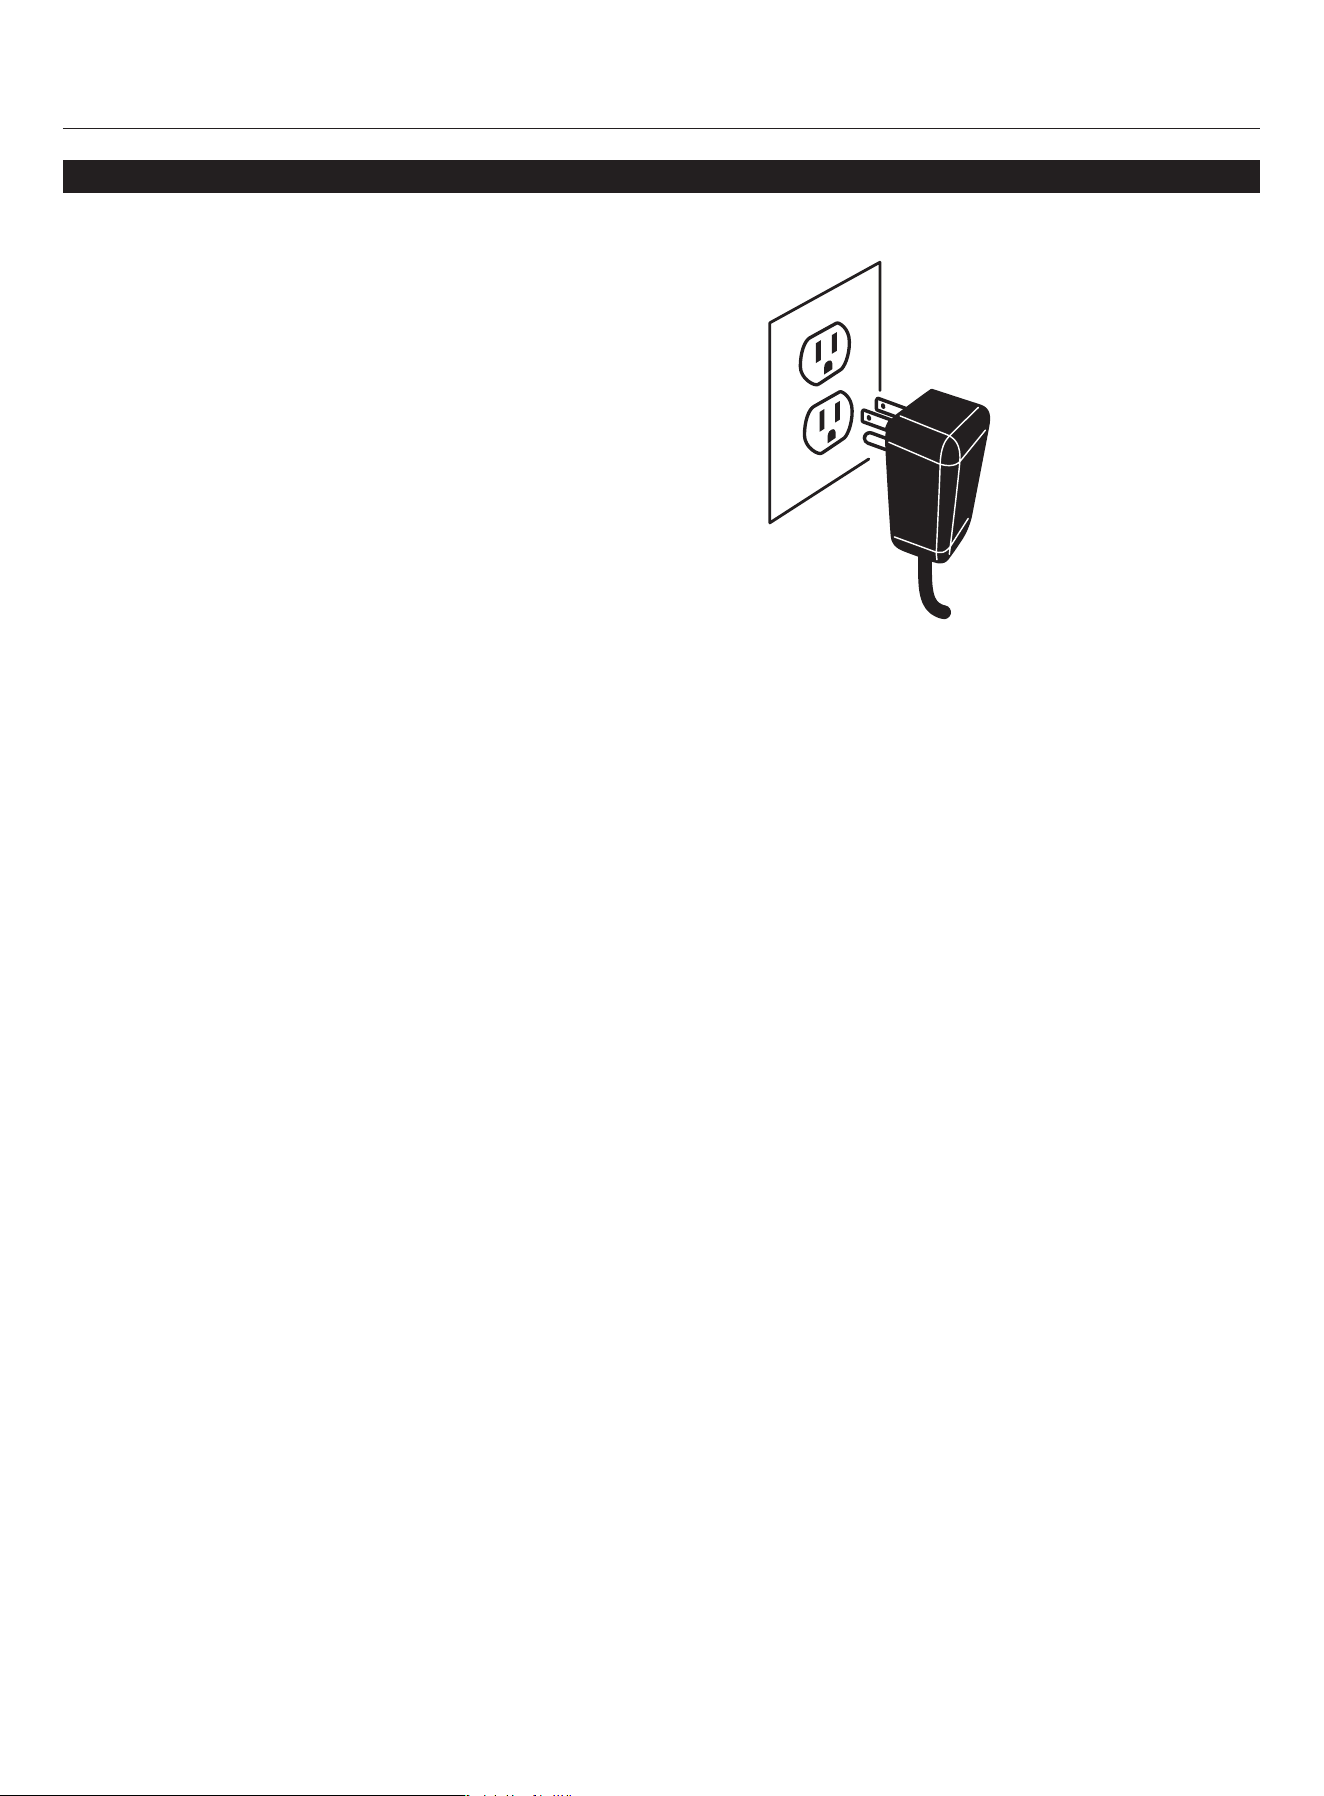
- Be sure the dehumidier is properly grounded. To minimize
shock and re hazards, proper grounding is important. This
power cord is equipped with a three-prong grounding plug for
protection against shock hazards.
- Your dehumidier must be used in a properly grounded
wall socket. If your wall socket is not adequately grounded
or protected by a time delay fuse or circuit breaker, have a
qualied electrician install the proper socket.
- Avoid re hazard or electric shock. Do not use an extension
cord or an adapter plug. Do not remove any prong from the
power cord.
6
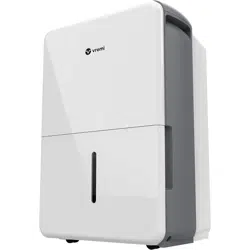
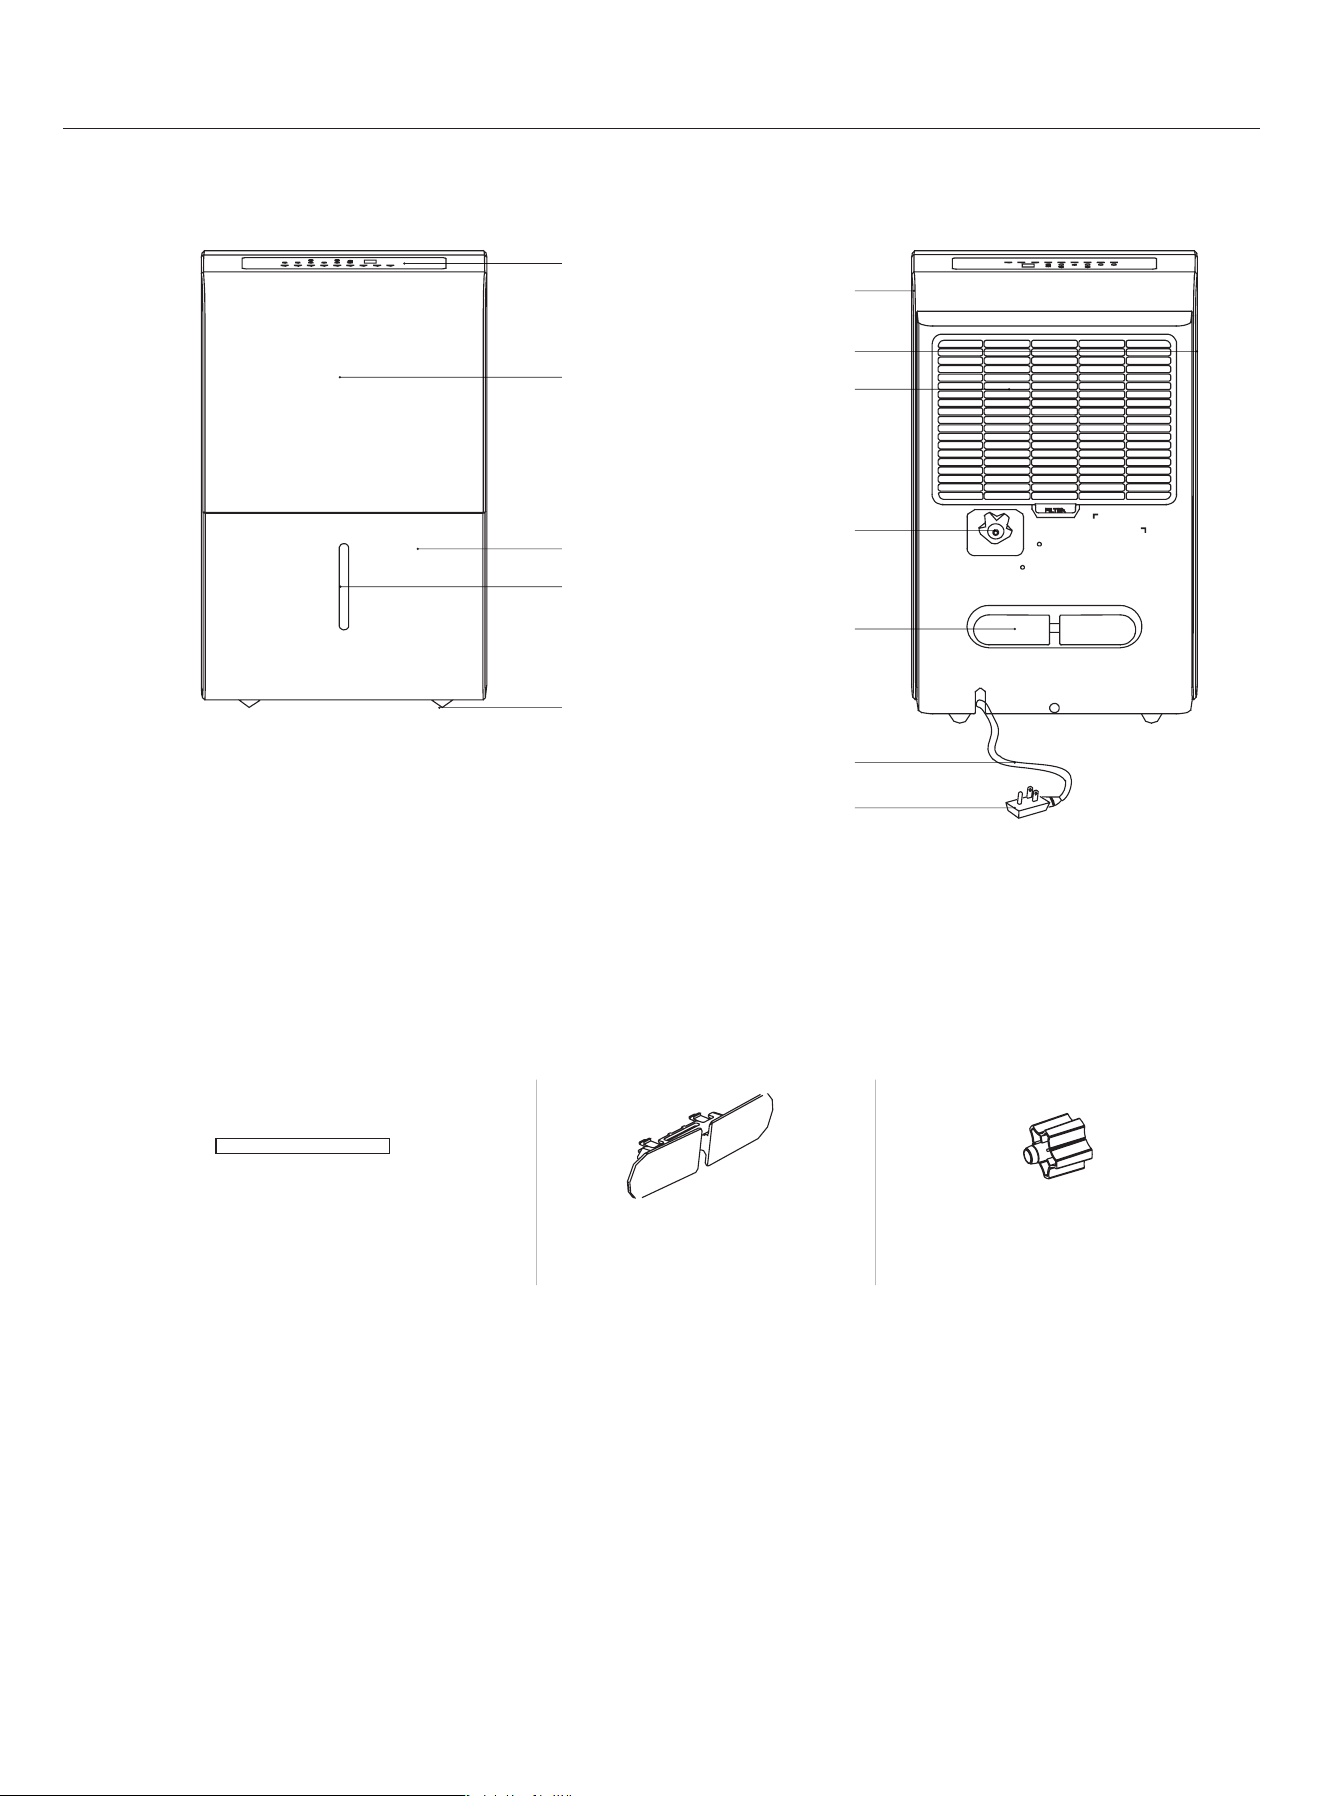
Parts Description
Control Panel
FRONT
ACCESSORIES
(placed in the bucket of the dehumidier)
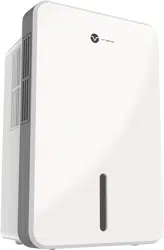
REAR
Handle
(both sides)
Air intake Grille/Air Filter
Drain Hose Outlet
Power Cord Buckle
(placed in bucket)
Power Cord
Power Plug
Air Outlet Grille
Panel
Bucket
Caster
Pump Drain Hose ( 1pc )
(only for the dehumidier with pump feature)
Power Cord Buckle ( 1pc ) Threaded Female End ( 1pc )
(on some models)
Water Level Window
7
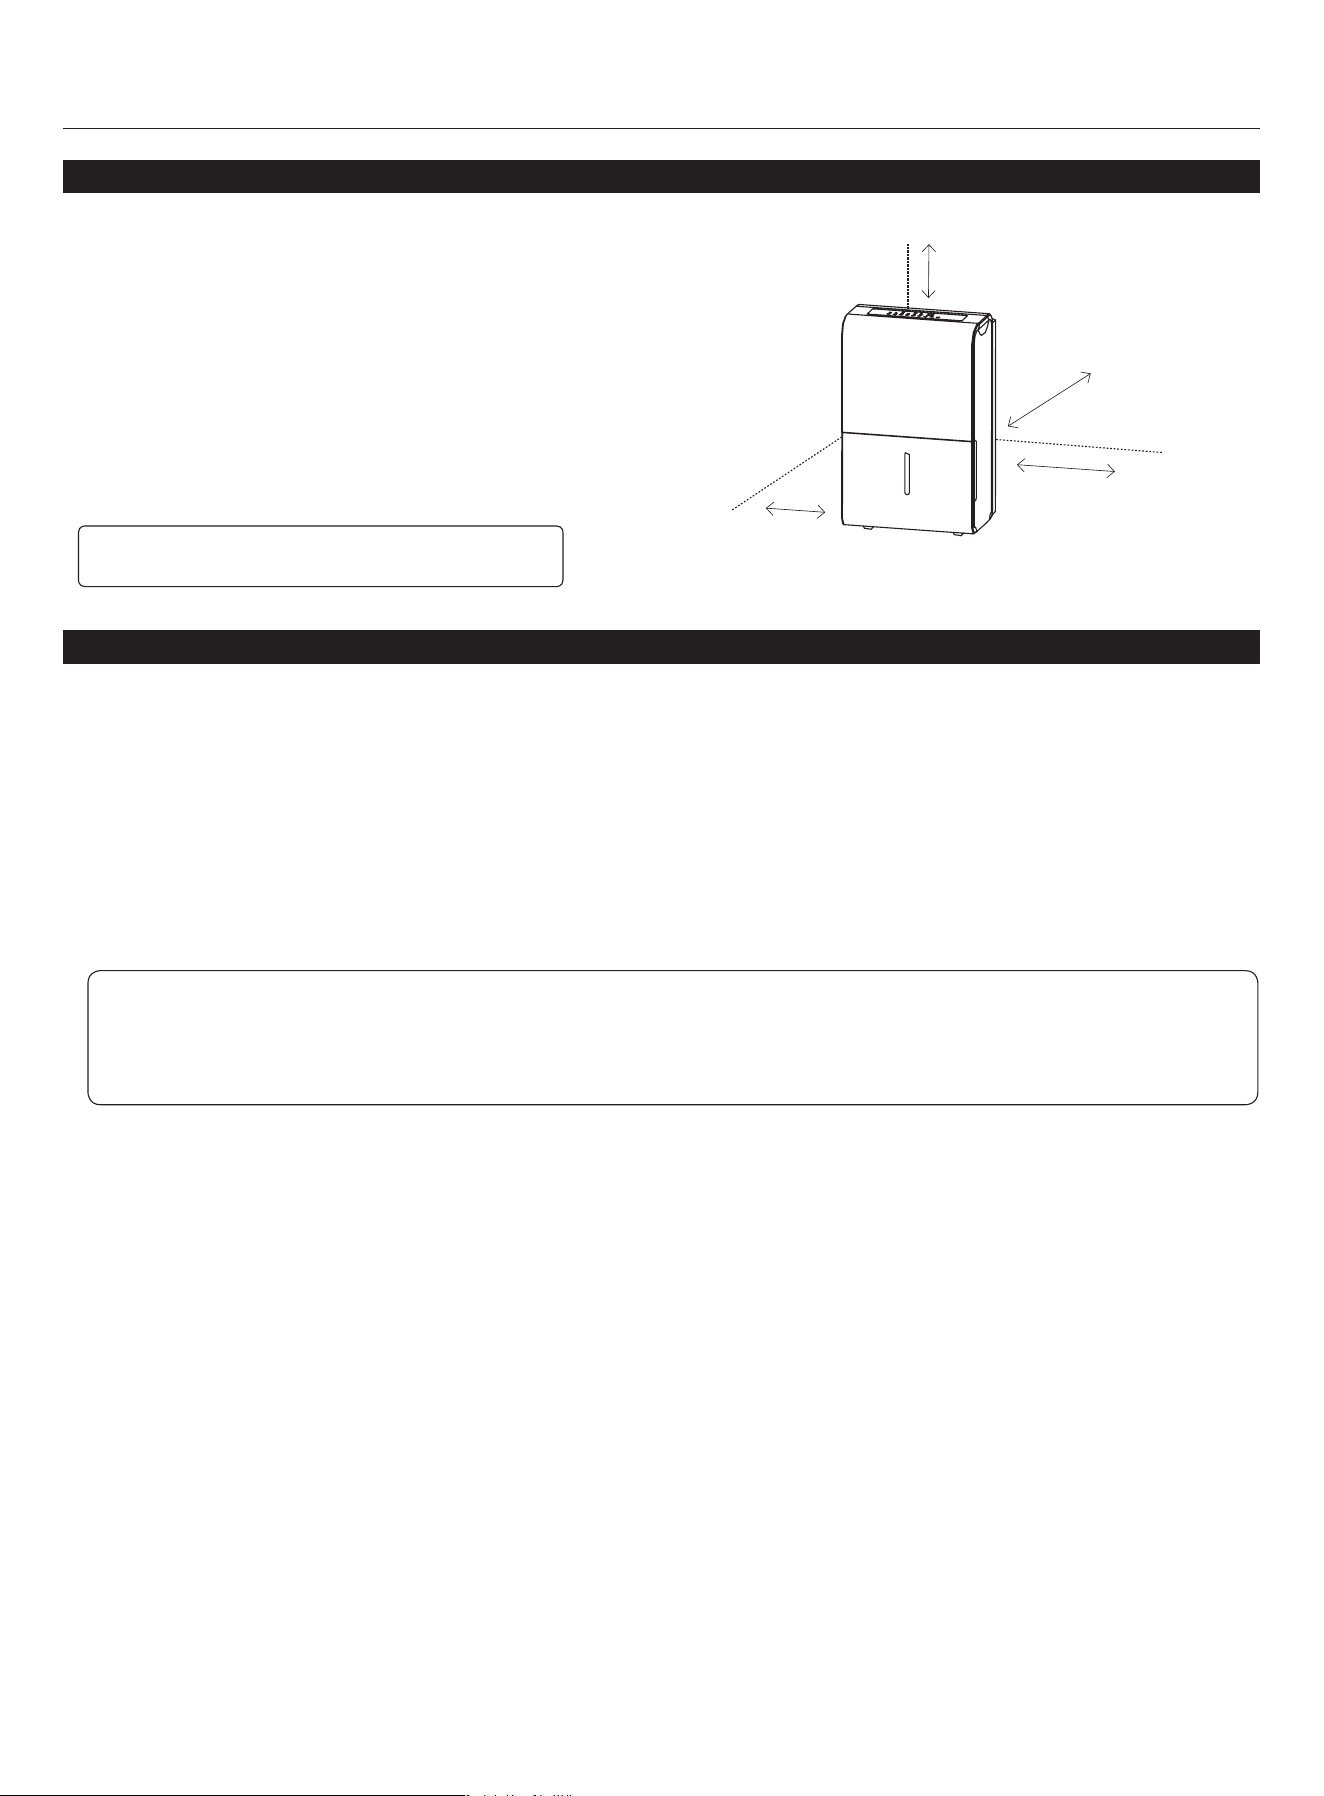
Operation
PLACE CORRECTLY
SMART FUNCTIONS
- This unit may have been tilted or placed upside down during
shipping. To ensure this device works properly, please ensure
this unit is upright for at least 24 hours before initial use.
- This dehumidier is designed to operate with a working
environment between 41°F (5°C) and 95°F (35°C).
- Casters are installed at four points on the bottom of the
dehumidier.
- Do not force casters to move over carpet, or move the
dehumidier with water in the bucket.
(The dehumidier may tip over and spill water.)
- Auto Shut Off
When the bucket is full and/or the humidity setting is reached, the
dehumidier will be shut off automatically.
- Wait 3 minutes before resuming operation
To avoid any damage to the dehumidier, the dehumidier will
not start operation following a complete cycle until after three (3)
minutes. Operation will automatically start after three (3) minutes.
- Defrost
When frost builds up on the evaporator coils, the compressor will
cycle off and the fan will continue to run until the frost disappears.
- Auto Restart
If the dehumidier shuts off unexpectedly, due to the power
being cut, the dehumidier will restart with the previous function
setting automatically when the power resumes.
NOTE: Some models do not come with casters.
more than 7.9in (20cm)
more than 7.9in (20cm)
more than 7.9in (20cm)
more than 15.75in (40cm)
NOTE:
All illustrations in this manual are for explanation purposes only. Your dehumidier may be slightly different. Contact Vremi
Customer Service at 646-490-9904 for details.
8
Operation
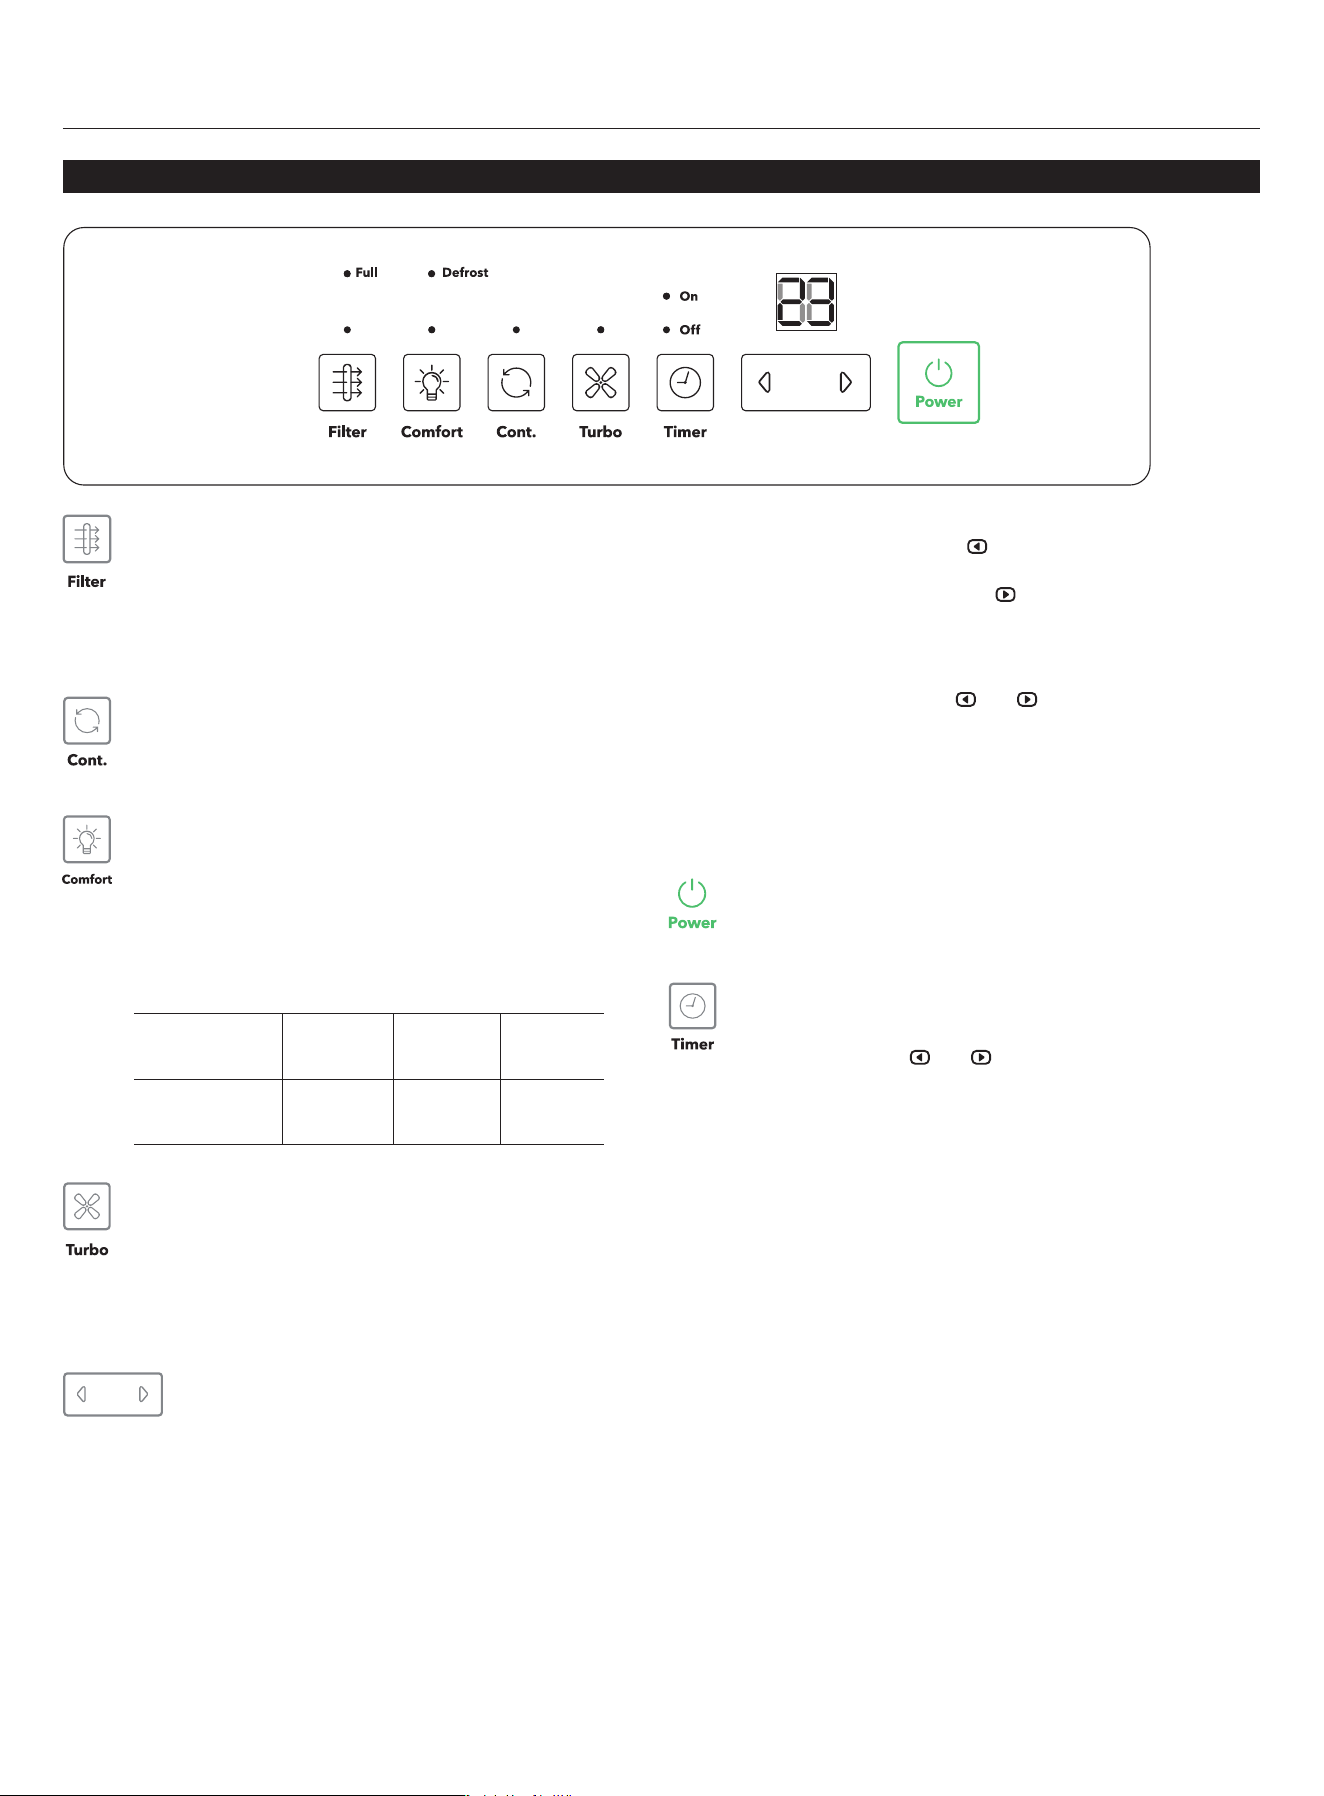
CONTROL PANEL
FILTER button
The check lter feature is a reminder to clean the Air
Filter for more efcient operation. The Filter light (clean
lter light) will illuminate after 250 hours of operation. To
reset after cleaning the lter, press the lter button and
the light will go off.
TURBO button
Control the fan speed. Press to select either High
or Normal fan speed. Set the fan control to High for
maximum moisture removal. When the humidity has
been reduced and quiet operation is preferred, set the
fan control to Normal.
POWER button
Press to turn the dehumidier on and off.
CONTINUOUS button
Press to activate the Continuous dehumidifying
operation.
COMFORT button
Press this button to turn the comfort function on/off.
Under this mode, the humidity cannot be adjusted
manually but will be preset to a recommended
comfortable and healthy level based on the ambient
temperature. The level will be controlled as per below
table:
Ambient
Temperature
<65 ˚F 65 -77 ˚F >77 ˚F
Relative
Humidity
55 % 50 % 45 %
LEFT / RIGHT buttons
NOTE: When the dehumidier is rst turned on, it will go
on Continuous mode by default. This will disable use of
the LEFT/RIGHT buttons. Make sure to turn off Continuous
mode to regain function in these buttons.
Humidity Set Control buttons
• The humidity level can be set within a range of 35%RH
(Relative Humidity) to 85%RH (Relative Humidity) in 5%
increments.
TIMER button
Press to initiate the Auto start and Auto stop feature, in
conjunction with the
and buttons.
• When the dehumidier is on, rst press the Timer
button. The Timer Off indicator light will illuminate. It
indicates the Auto Stop program is initiated. Press it
again and the Time On indicator light will illuminate. It
indicates the Auto Start is initiated.
• When the dehumidier is off, rst press the Timer
button. The TIMER ON indicator light illuminates. It
indicates the Auto Start program is initiated. Press it
again and the Time Off indicator light illuminates. It
indicates the Auto Stop is initiated.
• Press or hold the LEFT or RIGHT buttons to change the
Auto time by 0.5 hour increments, up to 10 hours, then
at 1 hour increments up to 24 hours. The control will
count down the time remaining until start.
• The selected time will register in 5 seconds and the
system will automatically revert back to display the
previous humidity setting.
• When the Auto start & Auto stop times are set, within
the same program sequence, TIMER ON and OFF
indicator lights illuminate identifying both ON and
OFF times are now programmed.
• Turning the dehumidier ON or OFF at any time or
adjusting the timer setting to 0.0 will cancel the Auto
Start/Stop function.
• When LED display window displays the code of P2,
the Auto Start/Stop function will also be canceled.
• For drier air, press the
button and set to a lower
percent value (%).
For damper air, press the button and set a higher
percent value (%).
Timer Set Control buttons
• Press to initiate the Auto start and Auto stop feature, in
conjunction with the
and buttons.
Indicator Lights
• ON .....................Timer ON light
• OFF ...................Timer OFF light
• FULL ..................The water tank is full and should be emptied
• DEFROST .........The appliance is on Defrost mode
9
Operation
CONTROL PANEL (CONT.)
LED display
The LED display shows the set % humidity level from 35% to 85% or auto start/stop time (0~24) setting, then shows the
actual(±5% accuracy) room % humidity level in a range of 30% RH (Relative Humidity) to 90% RH (Relative Humidity).
Error Codes:
Note: When one of the above malfunctions occurs, turn off the dehumidier and check for any obstructions. Restart the
dehumidier, if the malfunction is still present, turn off the dehumidier and unplug the power cord. Contact Vremi Customer
Service at 646-490-9904 for repair and/or replacement.
AS - Humidity sensor error;
ES - Temperature sensor error;
E3 - Dehumidier malfunction;
Protection Codes:
P2 - Bucket is full or bucket is not in right position.
Empty the bucket and replace it in the
right position.
P2 - Bucket is full. Empty the bucket.
%
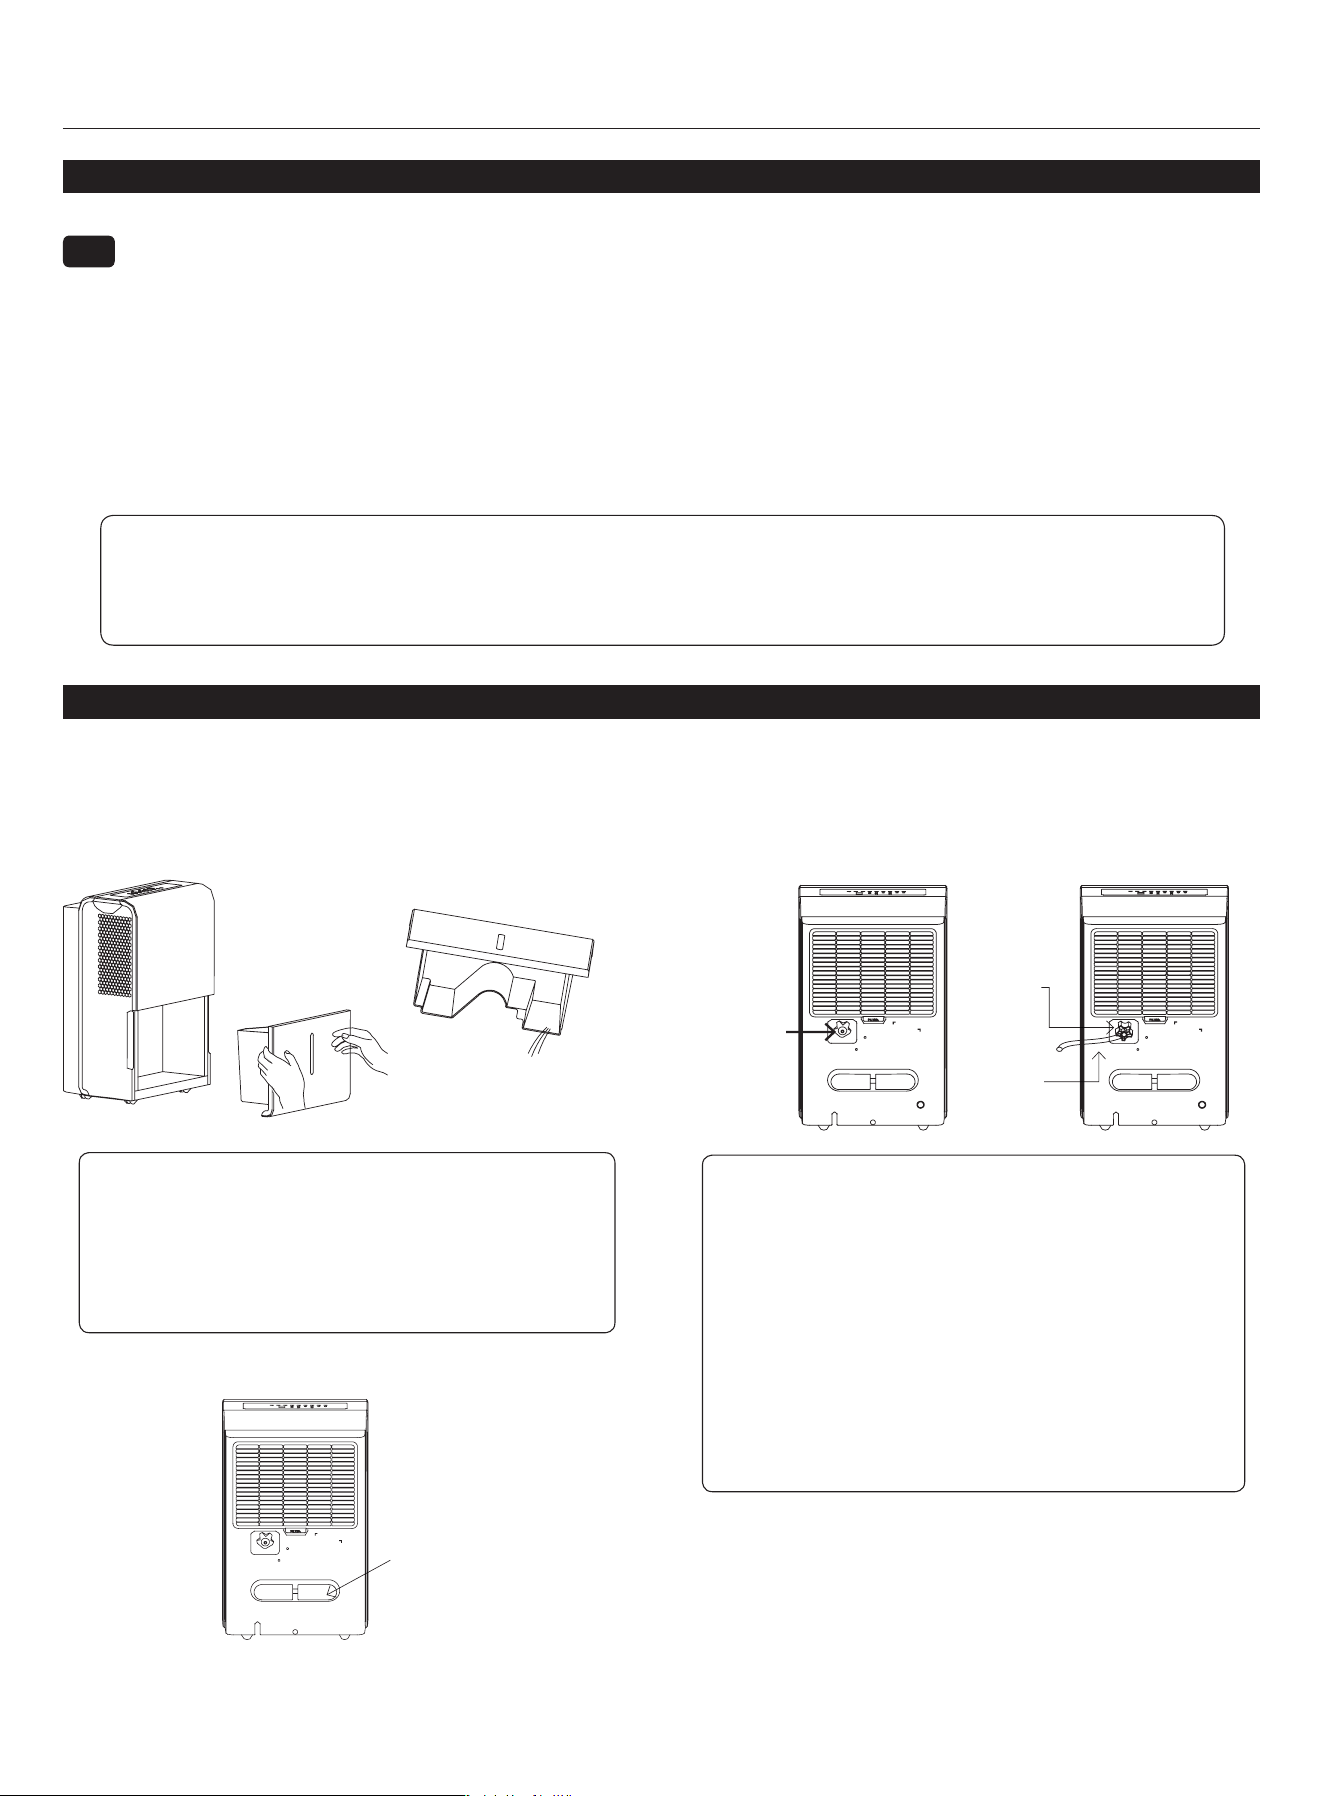
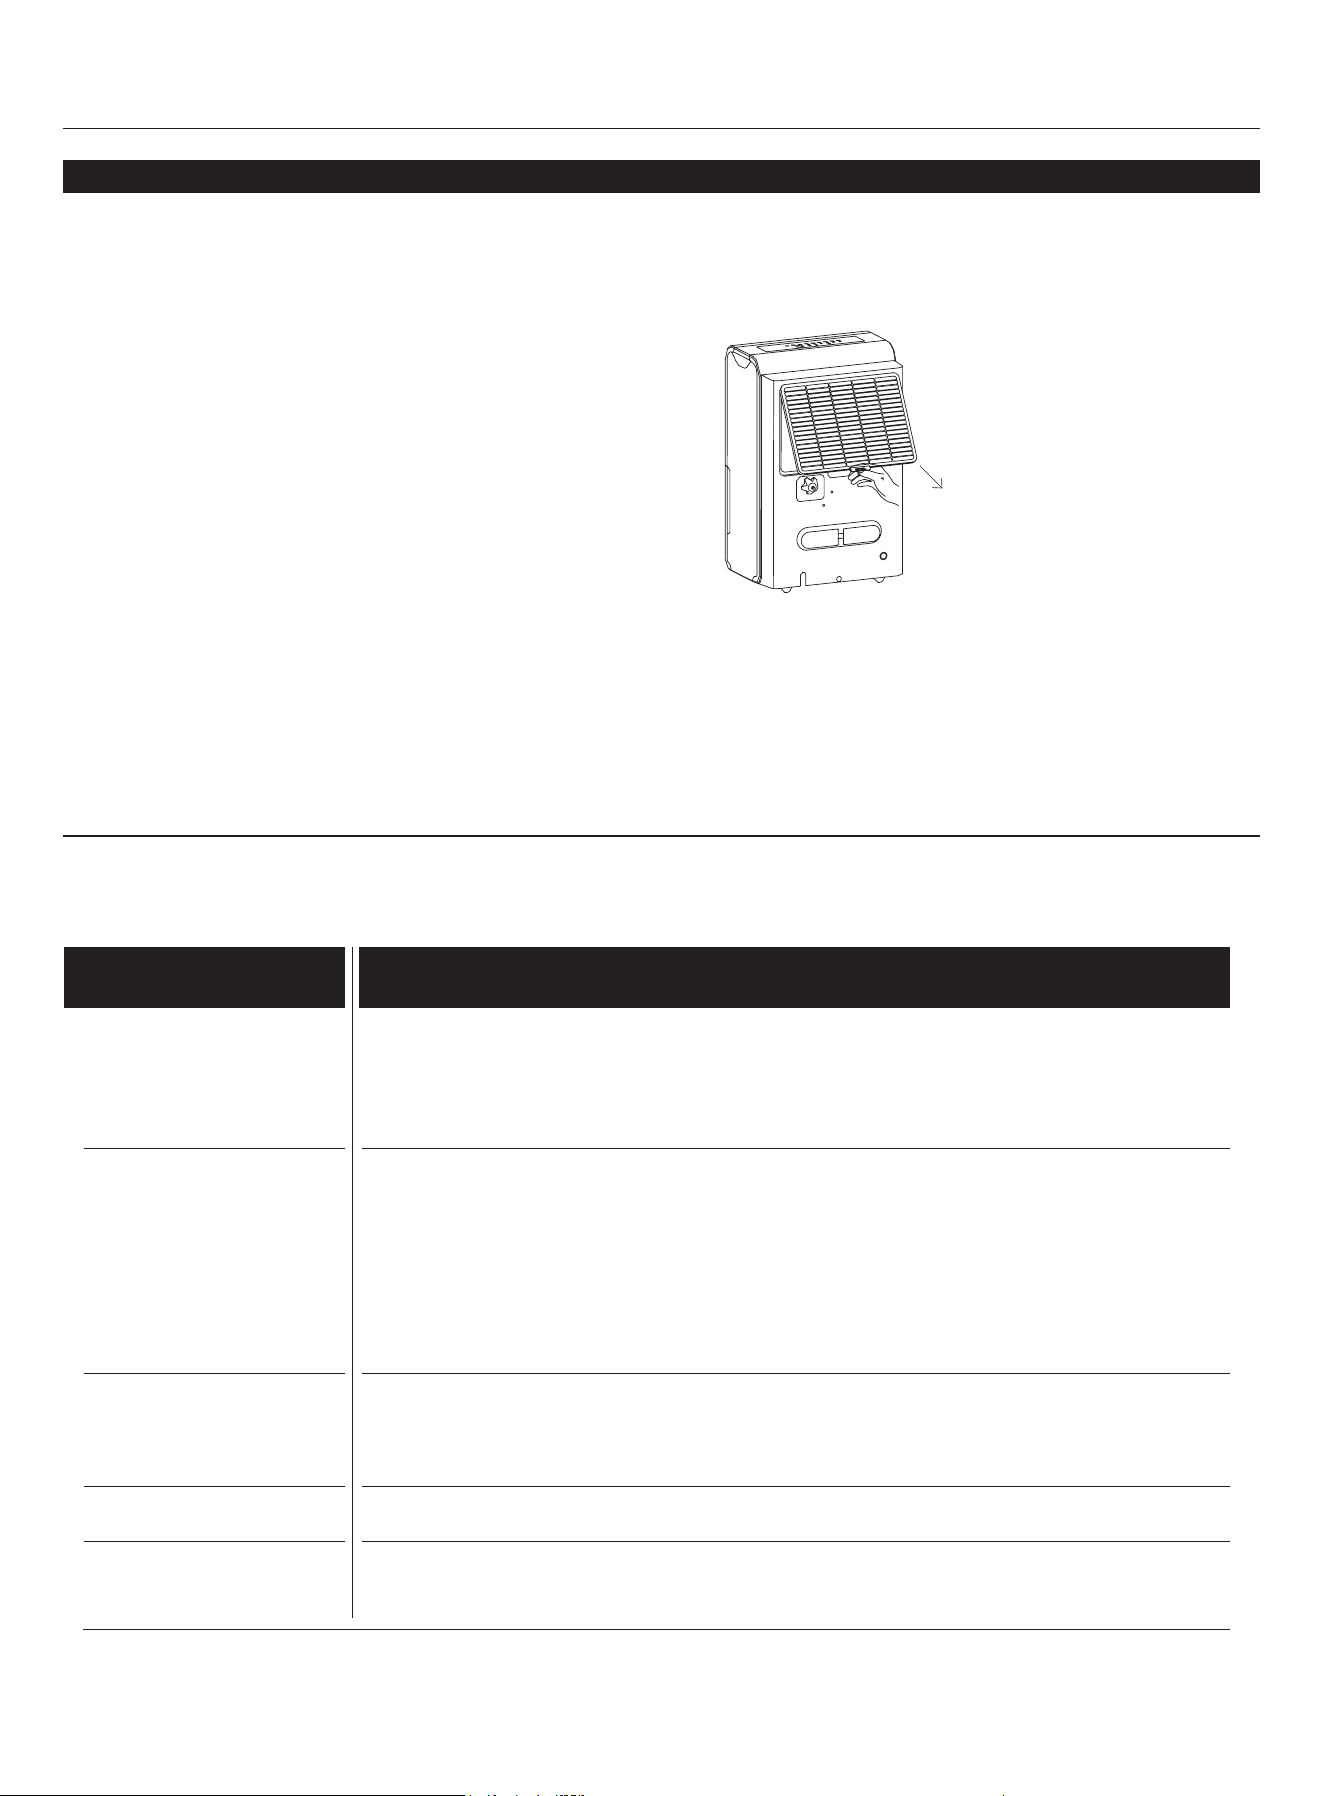
REMOVING THE COLLECTED WATER
There are two ways to remove collected water:
1. Use the bucket
When the bucket is full, remove the bucket and empty it.
2. Continuous draining
Water can be automatically be emptied into a oor drain
by attaching the dehumidier to a water hose with a female
threaded end. (NOTE: On some models, the female threaded
end is not included)
Remove the
plastic cover
by counter-
clockwise
rotation
Female
threaded
end
Water
hose
Note:
- Make sure the connection is tight and there is
no leaking.
- Lead the water hose to the oor drain or a suitable
drainage facility. The drainage facility should be lower
than the drain outlet of the dehumidier.
- Be sure to run the water hose sloping downward to let
the water ow out smoothly.
- When the continuous drain feature is not being used,
remove the drain hose from the outlet.
Note: Do not use this operation when the outdoor
temperature is equal to or less than 32°F (0°C),
otherwise the water will freeze, causing the water hose
to block up and the dehumidier may be damaged.
Press the power
cord buckle
into the rear
cover.
10
Care & Cleaning
Troubleshooting
CARE AND CLEANING OF THE DEHUMIDIFIER
WARNING: Turn the dehumidier off and remove the plug from the
wall outlet before cleaning.
1. Clean the bucket
Clean the bucket with water every two (2) weeks.
2. Clean the air lter
Clean the lter with potable water at least once
every 30 days.
3. Storing the dehumidier
When not using the dehumidier for long time periods:
- After turning off the dehumidier, wait one day before emptying the
bucket.
- Clean the main dehumidier, bucket and air lter.
- Wrap the cord and bundle it with the band.
- Cover the dehumidier with a plastic bag.
- Store the dehumidier upright in a dry, well-ventilated place.
CAUTION: DO NOT operate
the dehumidier without a lter
because dirt and lint will clog it
and reduce performance.
Before calling Vremi customer service, review this list. It may save you time and expense. This list includes the most common
occurrences that are not the result of defective workmanship or materials in this dehumidier.
CAUSEPROBLEM
Dehumidier does
not start
Dehumidier does not dry
the air as it should
The dehumidier makes
a loud noise when
operating
Frost appears on the coils
Water on oor
Please contact Vremi Customer Service at 646-490-9904 if this dehumidier does not operate properly and the solutions above are
not helpful.
- Make sure the dehumidier’s plug is inserted completely into the outlet.
- Check the house fuse/circuit breaker box.
- Dehumidier has reached its preset level or bucket is full.
- Bucket is not in the proper position.
- Did not allow enough time to remove the moisture.
- Make sure there are no curtains, blinds or furniture blocking the front or back of
the dehumidier.
- The humidity selector may not be set low enough.
- Check that all doors, windows and other openings are securely closed.
- Room temperature is too low, below 41°F (5°C).
- There is a kerosene heater or something giving off water vapor in the room.
- The air lter is clogged.
- The dehumidier is tilted instead of upright as it should be.
- The oor surface is not level.
- This is normal. The dehumidier has a Defrost feature.
- Hose to connector or hose connection may be loose.
- Intended to use the bucket to collect water, but the back drain plug is removed.
11
Vremi offers a 12-month warranty on all of our products purchased new and unused from Vremi LLC or an authorized reseller, with
an original proof of purchase and where a defect has arisen, wholly or substantially, as a result of faulty manufacturing, parts or
workmanship during the Warranty Period. The warranty does not apply where damage is caused by other factors, including without
limitation: (a) normal wear and tear; (b) abuse, mishandling, accident or failure to follow operating instructions; (c) exposure to liquid
or inltration of foreign particles; (d) servicing or modication of the product other than by Vremi. These are our general terms for the
warranty service, but we always urge our customers to reach out to us with any issue, regardless of warranty terms. If you experience
an issue with a Vremi product, please contact us at suppor[email protected] or (646) 490-9904, and we will do our best to resolve it for
you.
This manual is to be used with all items with the model numbers
WARNING: Keep all plastic bags away from children.
State of California Proposition 65 Warnings:
WARNING: THIS PRODUCT COULD CONTAIN ONE OR MORE
CHEMICALS WHICH ARE KNOWN TO THE STATE OF CALIFORNIA TO
CAUSE CANCER, BIRTH DEFECTS OR OTHER REPRODUCTIVE HARM.
Manufacturer, distributor, importer and seller are not liable for ANY
damage caused by improper use, storage, care or failure to follow
warnings associated with this product.
VRM010637N
VRM010184N
(646) - 490 - 9904
vremi.com/chat
CHAT WITH US
CALL US
EMAIL US
Warranty
Warning
Drop Us A Line