Loading ...
Loading ...
Loading ...
18
Basic Operations
Adjusting the picture displayed on the screen
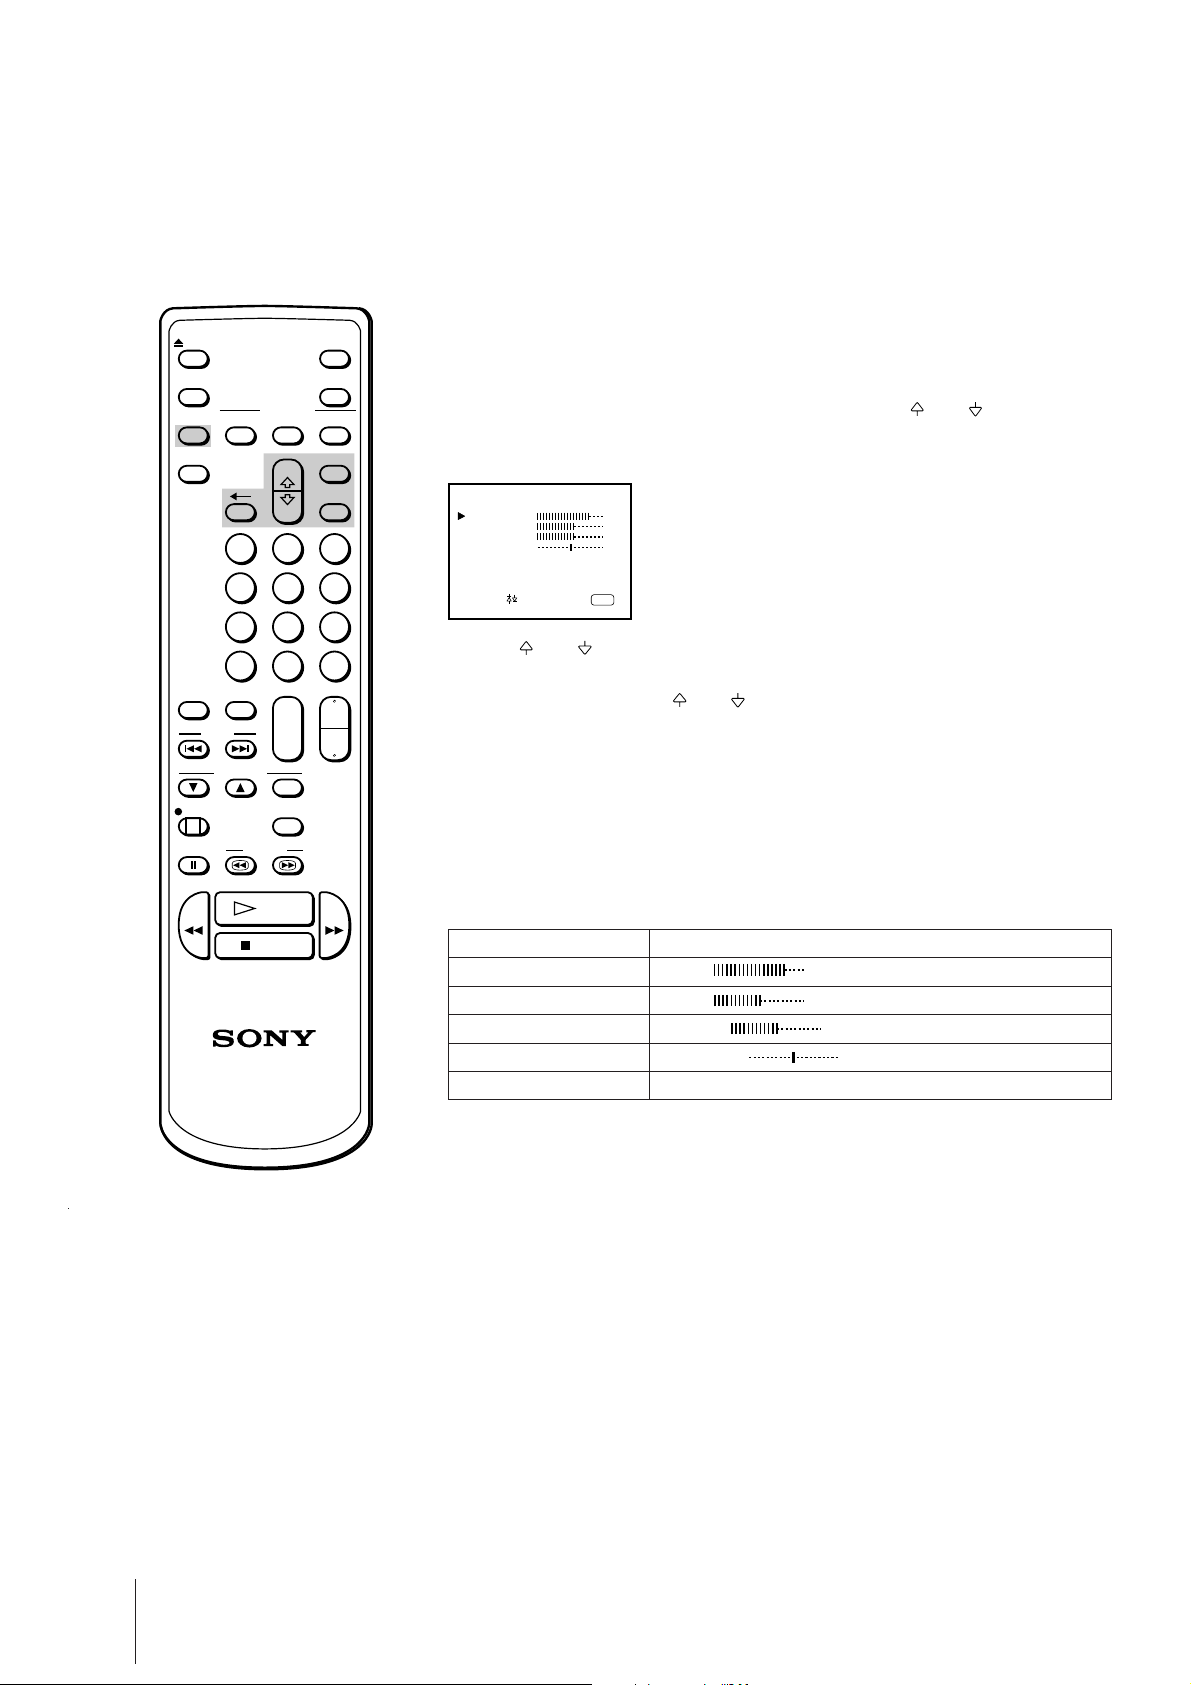
1 Press MENU to display the main menu.
2 Move the cursor (z) to PICTURE CONTROL with + or – and press
ENTER.
The PICTURE CONTROL menu appears.
3 Using + or – , select the item you want to adjust and press ENTER.
4 Adjust the picture with + or – and press ENTER.
With each press the vertical bars increase or decrease and the figure at the
right margin changes to show the control level. (See the table below.)
5 Repeat steps 3 and 4 to adjust other items.
6 Press MENU to go back to the original screen.
Effect of each control
PICTURE CONTROL
PICTURE
COLOR
BRIGHTNESS
HUE*
RESET
Effect
Less More
Less More
Darker Brighter
Reddish Greenish
Resets all the items to the factory preset levels.
* The HUE adjustment is available only for the NTSC color system.
The adjusted control levels are stored in “PICTURE CONTROL.”
When you select “PICTURE CONTROL” with PICTURE MODE, you can
call up the adjusted levels.
Watching Line Input
Press INPUT SELECT so that “LINE” appears on the screen.
To go back to the normal TV picture, press INPUT SELECT so that the
program position appears.
For details of the line input picture, see page 34.
CLEARON/OFF
ON SCREEN
INPUT
SELECT
DISPLAY
POWER
EJECT
MUTING
MENU
ENTER
2 31
5 64
8 97
0 C
-/--
+
--
+
--
PROGR
+
--
VOL
PICTURE
MODE
ON TIMER
SLEEP
INDEX
TRACKING
REC
AUTO/
MANUAL
COUNTER
RESET
PAUSE SEARCH
PLAY
STOP
REW
FF
TIMER REC
PICTURE CONTROL
PICTURE
COLOR
BRIGHTNESS
HUE
RESET
80
50
50
0
Select and press
ENTER
Loading ...
Loading ...
Loading ...