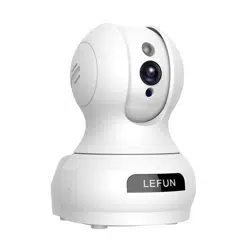
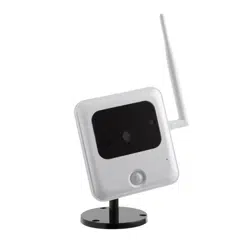
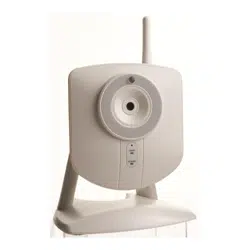
Tenvis TH661D Wireless IP Camera
Product's Documents
Below are documents related to this product, you can read online or download:
- Owner's manual - (English) Read Online | Download pdf
Following shown product is for reference only , goods in kind prevail.
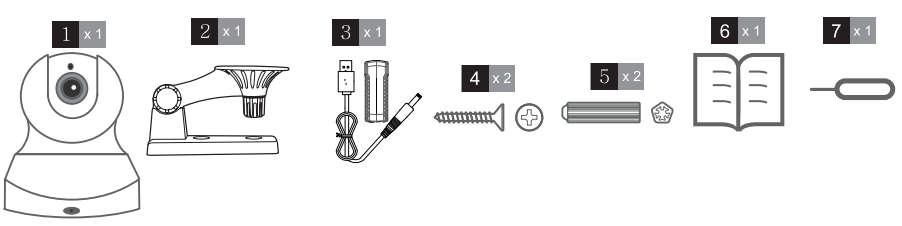
Attention: If anything is missing or damaged, please contact the dealer immediately for replacement.

The app is compatible with Android 4.0+ and IOS 8.0+.
Before setup, please connect your phone to Wi-Fi firstly.
Download App There are two ways to download App:
Method 1: Download "TENVISTY" from the app Store or Google Play Store.
Method 2: Scan the corresponding QR code to download the app.

When using TENVISTY for the first time, please register and login in the following steps.
Click the “Sign Up” and register for an account.

Fill in the e-mail address and make a nickname.
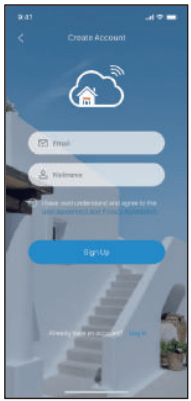
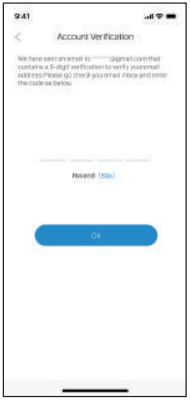
Get the verification code from your registered e-mail
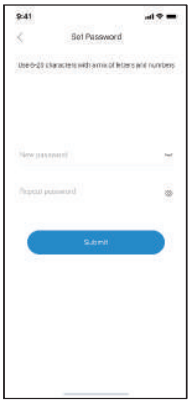
Create the password.
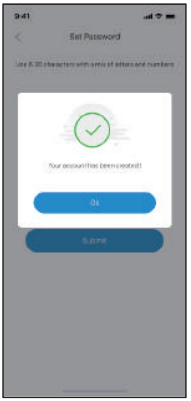
The registration is done!
Before you start:
Method 1. Add camera via Wi-Fi
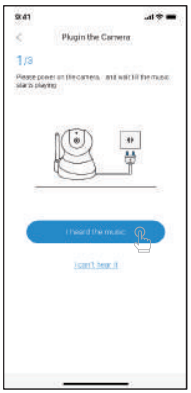
Plug the camera, wait for a while until camera beep sound
Attention: If there is no beeping sound, press the reset button and hold it for approximately 10 seconds until there is a successful music.
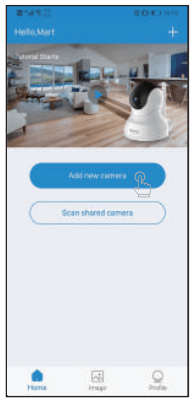
After the camera is powered on,please add New camera as following steps.
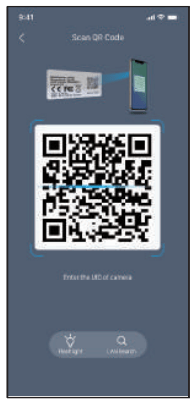
Click “Add new Camera”
Scan the camera UID
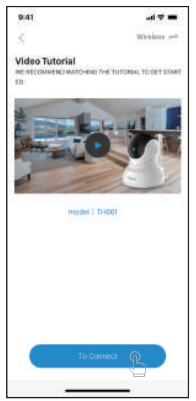
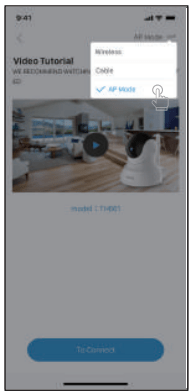
Click the “Wireless” (Please watch the video tutorial)
Click “I heard the music” when the camera’s music starts playing
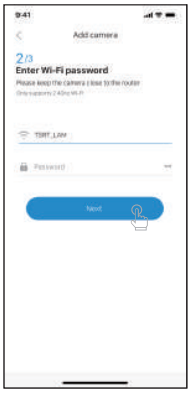
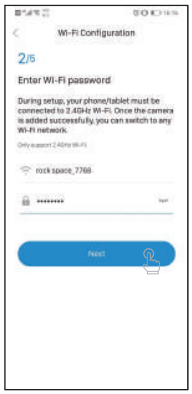
Enter the Wi-Fi password
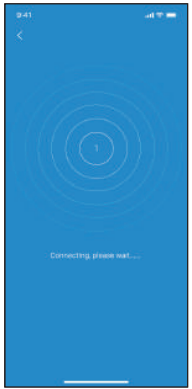
Connection in the progress
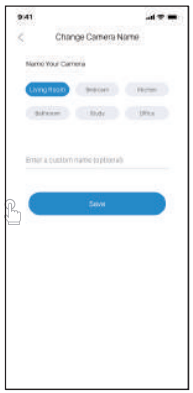
Name the camera
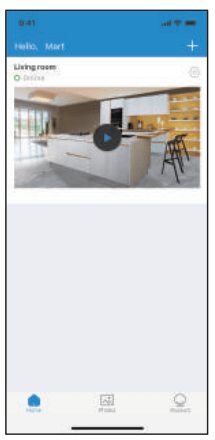
Successful connection!

Method 2. Add camera via Ethernet cable
Power the camera and connect it via network cable the camera, the camera's yellow light and green light will flick after its self-test. (Only camera with Ethernet port can be used by this way)

Add the camera to App
After running the "TENVISTY" app, please add the camera as following steps.
Click “Add new camera”
Scan the camera UID
Click the “Cable” (Please watch the video tutorial)

Click “I heard the music” when the music starts playing.
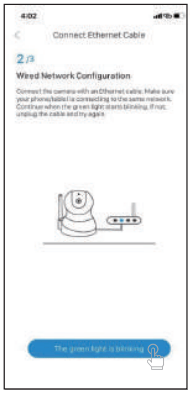
Connect the camera with an Ethernet Cable.
Connection in the progress
Name the camera
Successful connection!
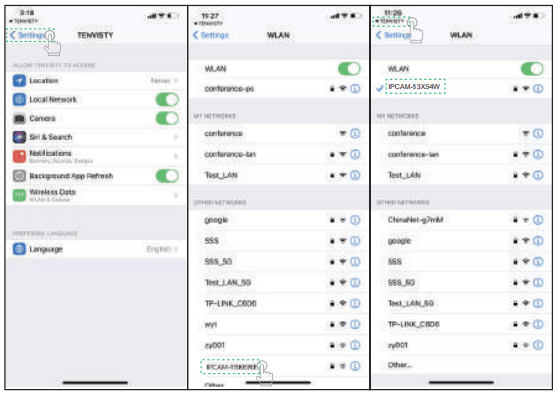
Method 3. Connection to power, AP add camera
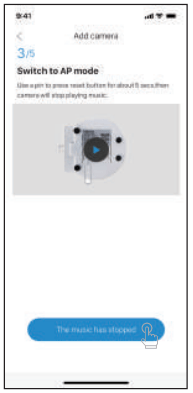
1. Power the camera and wait it’s self-test. Press the Reset button for 4s-6s, beep sound will stop. The camera is in AP mode.
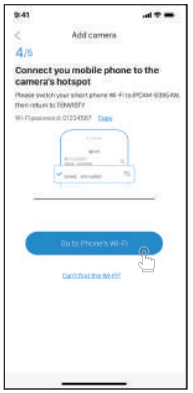
2. During it’s AP mode, camera will open it’s Wi-Fi, named after IPCX(X represents for the middle numbers of camera UID). . The camera Wi-Fi password is 01234567.
When camera is in AP mode, please connect your phone to camera Wi-Fi and configure it to your home Wi-Fi as following steps
Click “Add new camera”
Scan the camera UID
Click the “AP Mode” (Please watch the video tutorial)
Click “I heard the music” when the music starts playing.
Enter the Wi-Fi password
Switch to AP mode
Connect the camera to the mobile phone’s hotspot
Connect to your camera hotspot
Connection in the progress
Name the camera
Successful connection!