Loading ...
Loading ...
Loading ...
Initial settings
25 En
PREPARATION PLAYBACK SETTINGS
TROUBLESHOOTING
APPENDIX
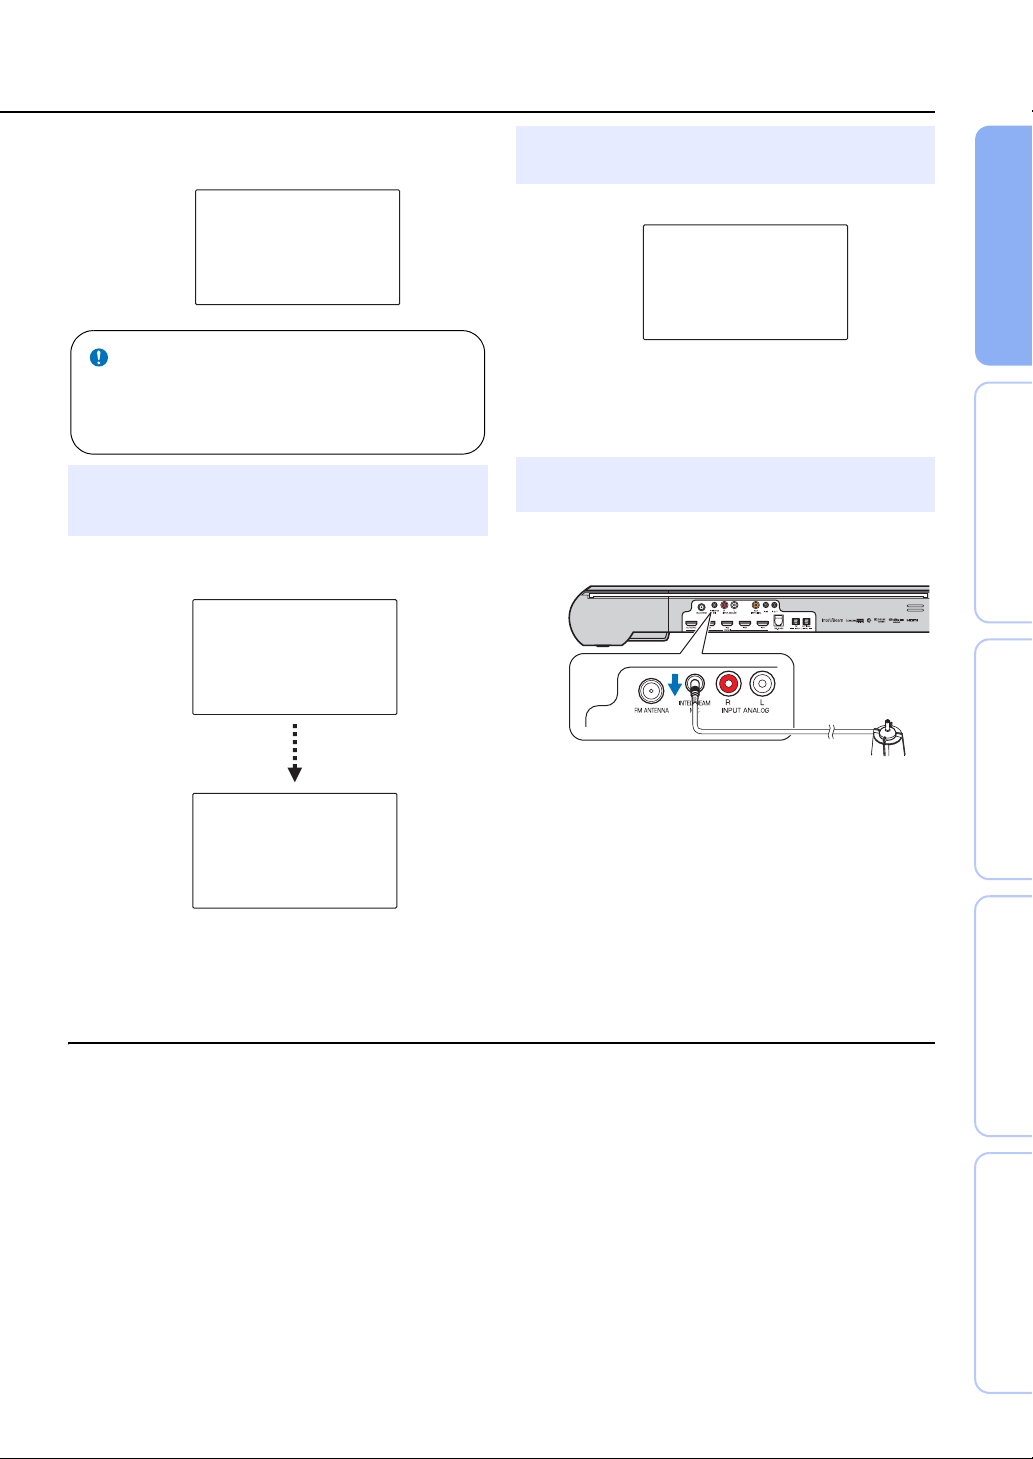
The screen below is displayed after connecting
IntelliBeam microphone to the unit.
1)
4
Press the ENTER key to start the AUTO
SETUP procedure and then leave the room
within 10 seconds.
2)
The screen automatically changes during the AUTO
SETUP procedure.
If the AUTO SETUP procedure is complete, this unit
rings the chimes.
3)
AUTO SETUP
(PREPARATION & CHECK)
Please connect the MIC.
Please place the MIC at least
1.8m/6ft away from Sound Pro-
jector. The MIC should be set
at ear level when seated.
Measurement takes about 3min.
After [ENTER] is pressed,
please leave the room.
[ENTER]:Start [RETURN]:Cancel
Follow the instructions below and then leave the room. If you remain
in the room, you may obstruct the beam, or the microphone may pick
up any sounds you make, possibly resulting in improper
configuration of settings.
Note
ENVIRONMENT CHECK: Success
BEAM MODE: 5Beam/Plus2
SHOW RESULT
MESUREMENT COMPLETE.
[ENTER]:Save set-up.
[RETURN]:Do not save set-up.
Will begin in 10 sec.
Please leave the room
----------
AUTO SETUP START
[RETURN]:Cancel
(After 3 min.)
5
Press the ENTER key to confirm the
results.
4)
Measurement results are applied to this unit.
• The measurement results are stored in the internal
memory of this unit until you run the AUTO SETUP
procedure again or configure the settings manually.
• You can save the several measurement results pressing
the SYSTEM MEMORY key (☞p. 28).
6
Remove the IntelliBeam microphone.
The “AUTO SETUP COMPLETE” screen closes.
5)
Keep the IntelliBeam microphone in a safe place.
AUTO SETUP COMPLETE
Please remove the MIC
from Sound Projector
and the listening position.
Press [SYSTEM MEMORY] key
to save set-up in the memory.
“BEAM+SOUND OPTIMIZE” is selected automatically. When you
perform “BEAM OPTIMIZE ONLY” or “SOUND OPTIMIZE ONLY”
only, refer to “AUTO SETUP via setup menu” (☞p. 26).
• Wait outside the room during the AUTO SETUP procedure.
Remaining in the room after the AUTO SETUP process begins may
result in the improper configuration of settings as your body may
obstruct sound beams or the microphone may pick up sounds you
make inadvertently.
• The AUTO SETUP procedure takes about 3 minutes.
• To cancel the AUTO SETUP procedure after it is started, press the
RETURN key.
If an error occurs, an error buzzer sounds and an error message is
displayed. For details on error messages, see “If an error message is
displayed” (☞p. 27).
• If “ENVIRONMENT CHECK:Failure” is displayed, accurate
measurement may not have been possible. See “ERROR-E1” under
“Error messages” (☞p. 27) for the remedy to this most common error.
Press the RETURN key and begin measurement again.
• Depending on the environment of your listening room, the front left
and right beam angles and left and right surround beam angles may be
set to the same value even if “BEAM MODE :5Beam” is displayed as
a result.
If you do not want to apply the results, press RETURN key.
When AUTO SETUP is performed from the setup menu, the menu
selection screen of the setup menu appears.
1) y
2) y
3) y
4) y
5) y
Loading ...
Loading ...
Loading ...