
Loading ...
Loading ...
Loading ...
9EN
3 Get started
Caution
• Use the controls only as stated in this user manual.
• Always follow the instructions in this chapter in
sequence.
If you contact Philips, you will be asked for the
model and serial number of your player. The
model number and serial number are on the
bottom of your player. Write the numbers here:
Model No. __________________________
Serial No. ___________________________
Charge power
Charge through the AC power adaptor
Caution
• Risk of product damage! Ensure that the power supply
voltage corresponds to the voltage printed on the
bottom of the player.
Note
• The type plate is located on the bottom of the player.
• You can only charge the player when it is in power-off
mode.
1 Press POWER to switch off the player.
2 Connect the supplied AC adaptor to the
player and to the AC outlet.
» The charging indicator turns red.
» When the battery is fully charged, the
charging indicator turns off.
Tip
• To maximize battery life, recharge the battery
immediately once the battery is fully discharged. If you
do not use the player for a long time, recharge the
battery once every two months.
• When the player is not in use, it takes about 8 hours to
fully charge it.
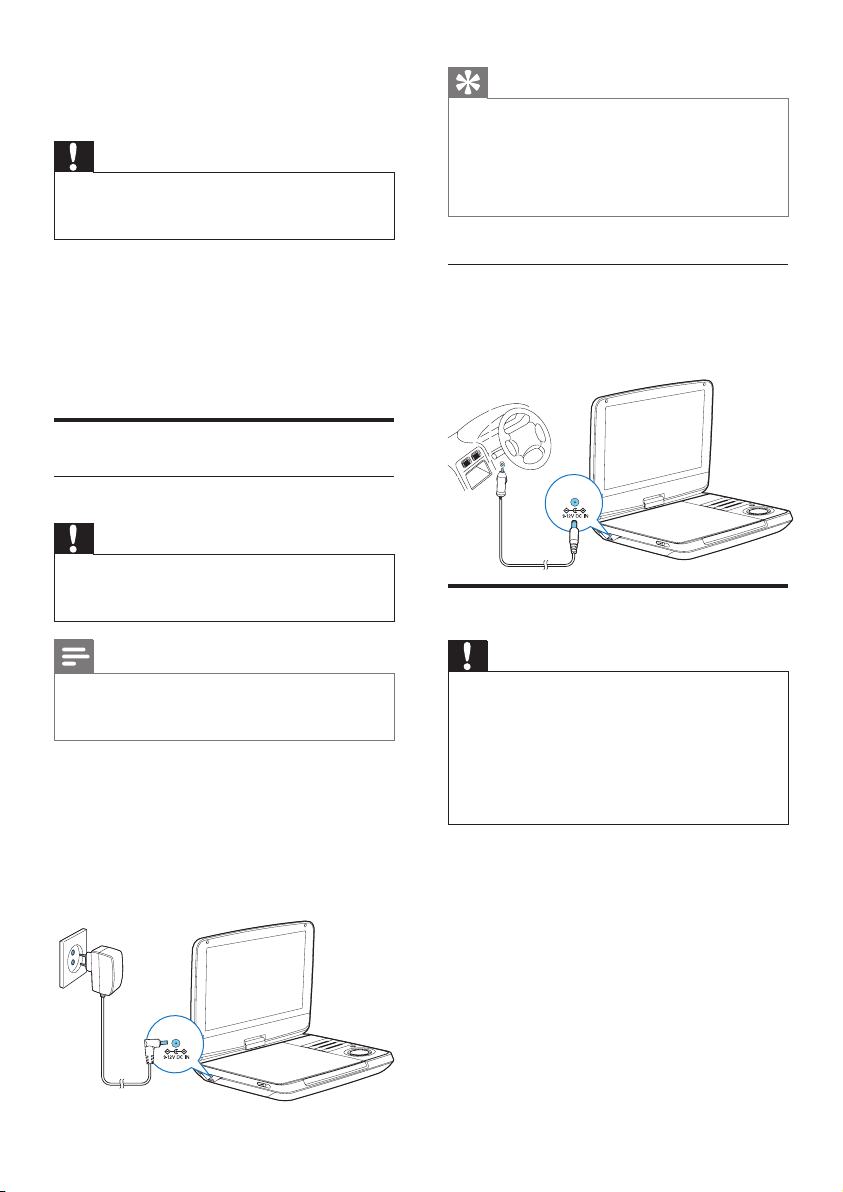
Charge through car adaptor
1 Connect the supplied car adaptor to the
player and car cigarette lighter.
Install remote control battery
Caution
• Risk of explosion! Keep batteries away from heat,
sunshineorre.Neverdiscardbatteriesinre.
• Danger of explosion if battery is incorrectly replaced.
Replace only with the same or equivalent type.
• Batteries contain chemical substances, they should be
disposed of properly.
• Perchlorate Material - special handling may apply. See
www.dtsc.ca.gov/hazardouswaste/perchlorate.
Forrst-timeuse:
1 Remove the protective tab to activate the
remote control battery.
To replace the remote control battery:
1 Open the battery compartment.
2 Insert 1 CR2025 battery with correct
polarity (+/-) as indicated.
3 Close the battery compartment.
Loading ...
Loading ...
Loading ...