Loading ...
Loading ...
Loading ...
11
How to Position and Stabilize the Life Fitness Treadmill
Following all Safety Instructions in Section 1.1 and move the treadmill to the location in which it will be used. See
Specifi catons for the dimensions of the product footprint (assembled dimensions).
Safety Clearances
The following information is supplied as regional reference data regarding safety
clearances around the exterior of the treadmill.
EU: The European EN957 Safety Standard requires a 2 meter (6.5 feet)
minimum from the rear of the treadmill to any object or surface.
U.S. and other regions: The ASTM International (ASTM ) F2115 - 05 Standard
recommends the minimum dimensions to be 0.5 meter (1.64 feet) on each
side of the treadmill and 1 meter (3.28 feet) behind the rearward most portion
of the usable moving surface or 2 meters (6.5 feet) behind the furthest rear-
ward obstruction to emergency egress from the treadmill.
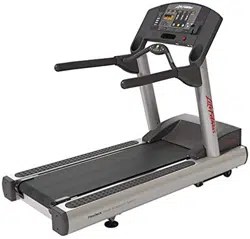
After placing the unit where it will be used, check its stability.
If there is even a slight rocking motion or the unit is not stable,
determine which stabilizing leg is not resting on the fl oor. To
adjust, loosen the JAM NUT (A), and turn the STABILIZING
LEG (B) until the rocking motion ceases, and both stabilizing
legs rest fi rmly on the fl oor. Retighten the JAM NUT.
NOTE: It is extremely important that the stabilizing leg be correctly adjusted for proper operation. An unbalanced unit
may cause striding belt misalignment. A bubble level is recommended to ensure proper leveling.
Turning the Unit On
To turn the treadmill on, locate the ON/OFF power switch located on the front panel at the base of the treadmill. The ON/
OFF switch has two positions: “I” (one) for ON and “0” (zero) for OFF. Switch it to the ON position.
NOTE (INTERNATIONAL UNITS ONLY): Treadmill will go into Energy Saving Mode after 5 minutes of inactivity. To wake
up the console, step on the treadmill belt. The treadmill will automatically wake up and the console will light up. Waking
up the treadmill takes approximately 10 seconds after stepping onto the belt.
Centering the Belt
After installing and levelling the treadmill, check the belt to ensure that it is tracking properly. First, plug the power cord
into an appropriate outlet. See Electrical Requirements at the beginning of this section for details. Then turn the treadmill
ON.
Have one person stand on the platforms on either side of the treadmill frame. Do not stand on the belt at this time. Press
the QUICK START key, and increase the speed to 4.0 miles per hour (mph), or 6.4 kilometers per hour (kph), using the
SPEED UP arrow.
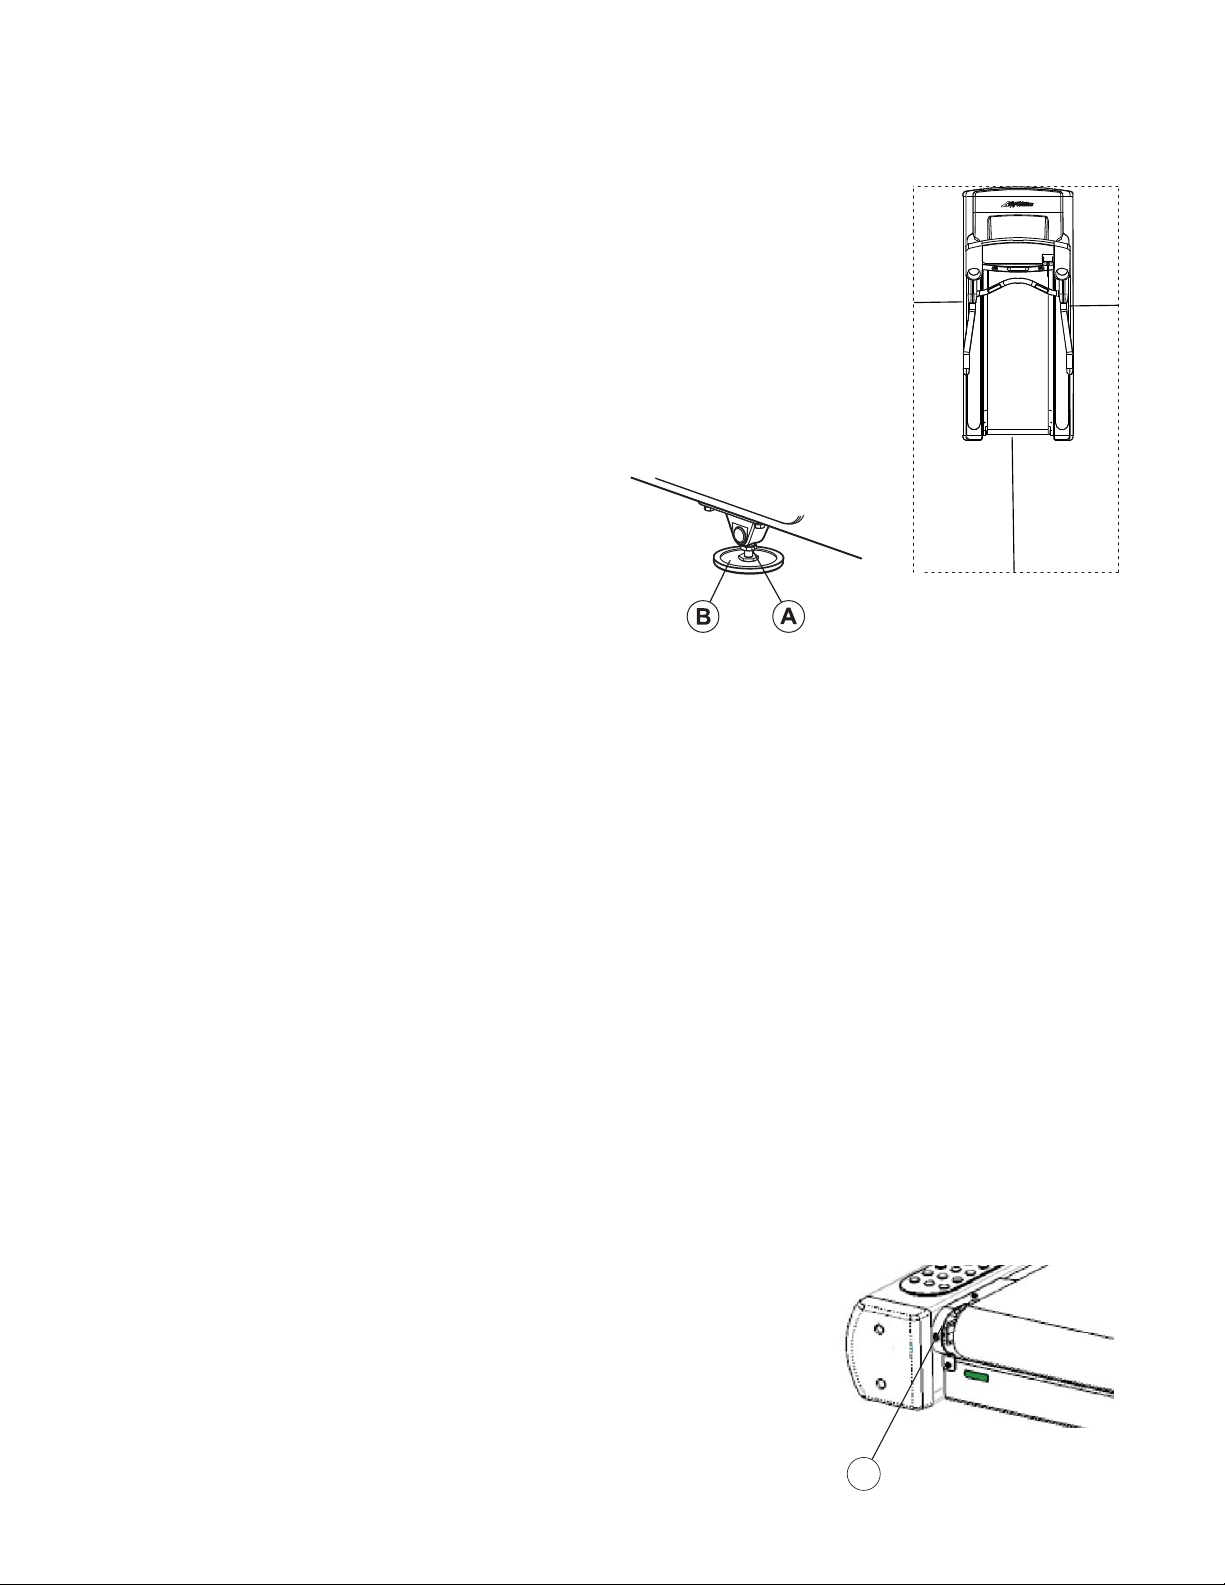
If the striding belt moves to the right while it is running, have a second person turn the right tension bolt a quarter-turn
clockwise, and then turn the left tension bolt (C) a quarter-turn counter-clockwise. See the illustration below. This action
sets the striding belt tracking back to center of the roller.
If the striding belt moves to the left, turn the left tension bolt a quarter-turn clockwise and then turn the right tension bolt
a quarter-turn counter-clockwise to start the striding belt tracking back to center of roller.
Repeat these adjustments until striding belt appears centered. Allow the belt
to continue running for several minutes to be sure that the tracking is stabilized.
NOTE: Do not exceed one full turn of the adjusting screws in either direction.
If, after one full turn, the belt does not track properly, contact Life Fitness
Customer Support Services.
C
6.5 ft.
(2 m)
1.64 ft.
(0.5 m)
1.64 ft.
(0.5 m)
Loading ...
Loading ...
Loading ...