Loading ...
Loading ...
Loading ...
7574
● Printing ●
2
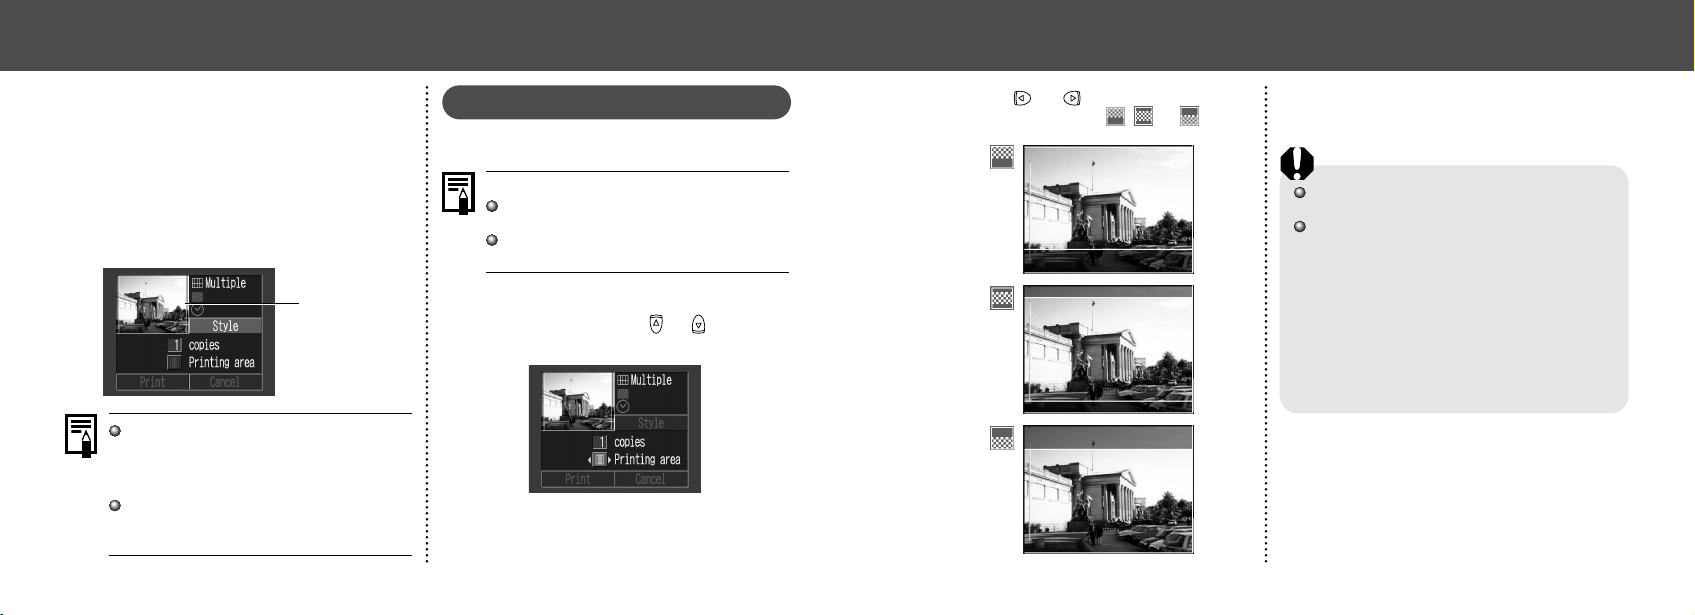
Press or button to select the
printing area from
, or .
• The selectable print area may move left or
right for L size paper or when the screen
setting for the print style is [Multiple].
The printing area setting only applies to one
image.
The printing area setting is cancelled with the
following operations.
• Printing
• When you set the printing area setting for
another image.
• When you close the Print mode, i.e.
- turn the camera off
- change the camera mode
- after setting the printing area, you select
[Cancel] and don’t print
- detach the DIF-100 direct Interface cable
● Printing ●
4
Press the MENU button.
• If [Borderless] or [Multiple] is selected as
the print style, the center portion of the re-
corded image is printed at an enlarged size.
As a result, the top, bottom and sides may
be cropped slightly. The area of the image
that will be printed will appear lighter than
the rest of the image allowing you to check
the portion to be cropped.
Print Area Frame
Date and borders cannot be set when
[Multiple] is selected. (The image will be
printed with the Date set to [Off] and the Bor-
ders set to [Borderless].)
With the [Bordered] option, the border is
printed in practically the same space as the
recorded image.
Specifying the Printing Area
You can select from 3 types of printing areas.
Before specifying the printing area
Please set the Print Style (Image, Borders
and Date) first (p. 72).
Printing area can only be specified with the
borderless and multiple print style.
1
While displaying the image, press the
SET button. Press
or button to
select [Printing area].
Loading ...
Loading ...
Loading ...