Loading ...
Loading ...
Loading ...
! Displaying satellite radio ID of
tuner
When you activate satellite radio, you
should have your satellite radio tuner ID
ready because each tuner is identified by
its unique satellite radio tuner ID.
The satellite radio ID will be needed when
you activate satellite radio and receive
satellite radio customer support.
The satellite radio ID can be found on the
audio display by tuning the channel to “0”.
Turn the “TUNE/TRACK” button (4) to
select the satellite radio channel.
! Band selection button
Push the “SAT” button (1) when the radio
is off to turn on the radio.
Push the “ SAT” button when the radio is
on to select SAT1, SAT2 or SAT3 recep-
tion.
! Channel selection
Press “
” of the “TUNE TRACK” button
(4) to select the next channel and press
“
” of the button to select the previous
channel.
Keep pressing “
” of the but ton to
change to the next channel continuously
and keep pressing “
” of the button to
change to the previous channel continu-
ously.
! Category selection
Press “
” or “ ” of the “SEEK FLDR”
button (7) to display the current category.
Press “
” again to select the next
category, and press “
” again to select
the previous category.
! Channel scan
Press the “SCAN” button (8) to change the
radio to the SCAN mode. In this mode, the
radio scans through the channels until a
station is found. The radio will stop at the
station for 5 seconds while displaying the
channel number, after which scanning will
continue until the entire channel has been
scanned from the low end to the high end.
Also during the category selection, chan-
nel scan can be performed in that cate-
gory.
Press the “SCAN” button again to cancel
the SCAN mode and to stop on any
displayed channel.
! Selecting preset channels
Presetting a channel with a preset button
(10) allows you to select that channel in a
single operation. Up to six, SAT1, SAT2
and SAT3 channels each may be preset.
! How to preset channels
1. Press the “SAT” button (1) to select
SAT1, SAT2 and SAT3 reception.
2. Press the “SCAN” button (8) or the
“TUNE TRACK” button (4) to select the
channel.
3. Press and hold one of the pre set
buttons (10) to store the channel. If the
button is pressed briefly, the preceding
selection will remain in memory.
NOTE
If the connection between the radio and
battery is broken for any reason such
as vehicle maintenance or radio re-
moval, all channels stored in the preset
buttons are cleared. If this occurs, it is
necessary to reset the preset buttons.
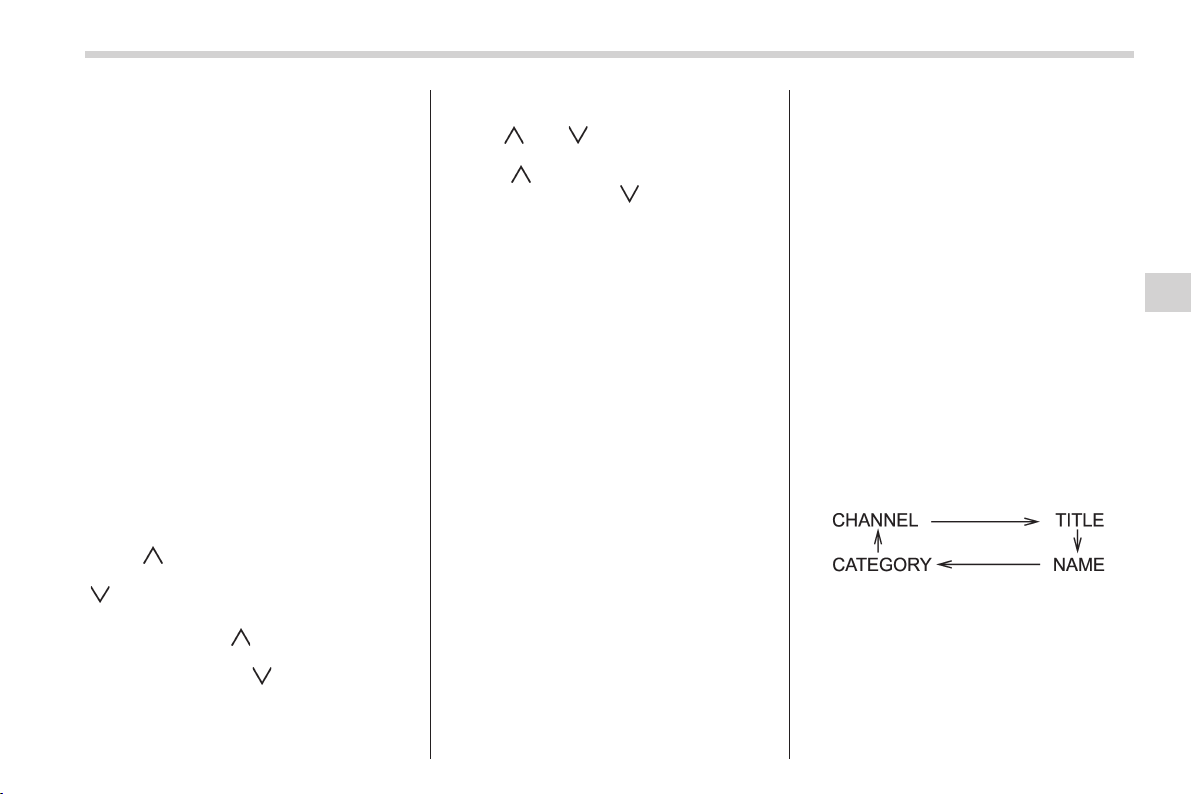
! Display selection
Press the “AUDIO” button (5) while receiv-
ing satellite radio to change the display as
follows.
! Rear seat entertainment
If your vehicle is equipped with a Rear
Seat Entertainment System, you can
enjoy audio outputs from the system
through the vehicle’s speakers by press-
ing the “RSE AUX” button (3). Press the
button again to return to the audio set
Audio/Type B audio set
5-19
– CONTINUED –
Loading ...
Loading ...
Loading ...