Loading ...
Loading ...
Loading ...
14
ASSEMBLING AND PREPARING
ENGLISH
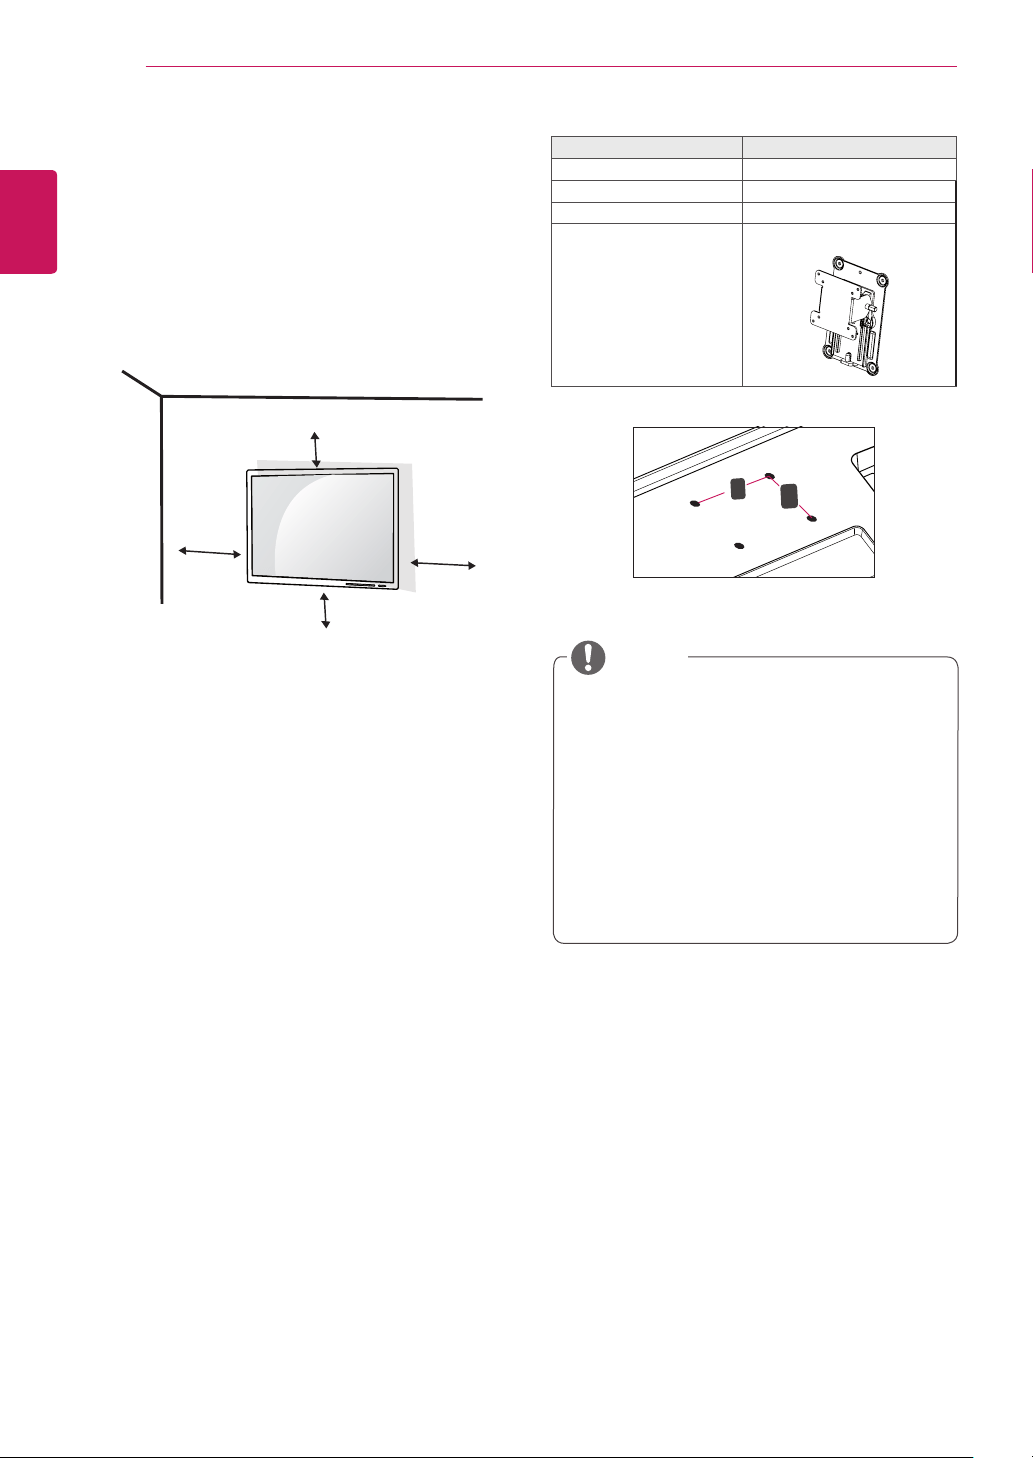
Installing on the Wall
Install the monitor at least 10 cm (3.9 inch) away
from the wall and leave about 10 cm (3.9 inch)
of space at each side of the monitor to ensure
sufficient ventilation. Detailed installation instruc-
tions can be obtained from your local retail store.
Alternatively, please refer to the manual for how to
install and set up a tilting wall mounting bracket.
10 cm (3.9 inch)
10 cm
10 cm
10 cm
To install the monitor to a wall, attach a wall mount-
ing bracket (optional) to the back of the monitor.
Make sure that the wall mounting bracket is se-
curely fixed to the monitor and to the wall.
1
If you use screws longer than the standard
length, it may damage the inside of the prod-
uct.
2
A non-VESA standard screw may damage the
product and cause the monitor to fall. LG Elec-
tronics is not liable for any accidents relating to
the use of non-standard screws.
Model 34UM64
Wall Mount (A x B) 100 x 100
Stand Screw M4 x L10
Required Screws 4
Wall Mount Plate
(Optional)
RW120
y
Wall Mount (A x B)
A
B
y
Use the screws specified by VESA standards.
y
The wall mount kit includes the installation guide
and all necessary parts.
y
The wall mounting bracket is optional. You can
obtain optional accessories from your local dealer.
y
The length of the screw may differ for each wall
mounting bracket. Be sure to use the proper
length.
y
For more information, please refer to the owner's
manual for the wall mounting bracket.
NOTE
Loading ...
Loading ...
Loading ...