Loading ...
Loading ...
Loading ...
You can use a flat surface such as a wall as a screen to view recorded images using the
built-in projector.
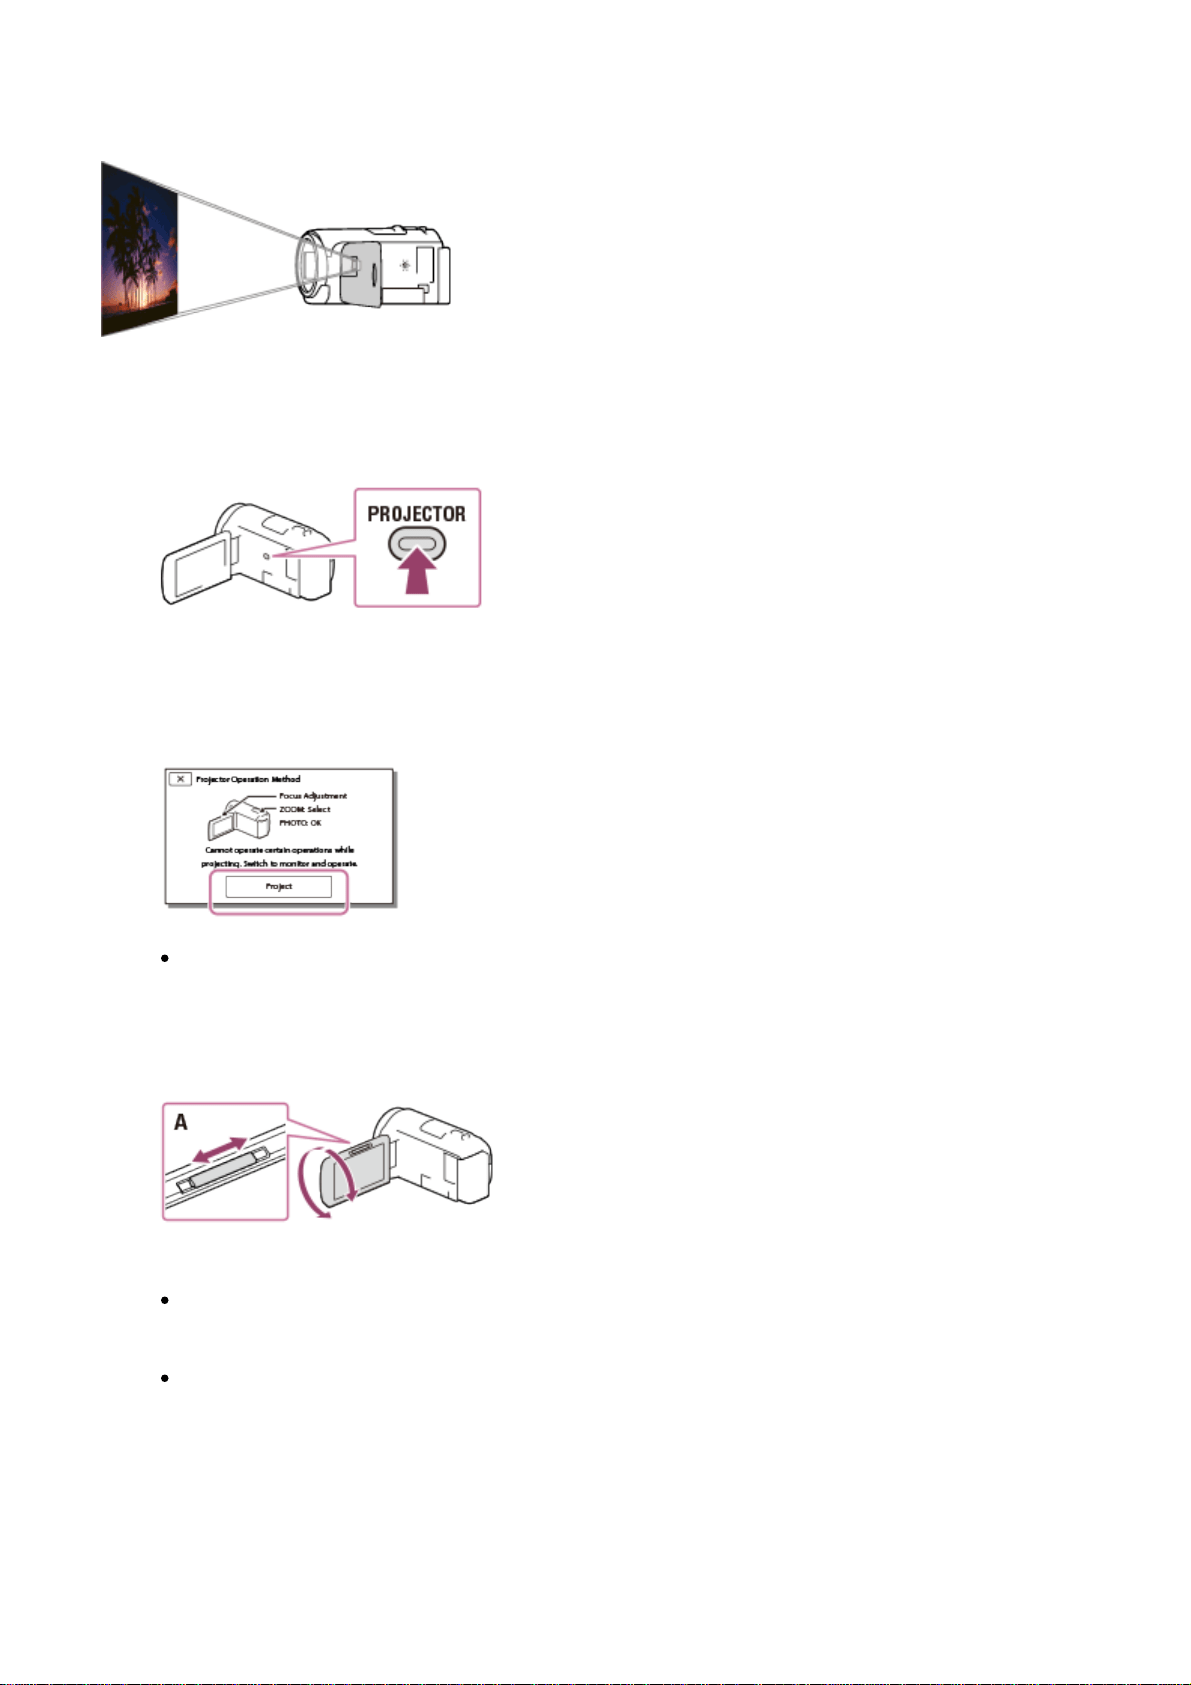
1. Face the projector lens towards a surface, such as a wall, and then press
PROJECTOR.
2. Select [Image Shot on This Device] on the LCD monitor.
3. Select [Project] on the LCD monitor.
This screen appears the first time you use the built-in projector after this product is
turned on.
4. Adjust the focus of the projected image using the PROJECTOR FOCUS lever.
A: PROJECTOR FOCUS lever
The projected image is larger when the distance between this product and the
reflecting surface increase.
It is recommended that you place this product further than 0.5 m (1.6 feet) away
(approximate distance) from the surface that the images are to be projected onto.
5. Use the power zoom lever to move the selection frame that appears on the projection
screen, and then press the PHOTO button.
Loading ...
Loading ...
Loading ...