User Manual Double Electric Breast Pump
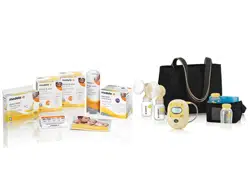
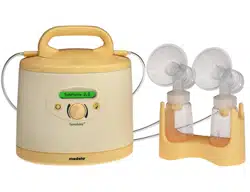
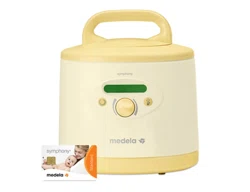
Product description / parts
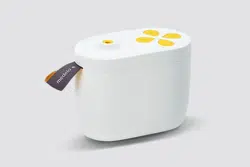
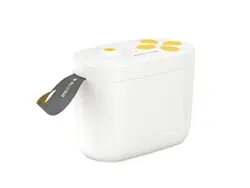
Product description
This breast pump is a personal-use electric breast pump that includes 2-Phase Expression® technology and is capable of single and double pumping.
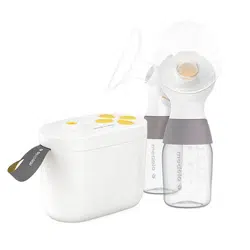
Breast pump system parts
Not all parts listed are included with every Pump in Style ® model. Refer to page 10 for a complete list.


Cleaning
It’s important you do the following before using your breast pump for the first time: Disassemble all parts & clean using your breast pump cleaning instructions.
Supplies needed:
- Mild dish soap
- Clean wash basin
- Drinking-quality water
- Clean pot for boiling water
Parts to wash or sanitize:
- Breast shields
- Breast milk bottles and lids
- Connector bodies
- Connector caps
- Membranes
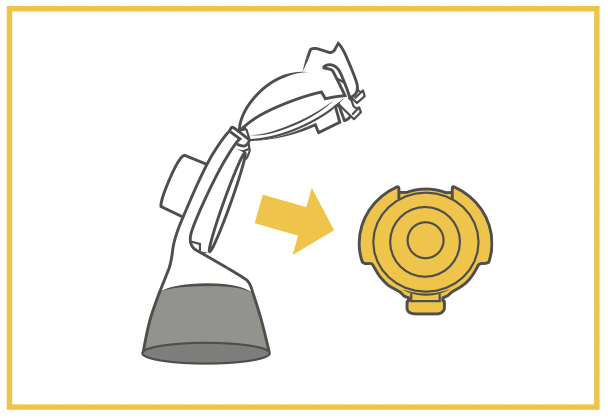
How to take apart
After each use
Disassemble the individual parts (breast shield, connector and breast milk bottle) as follows:
- Remove the breast shield from the connector.

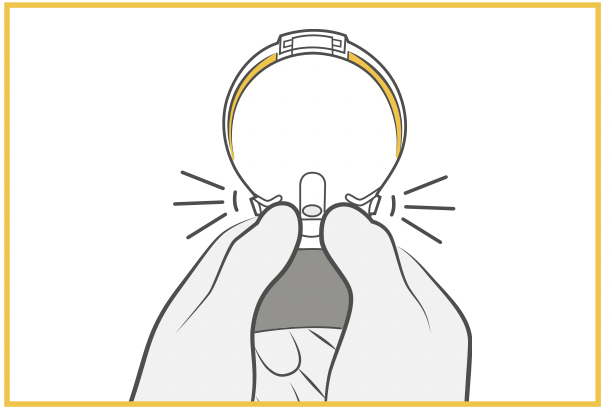
- Open the back cap of the connector by squeezing both flaps and swiveling the cap upwards.

- Remove the membrane from the connector body.
- Separate the breast milk bottles and lids.
How to wash (before first use and after each use)
Washing is important for hygiene and serves to clean the surfaces of the parts by physically removing contamination. Wash the parts either by hand or in a dishwasher.
Washing in a dedicated basin

Do not place the parts directly in the kitchen sink for rinsing and washing. Use a dedicated wash basin for infant feeding items.
- Rinse the disassembled parts, except for the tubing, with cold, clear drinking-quality water.
- Soak with warm soapy water for 5 minutes and wash with a clean, unused dish cloth. Use a commercially available dish soap, preferably without artificial fragrances and coloring (pH neutral).
- Rinse the parts with cold, clear drinking-quality water.
- Store dry parts when not in use. Do NOT store wet or damp parts.
Wash in dishwasher
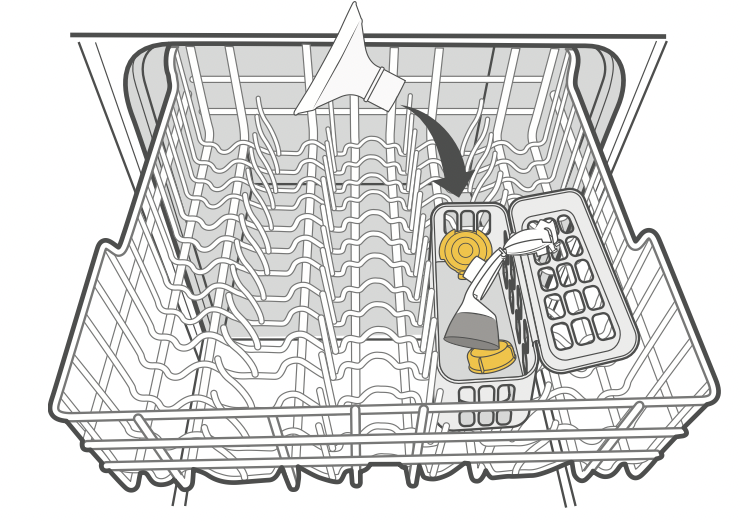
- Place the disassembled parts, except for the tubing, on the top rack or in the cutlery section. Use a commercially available dishwashing detergent.
- Store dry parts when not in use. Do NOT store wet or damp parts.
Useful information: If using the dishwasher, parts may become discolored. This will not impact the function of the parts.
How to sanitize (before first use and once per day)
Sanitizing is important for hygiene and serves to kill living organisms, such as bacteria or viruses. Boil the parts either on the stovetop or use Quick Clean ™ microwave bags.
Sanitize by boiling
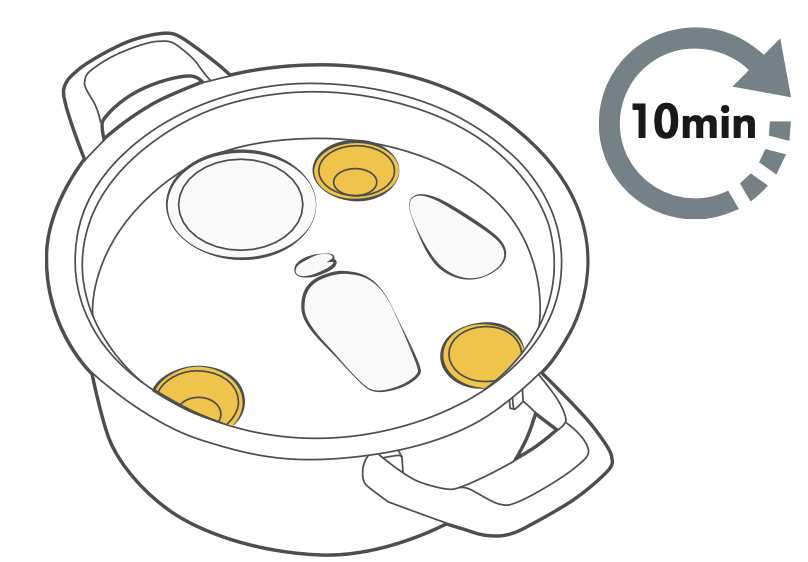
- Cover the disassembled parts, except for the tubing, with water and boil for 10 minutes.
- Allow water to cool and gently remove parts from water with tongs.
- Place parts on a clean surface and / or towel and allow parts to air dry.
- Store dry parts when not in use. Do NOT store wet or damp parts.
Sanitize in the microwave
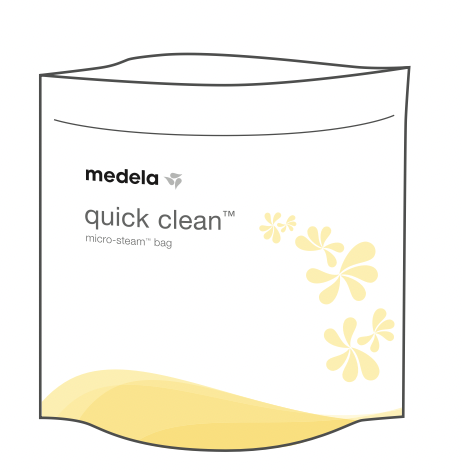
- Use Quick Clean* bags in the microwave in accordance with the instructions on the bags. (sold separately)
- Place parts on a clean surface and / or towel and allow parts to air dry.
- Store dry parts when not in use. Do NOT store wet or damp parts.
Do NOT clean tubing in a micro-steam bag.
* Refer to local website/shops for availability in your country.
Cleaning the breast pump (as needed)
Supplies needed:
- Clean cloth and towel
- Drinking-quality water
Parts needed:

- Turn the breast pump off.
- Unplug the breast pump from the power source.
- Wipe the breast pump with a clean, damp cloth and dry with a clean towel.
Cleaning the tubing
Normally, cleaning of the tubing is not necessary. Only if condensation is present is it necessary to wash the tubing as described in these instructions.
Supplies needed:
- Drinking-quality water
- Mild dish soap
Parts needed:
Useful information
- Inspect the tubing. If you find condensation in the air tube, wash and dry it immediately or replace the tubing. If you see breast milk in the tubing do not attempt to wash or clean the tubing. Instead contact Medela Customer Service.
Washing the tubing
- Rinse the tubing by pouring cool water into both short tubing ends until it flows out of the long tubing end.
- Wash the tubing in warm, soapy water.
- Rinse the tubing with clear water.
Drying the tubing
- Shake out any water droplets.
- Hang the tubing to air dry.
- Make sure that the tubing is completely dry before using it.
Putting together your breast pump kit
Parts needed:
- Breast pump
- Tubing
- Breast shields
- Breast milk bottles and lids
- Connector bodies
- Connector caps
- Membranes
NOTICE: Can lead to material damage.
To prevent damage to the breast pump all components must be completely dry before use.
- Wash hands thoroughly.
- Carefully insert the (dark yellow) membrane with the flap into the opening of the connector.
Make sure that the membrane forms a seal around the edge of the connector.
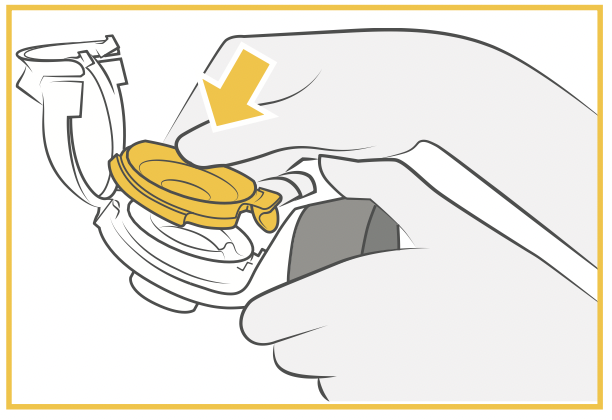
- Close the lid of the connector until you hear a click.
- Screw the connector onto the bottle.
- Carefully push the breast shield into the connector body.
Choose a breast shield size that suits your needs.
For proper sizing see MedelaBreastShields.com (U.S.) or Medela.ca/BreastShields (Canada).
- The oval breast shields can be rotated (360°) and placed in the desired position to have the most comfortable fit for you.

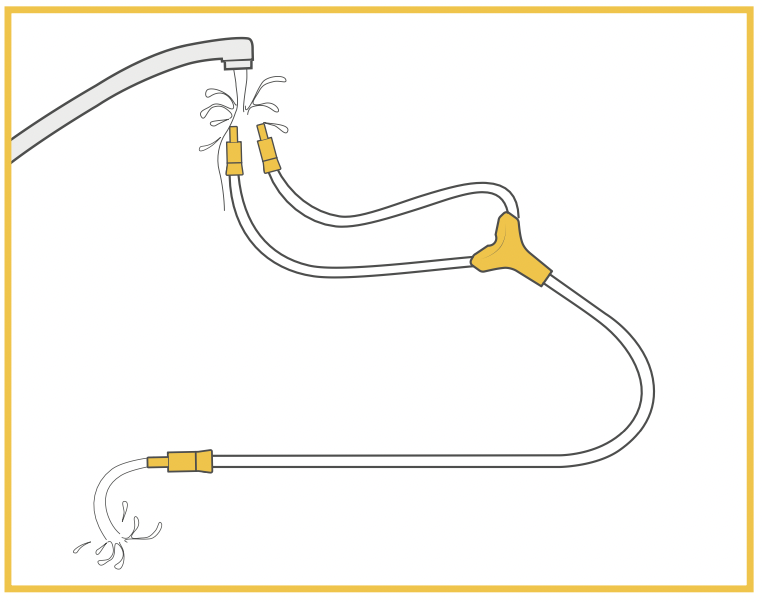
- Insert one of the short ends of the tubing into the opening of the connector lid.
- Insert the long end of the tubing into the breast pump as far as it will go.
How to single pump
- Insert the unused tubing end into the tubing holder.
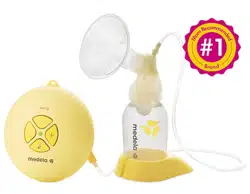
Correctly assembled system (for single pumping).
How to double pump
- Assemble the second breast pump kit, see page 16.
Correctly assembled system (for double pumping).

Powering your breast pump
- Power adaptor (included with your breast pump)
- Battery pack (included with some models see section 3 for detailed contents, also sold separately)
a. You will need a total of 8 AA rechargeable batteries or alkaline batteries.
b. Slide off both battery covers. One cover on each side of the battery pack.
c. Place the negative (-) end of the battery against the front of the spring by pushing the battery in and down in one motion until the battery snaps into place. The positive (+) end of the battery should be near the positive sign on the battery pack.

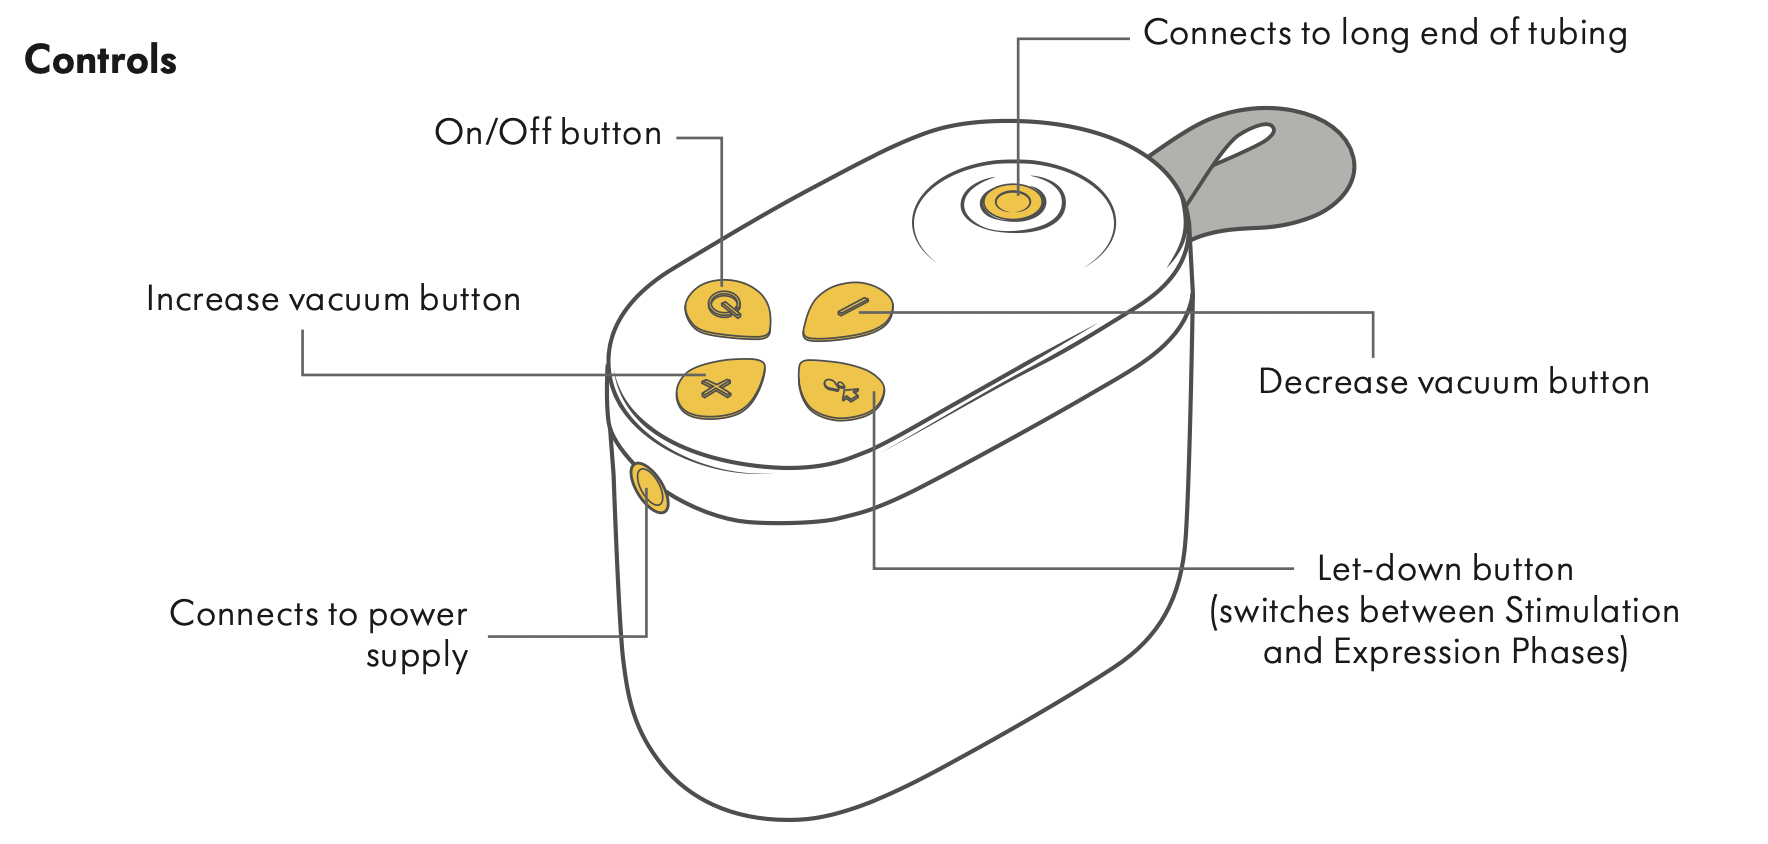
Operating your breast pump
Glossary
2-Phase Expression ® technology – research-based technology that mimics a baby’s natural nursing rhythm.
Stimulation Phase – fast sucking/pumping rhythm to stimulate the milk ejection reflex and to start the milk flowing.
 Let-down – when your milk starts to flow.
Expression Phase – slower sucking/pumping rhythm for gentle and efficient milk removal as quickly as possible.
Maximum Comfort Vacuum ™ – the highest vacuum level where a mother feels comfortable during pumping. It is different for every mother.
Get ready to pump
- Check to see if you are using the correct size breast shield.
- Wash hands thoroughly.
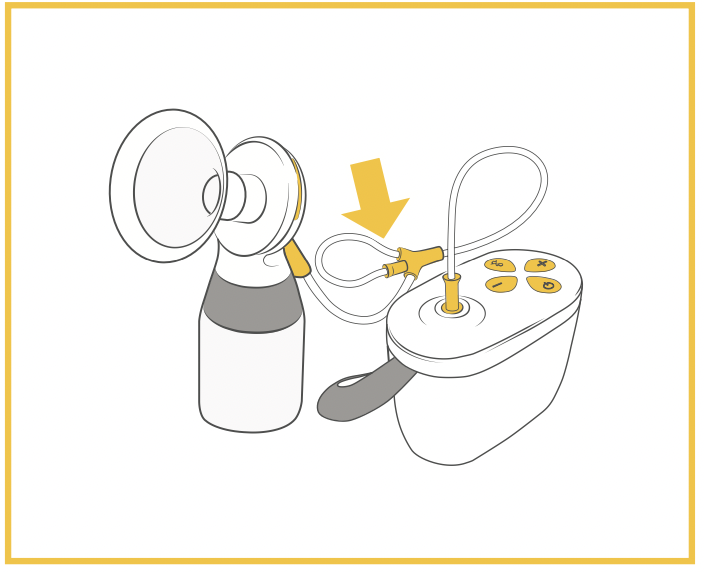
- Connect your assembled breast pump kit to the tubing port on the top of the breast pump.
- Make sure that the breast pump kit is connected and positioned properly.

- Place the breast shield on the breast so that the nipple is properly centered in the tunnel.
- Hold the breast shield and connector onto your breast with your thumb and index finger.
- Support your breast with the palm of your hand.
Expressing your milk
- Press the On/Off button (
 ) to start pumping.
The breast pump begins in the Stimulation Phase.
- Adjust the vacuum by pressing the Increase vacuum ( + ) and Decrease vacuum ( - ) buttons to find your Maximum Comfort Vacuum ™ - see page 21
- If your milk begins to flow, and the pump has not already changed to the Expression Phase, press the Let-down button (
 ). By pressing this button, the pump switches from the Stimulation Phase to the Expression Phase.
Your pump will automatically switch to the Expression Phase after one minute of pumping.
- You may need to adjust the vacuum by pressing the Increase vacuum ( + ) and Decrease vacuum ( - ) buttons to find your Maximum Comfort Vacuum.
- When your pumping session is over, press the On/Off button (
 ) on the breast pump to stop the pump.
After pumping
If you don’t press any buttons for 30 minutes, the pump will shut off on its own.
Prepare your breast milk for storage:
- Use the bottle stand (if available) to prevent the bottle from tipping over.
- For information on storing your breast milk.
- Remove tubing from the connector lid and breast pump.
- Store tubing in clean bag/container.
Do not wrap tubing around the breast pump.
Finding your Maximum Comfort Vacuum™
Maximum Comfort Vacuum is the highest vacuum level where pumping still feels comfortable.
- Once you are pumping in the Expression Phase, increase the vacuum with the ( + ) button until pumping feels slightly uncomfortable (not painful).
- Then decrease the vacuum slightly with one press of the ( - ) button.
Useful information
- Stimulation should be at a comfortable vacuum level, pumping at a level that is too high is not necessary.
- Reassess your Maximum Comfort Vacuum throughout your pumping experience. It can change throughout each stage of lactation.
Troubleshooting
|
Problem
|
Solution
|
|
The breast pump generates no vacuum (motor not working) after you pressed the On/Off button
|
- Make sure that the breast pump is attached to a power source.
- Try using the battery pack If the pump turns on with the battery pack, then you may have a a faulty power adaptor (replace power adaptor).
- If it still doesn’t work, contact Medela Customer Service.
|
|
There is low or no suction
|
- Make sure that all breast pump kit components are clean and dry and that connections are secure.
- Make sure the membranes are placed in the connector caps correctly and the connector caps are shut tightly.
- Make sure the breast pump shields are pushed into the connector caps tightly.
- While pumping, make sure the breast shields form a complete seal around the breast.
- When single pumping, make sure that the unused tubing end is correctly plugged into the tubing holder.
- If suction does not improve, contact Medela Customer Service.
|
|
The breast pump exterior got wet
|
- Unplug the breast pump from the power source and turn off.
- Dry off the outside of the breast pump.
|
|
The breast pump has been submerged in water
|
- Unplug the breast pump from the power source.
- Contact Medela Customer Service.
|