Installation
For best performance at high ambient temperatures, there must be free air
circulation over the cooling unit at the rear of the refrigerator.
Ensure that there is a free air space above the refrigerator and that the flue
(chimney) on top of the cabinet is not covered in any way. Do not place the
refrigerator in a space where air circulation is restricted. Follow “clearance”
instructions.
This free-standing refrigerator requires accessibility to the back for servicing the
gas equipment, which can be obtained by using a certified Flexible Metal
Connector to allow the refrigerator to be withdrawn without disrupting the gas
supply. “Where a flexible metal connector is used, it must comply with local
authorities and in Canada with the provisions of the current Standard CAN 1-
6.10, Metal Connectors For Gas Appliances”. However, if the Local Authorities
require a rigid gas supply connector, the refrigerator should be located with
sufficient space at the back for servicing or, if located against a wall a removable
panel of a minimum size of 16” x 20” should be provided in the wall to allow
access to the rear of the refrigerator. . If you purchased a CM (CO Monitor
model) you must follow instructions in Section 6 - 5.0 onward.
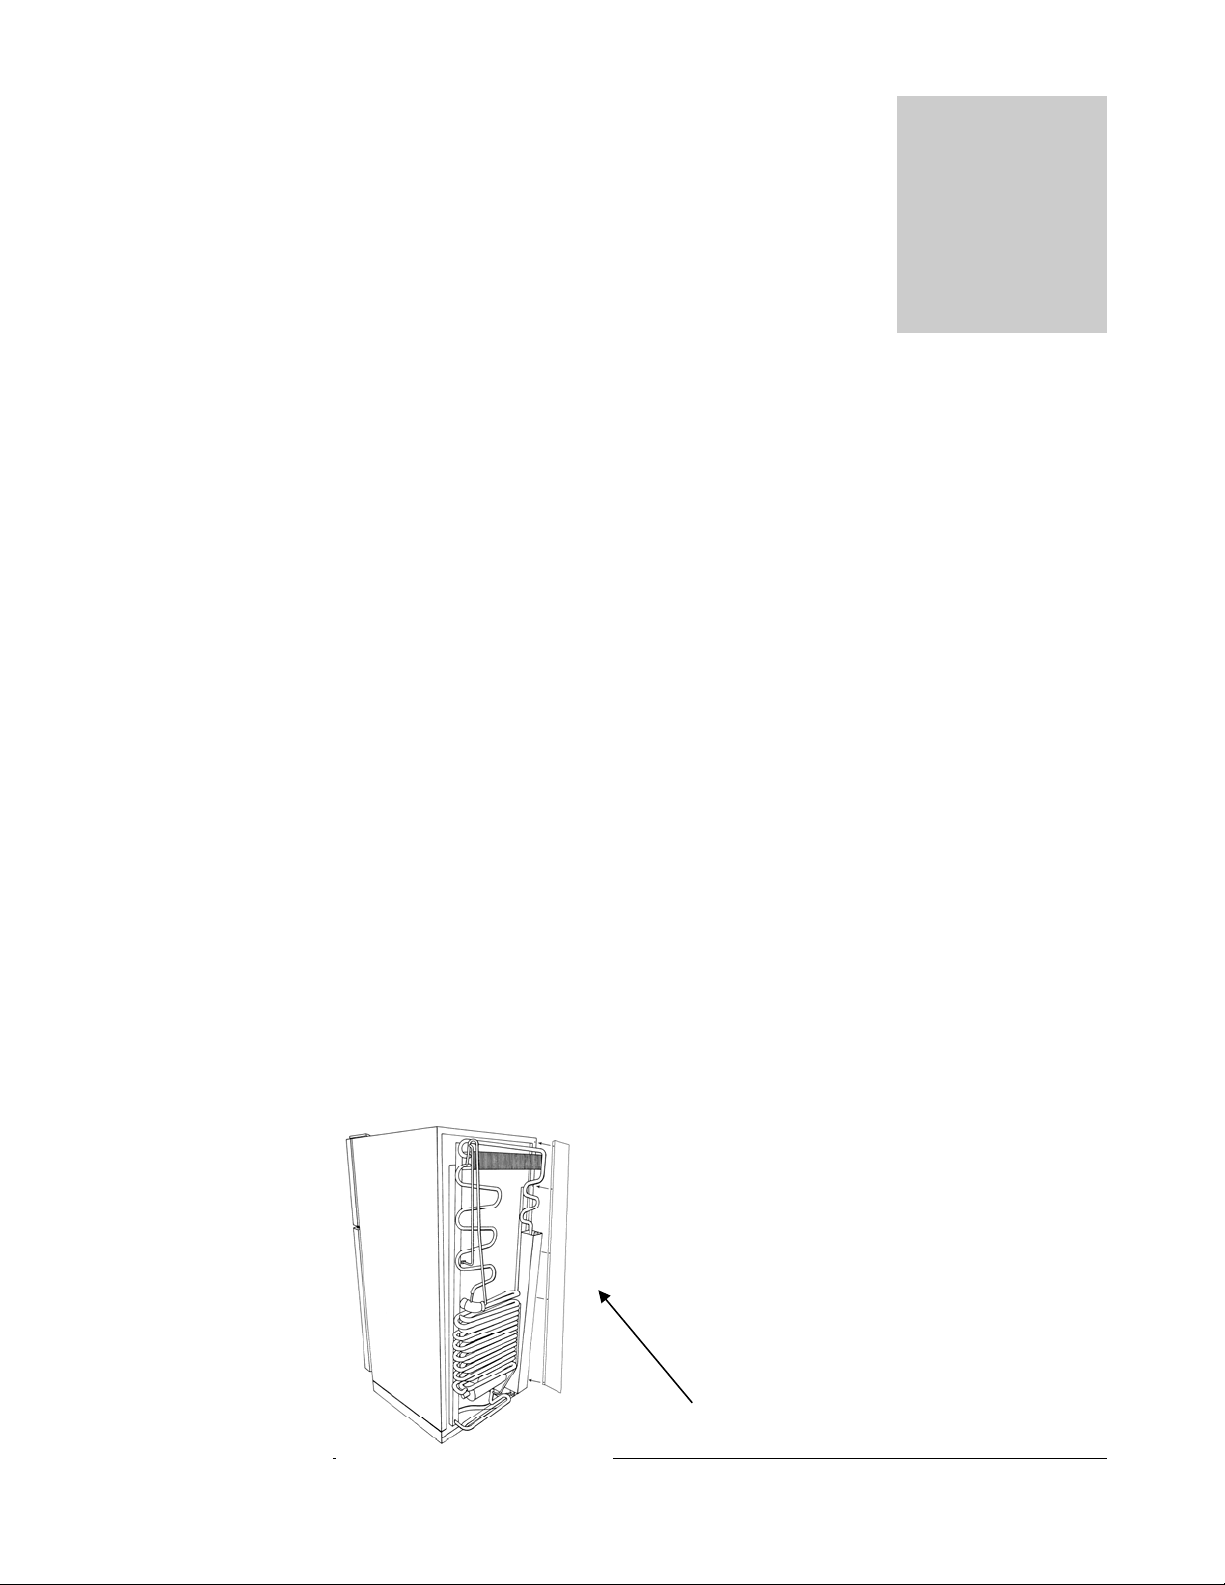
Heat Shield
The heat shield must be installed before operating the
appliance. This is a CSA requirement.
Un-wrap the heat shield (located inside the box along
with the appliance). Mount heat shield with the
screws (supplied) to left side of the fridge. See
diagram.
Chapter
2
Heat Shield
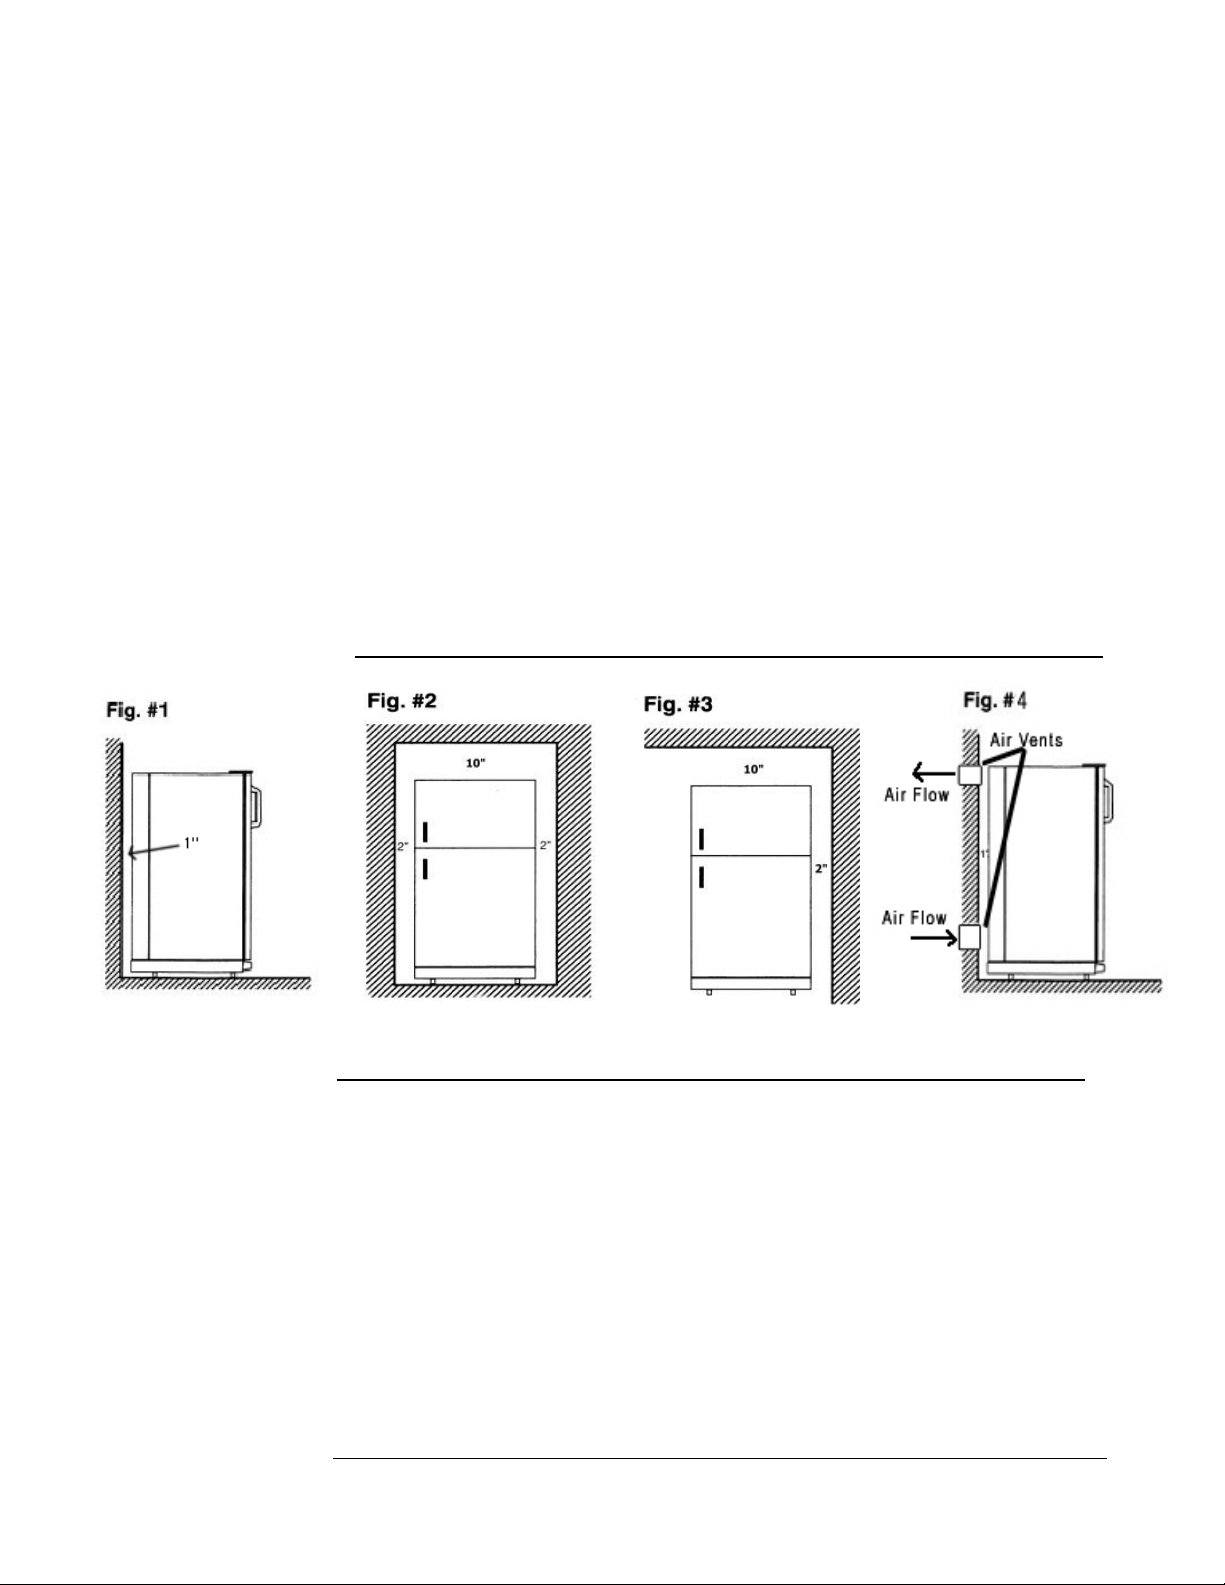
Clearances
Minimum clearances to combustible materials are:
Top – 10”
Sides – 2”
Rear – 1” with left hand side rear sheild mounted
as shown in Figures. 1, 2 & 3.
Note: DO NOT install the appliance directly on carpeting. Carpeting must
be removed or protected by a metal or wood panel beneath the appliance,
which extends at least the full width and depth of the appliance.
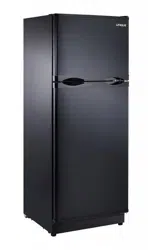
Fig#1 - This is ideal as both top and sides are open
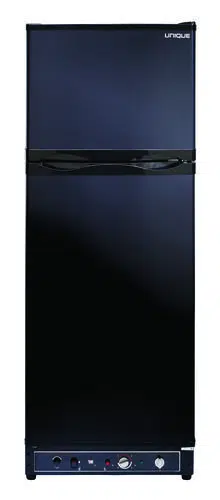
Fig#2 – During hot/humid weather this confined area will become very
warm. To reduce heat build-up, we recommend providing an area for two air
vents to circulate the air. One placed 6” off the floor and the other at or above
the appliance top. Cold air return vents with adjustable louvers, works very
well. This will allow hot air to evacuate the area and assist in air flow across the
fins (similar to air passing across a radiator) – See Fig #4
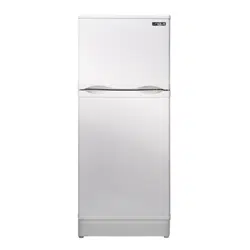
Fig#3 – If this is your opening you only need to stay the diagramed distance
from the wall and ceiling. There is no need for additional venting.
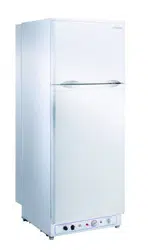
A
ir Flow - to release heat trap
Gas Connection
Hook-up to the gas supply line: 3/8” SAE (UNF 5/8” - 18) male flare connection. A
backup wrench must be used when tightening gas supply fitting. All completed
connections should be checked for leaks with a non-corrosive leak detector and/or
soap and water for a bubble check..
WARNING – DO NOT USE FLAME TO CHECK FOR GAS
LEAKS
The gas supply system must incorporate a pressure regulator to maintain a supply
pressure of not more than 12” water column and no less than 11” water column. (max
setting)
Make sure the refrigerator and any other high BTU appliances on your line are turned
on when checking the gas pressure. The appliance and its individual shut-off valve
must be disconnected from the gas supply piping system during any pressure testing of
that system at pressures in excess of ½” psig.
In case detailed instructions on the installation and connection of the gas supply are
required, contact your dealer or distributor.
Leveling
Ensure the fridge is level by using a 2ft level. This is accomplished by adjusting
the feet at the front, underneath the fridge.