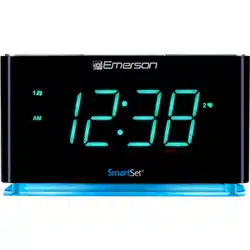
Emerson ER100301 SmartSet Alarm Clock Radio with Bluetooth Speaker, Night Light and USB Charging Port
Product's Documents
Below are documents related to this product, you can read online or download:
- Owner's manual - (English) Read Online | Download pdf

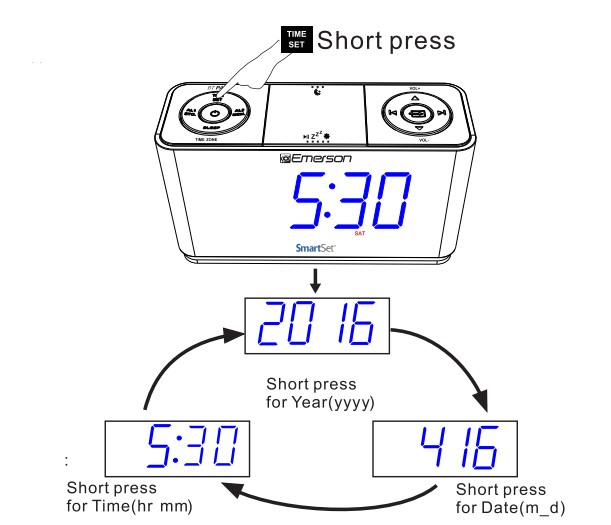
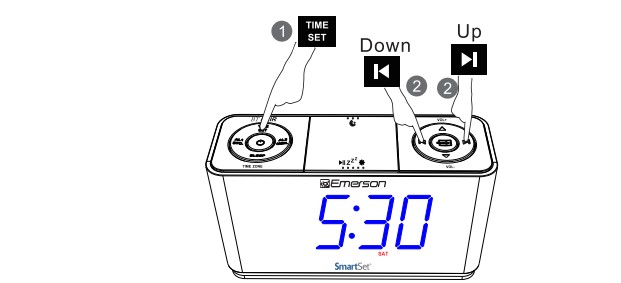
 Year
Year Date
Date  ” or “
 ” to adjust Year