Loading ...
Loading ...
CONTENTS
Important Safeguards................. 2
Parts and Features................... 3
Before the First Use .................. 3
Assembly Instructions .................4
Operating Instructions ................ 4
Cleaning and Care ................... 4
Storage............................ 5
Tips to Make Perfect Waffles............5
Warranty ........................... 5
Cooking Chart ...................... 7
Recipes.............................7
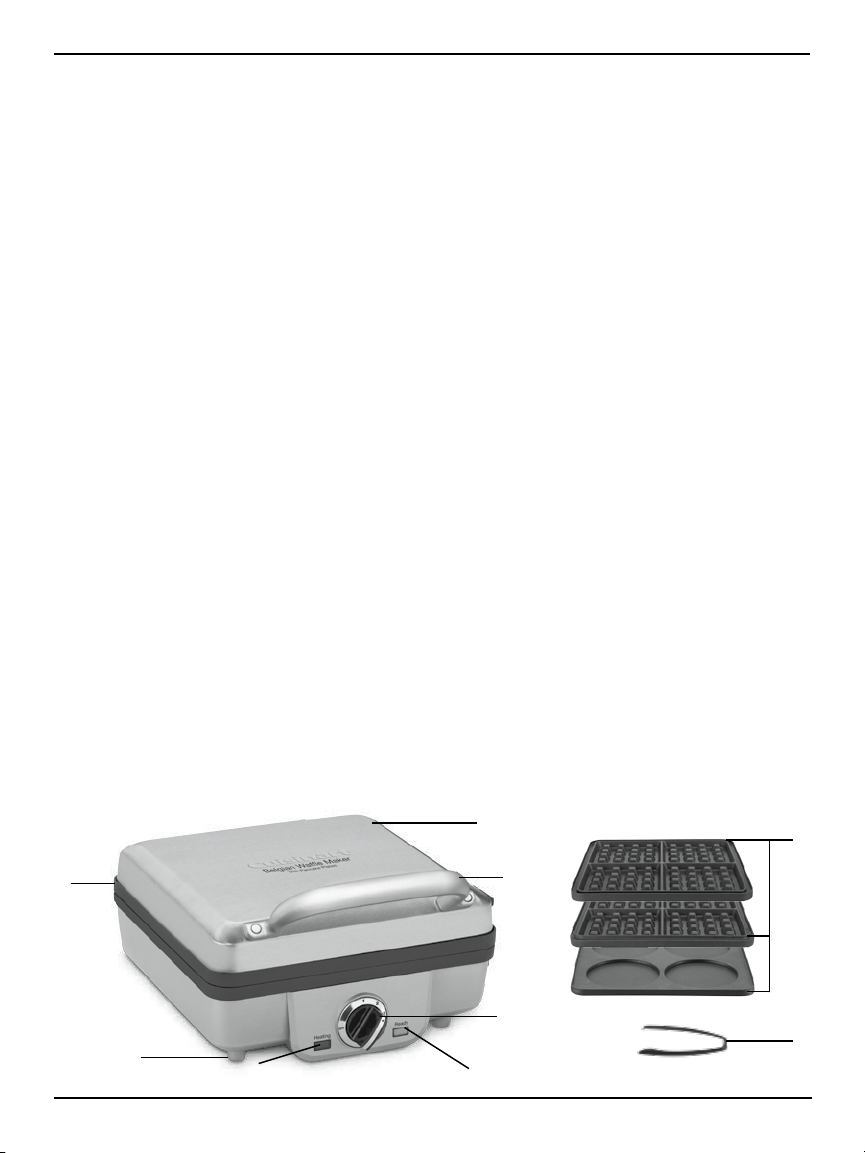
PARTS AND FEATURES
1. Housing – Elegant brushed stainless
steel with embossed Cuisinart logo.
2. Lid Handle – Durable, easy-lift handle that
stays cool to the touch.
3. Nonstick Removable
Dishwasher-Safe Plates –
• Waffle: One set of 4-slice Belgian waffle
plates.
• Pancake: One 4-slot pancake plate.
4. Temperature Knob – Six adjustable settings.
5. Indicator Lights – Red indicator light signals
power ON; green indicator light signals when
ready to cook and when ready to eat.
6. Audible Signal (not shown) – Signals when
ready to cook and when waffles are cooked
and ready to eat.
7. Cord Storage (not shown) – Cord wraps
around the back of the unit. Unit stands
upright for compact storage.
8. Rubber Feet – Feet keep unit steady and
won’t mark countertop.
9. Tongs – for flipping and easy removal of
cooked foods.
10. BPA Free (not shown)– All materials that
come in contact with food are BPA free.
BEFORE THE FIRST USE
Remove all packaging and any promotional labels
or stickers from your unit. Be sure that all parts
(listed above, Parts and Features) have been
included before discarding any packaging materi-
als. You may want to keep the box and packing
materials for use at a later date.
Before using your Cuisinart
®
Breakfast Central
™
for the first time, wipe housing and plates with a
damp cloth to remove any dust from the ware-
house or shipping.
Note: The Cuisinart
®
Breakfast Central™ plates
have been treated with a special nonstick coat-
ing. Before the first use, we suggest you season
the grids with cooking spray or flavorless veg-
etable oil. If using oil, apply oil with a paper towel
or pastry brush. You may find it helpful to repeat
this process before each use.
3
1
2
3
9
4
5 5
3
8
Loading ...
Loading ...
Loading ...