Loading ...
Loading ...
Loading ...
5. Operating Your Grill (cont.)
12
5.3 Installing the gas cylinder
(The propane gas cylinder is not provided with
the appliance.)
A gas cylinder complying with the requirements listed in
section 5.2 must be obtained before the grill can operate.
Connect the LP cylinder to the grill outdoors only.
Read and follow all direction on the cylinder.
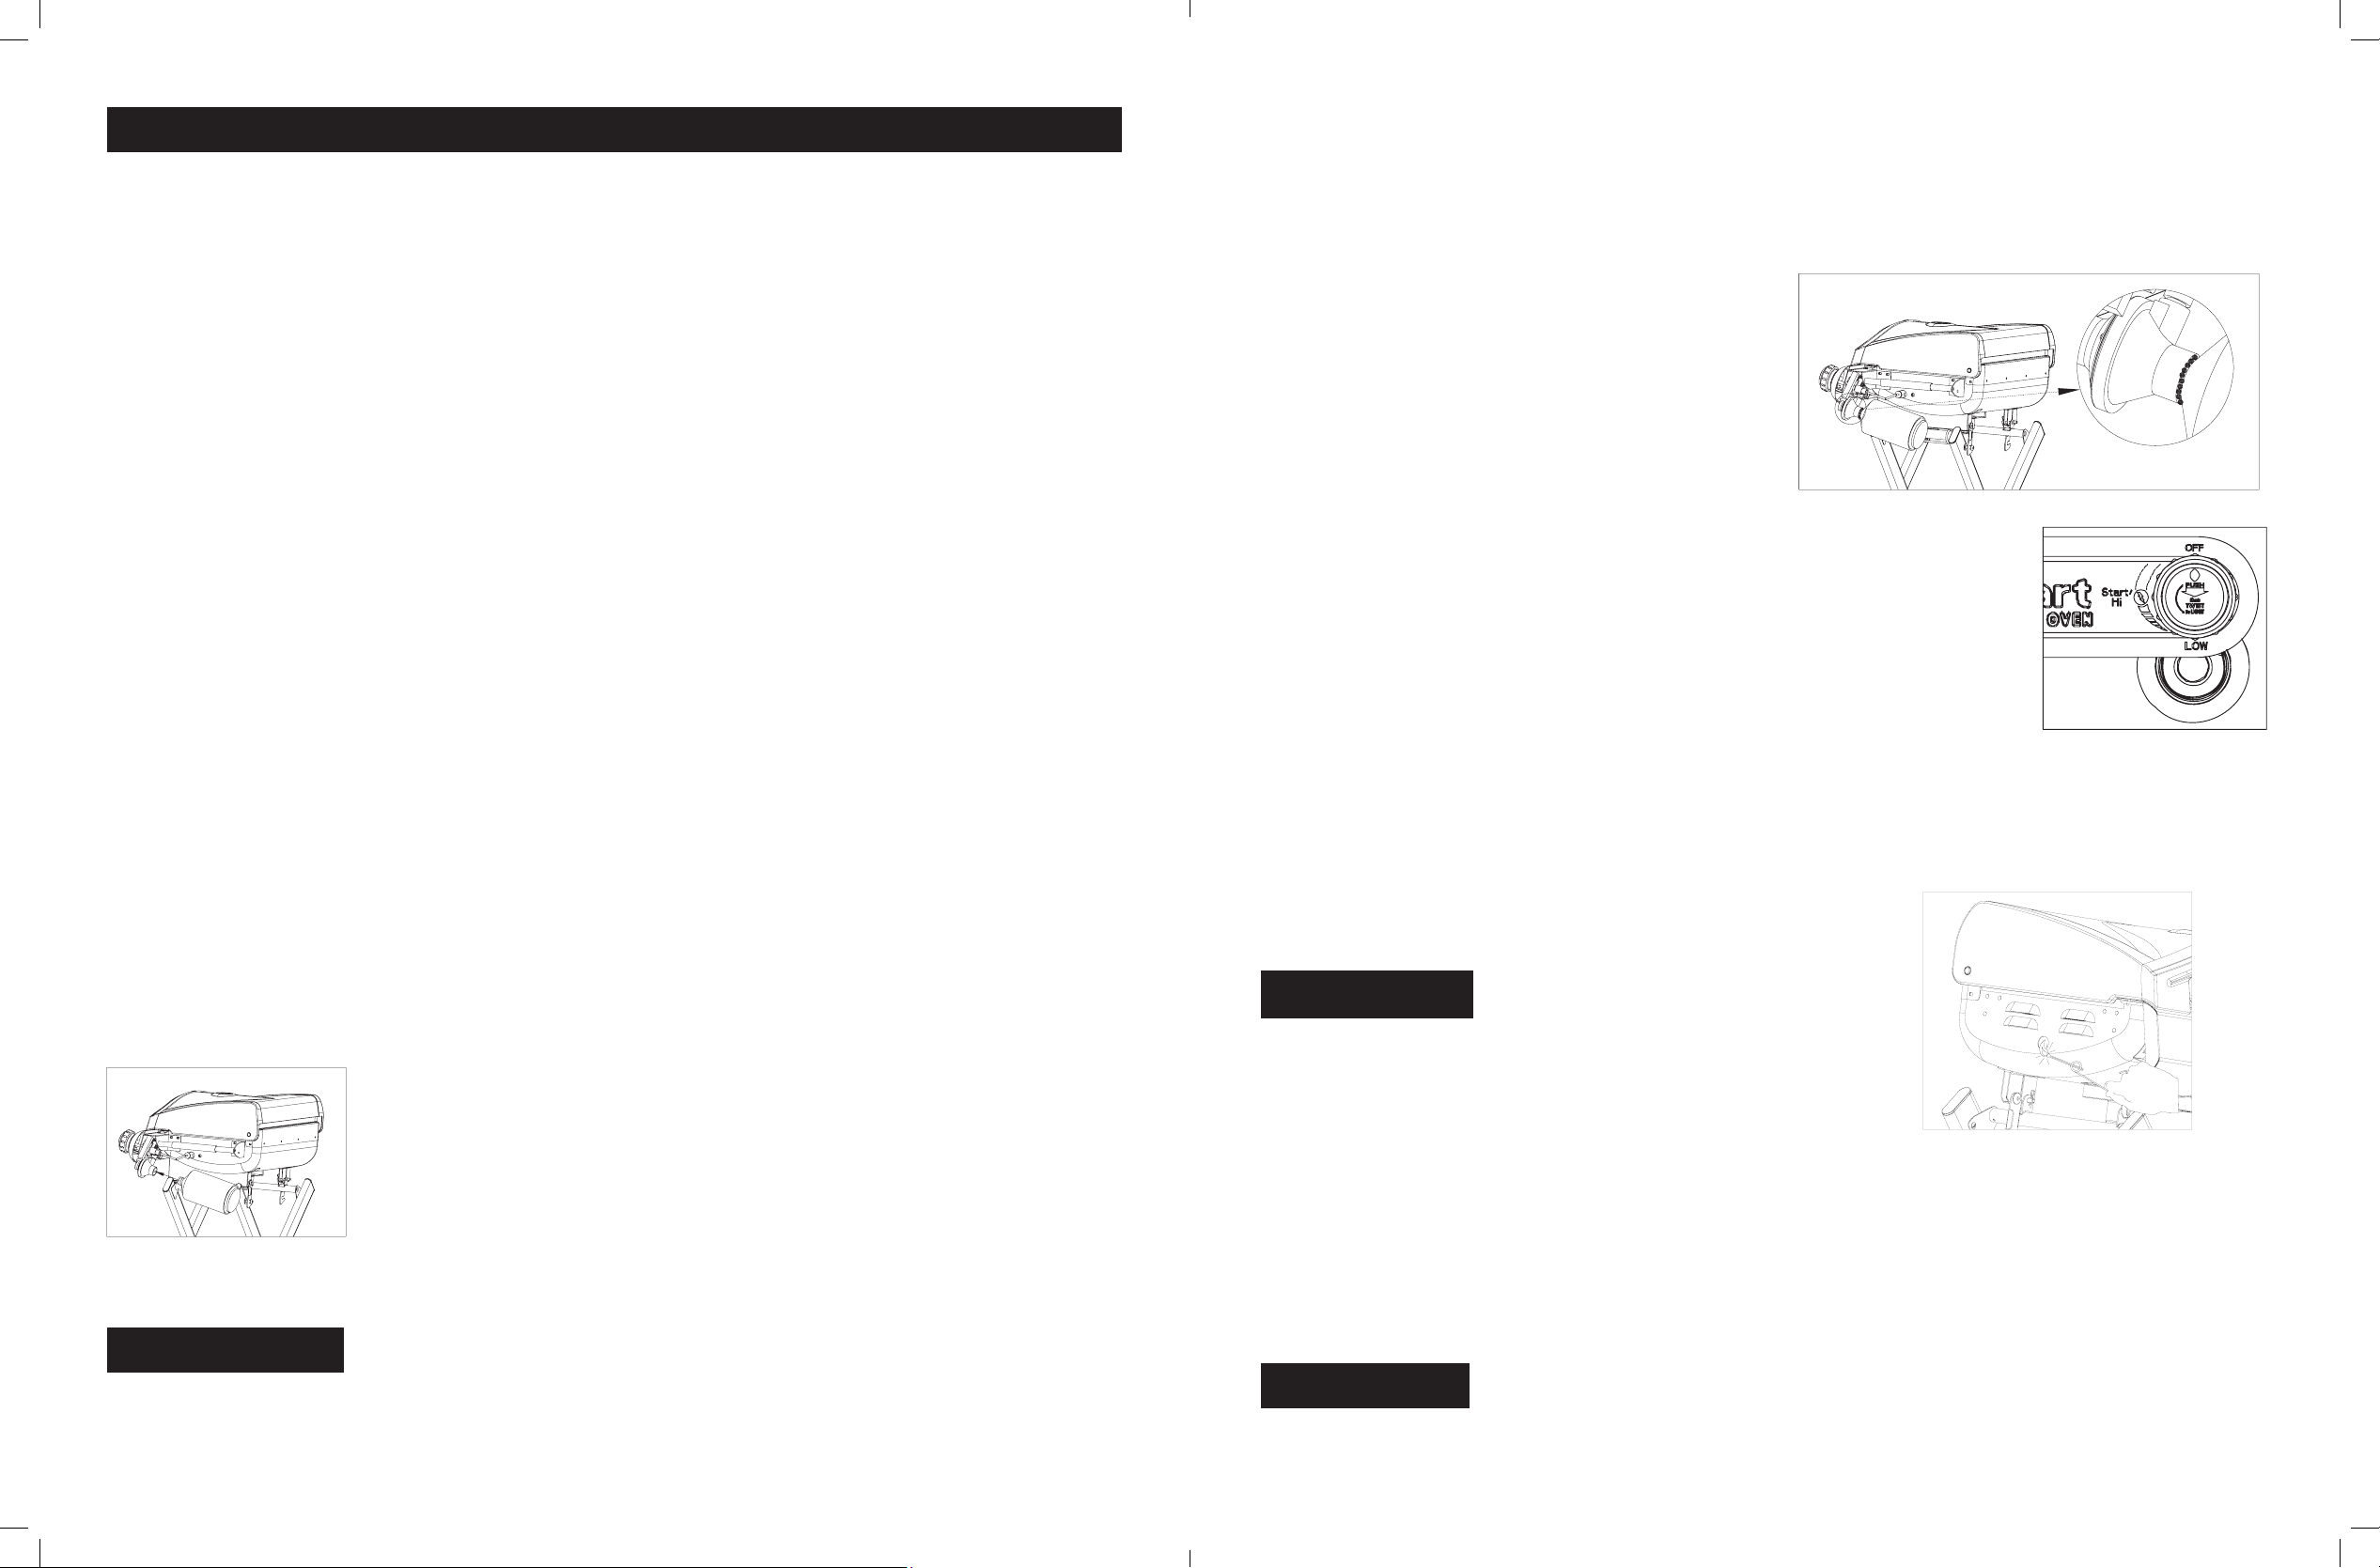
1. Turn the burner control
knob to “OFF” position.
2. Remove the protective
caps from the cylinder
valve and coupling nut, if
present.
3. Open grill lid and remove right side table for easier ac-
cess to regulator assembly.
4. Grasp the grill handle nearest to the regulator with one
hand, and with the other hand push the cylinder into the
threaded regulator connector and turn clockwise until
tight.
5. TIGHTEN BY HAND ONLY. Do not use tools.
REMOVAL OF THE GAS CYLINDER
1. Turn the burner control knob to “OFF” position.
2. Grasp the grill handle nearest to the regulator with one
hand, and turn the cylinder counterclockwise until it
comes off.
5.4 Checking for gas leak
m DANGER
Check gas system for leaks to prevent re or explosion
hazard
1. The “Leak Check” must be performed before lighting the
grill and each time the cylinder is connected for use.
2. Do not smoke or allow other sources of ignition in the
area while conducting a leak test.
3. Conduct the leak test outdoors in a well-ventilated area.
4. Do not use matches, lighters or a ame to check for
leaks.
13
A propane gas cylinder is required for operation. Use
1.00lbs(465g). propane cylinder.
This Cuisinart grill is equipped with a regulator having a
CGA No.600 cylinder connection
1) Only cylinders marked “propane” must be used.
2) The cylinders be disconnected when the appliances is
not in use
3) Do not store a spare LP-gas cylinder under or near this
appliance;
4) Never ll the cylinder beyond 80 percent full; and
5) If the instructions in steps 3 and 4 are not followed
exactly, a re causing death or serious injury may occur.
• Propane cylinder size:D10cmXH20cm, Only cylinders
marked “PROPANE” must be used.
• The propane cylinder must be constructed and marked
in accordance with the specication for LP-Gas cylinders
of the U.S Department of Transportation (D.O.T) or the
National standard of Canada, CAN/CSA-B339,Cylinders,
spheres and Tubes for Transportation of Dangerous
Goods.
• Store spare fuel canisters in a well-ventilated area away
from the grill.
• Do not puncture or burn fuel canister.
• If the grill is not in use, the control knob must be turned
to the “OFF” position to shut off the gas ow from the
cylinder.
REMOVAL OF THE GAS CYLINDER
(please see the 5.3 Installing the gas cylinder) “picture”
1) Turn the burner control knob to “OFF” position.
2) Grasp the grill handle nearest to the regulator with one
hand, and turn the cylinder counterclockwise until it
comes off.
• Do not store a spare propane cylinder under or near this
grill. Never ll the cylinder beyond 80 percent full. If this
instruction is not followed exactly, a re causing death or
serious injury may occur.
• Save the cylinder cap and reinstall when not in use.
• Cylinder supply system must be arranged for vapor
withdrawal. Do not block the pressure relief valve during
use or storage.
• The cylinder be disconnected when the appliance is not
in use.
1) Do not store a spare LP-gas cylinder under or near this
appliance;
2) Never ll the cylinder beyond 80 percent full; and
3) If the instructions in steps 1 and 2 are not followed
exactly, a re causing death or serious injury may occur.
5.5 Lighting instructions
1. Read all instructions before lighting.
2. Open lid during lighting.
3. Make sure the gas control knob is in “OFF” position.
4. Push the gas control knob and quickly turn counter-
clockwise to “Start/High” position. The igniter will click
and light the burner.
5. If ignition does not occur in 5 seconds, turn the gas con-
trol knob off, wait 5 minutes, and repeat step 4.
* Before cooking on this grill for the rst time, operate the
grill for about 15 minutes with the lid closed and the gas
turned on “HIGH”. This will “heat clean” the internal parts
and dissipate odor from the painted nish.
* Clean your grill after
each use. DO NOT use
abrasive or ammable
cleaners, as it will damage
the parts of this product
and may start a re.
If the burner does not light,
turn the gas control knob
off and wait 5 minutes to
let the gas clear before you try again. (Please see the
5.3 Installing the gas cylinder)
5.2 Special Instructions for the Use of Regulator and Propane Cylinder
5. Do not use grill until all leaks have been stopped, if
you are unable to stop a leak, disconnect the propane
supply, and call for gas application service or your local
propane gas supplier.
Leak Check Method
1. Make 2-3 oz. of leak solution by mixing one part liquid
dishwashing soap with three parts water.
2. Make sure control knob is in the “OFF” position.
3. Spray or paint some leak solution on the cylinder and
regulator connection.
4. Inspect the solution at the connections, looking for
bubbles. If no bubbles appear, the connection is secure.
5. If bubbles appear, a leak is detected. Go to step 6.
6. Disconnect the cylinder from the regulator, and reconnect.
Make sure the connection is secure and no leak is found
before using the grill.
7. If you continue to see bubbles, DO NOT USE THE
GRILL. Repeat the above process with a different LP
cylinder. If leaks are still present, contact the customer
service center.
5.6 Match lighting
IMPORTANT!
Manual lighting is only necessary if the normal means of starting the grill are
unsuccessful. A match lighting hole is located on the left side of the rebox.
Dangling from a metal chain is the match lighting tool used to hold the match.
Match lighting instructions:
1. Read all instructions before lighting.
2. Open lid during lighting.
3. Make sure the gas control knob is in “OFF” position.
4. Clip long wooden match into coil of “manual lighting tool” and strike the match. Grab the far end of the manual
lighting tool and position the burning match through the match lighting hole in the rebox bottom. Place the ame
near the bottom edge of the burner.
5. Push down and turn the burner control knob counter-clockwise to the high setting.
6. The burner should light. The ame will carry around the burner. Allow grill to pre-heat with the grill lid closed
for 2-3 minutes before cooking.
mCAUTION:
Do not touch any hot grill parts. The outside of the grill bottom especially becomes very hot during use. Use protective
gloves to handle any parts that might become hot during use.
Loading ...
Loading ...