Loading ...
Loading ...
Loading ...
17
ENG
English
CUSTOMIZING SETTINGS
CUSTOMIZING SETTINGS
1
Press the desired button on the bottom of the Monitor set.
2
Change the value of the menu item by pressing the buttons on the bottom of the Monitor set.
To return to the upper menu or set other menu items, use the up arrow ( ) button.
3
Select
EXIT
to leave the OSD menu.
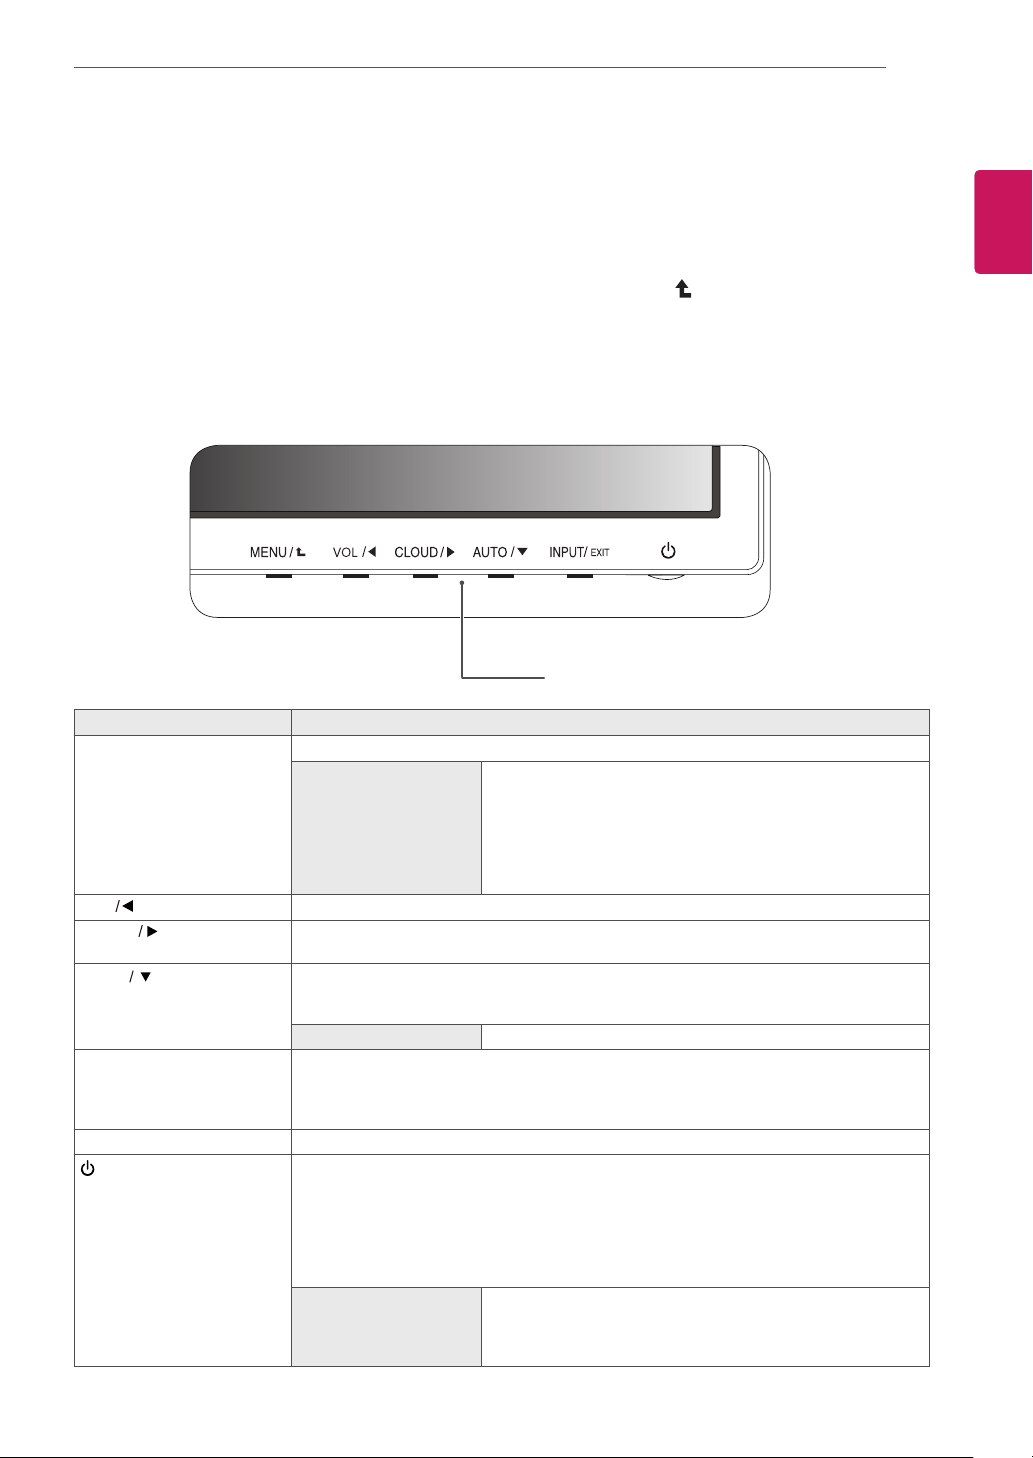
Monitor set Buttons
Button Description
MENU Activates the main menu.
OSD Lock/Unlock
Functions
Locks/unlocks the OSD screen.
y
To lock the OSD screen, press and hold the MENU button
for several seconds. The "OSD LOCKED" message will be
displayed and the screen will be locked.
y
To unlock the OSD screen, press and hold the MENU
button again for several seconds. The "OSD UNLOCKED"
message will be displayed and the screen will be unlocked.
VOL
Adjust the volume of the monitor.(only works in Cloud mode)/the left arrow key.
CLOUD
Disconnects the connection when the key is pressed for a few seconds while in Cloud
mode;the right arrow key.
AUTO To adjust the monitor settings, press the AUTO button on the MONITOR SETUP OSD
menu (only supported for analog signal).
For optimal screen display, use the following resolution.
Optimal Resolution
1440 x 900
INPUT Allows selection of the input signal.
y
If you connect the monitor to a computer using a D-SUB cable, select either the
CLOUD or D-SUB input signal.
y
The initial input signal is D-SUB.
EXIT Exits the OSD menu.
(Power Button)
y
D-SUB Input: Power On/Off
y
CLOUD Input
Monitor Off: Press the power button once then the monitor will be turned off after 5
seconds.
CLOUD Off: Press the power button twice then the monitor and CLOUD connection
will be disabled.
CLOUD On: Press the power button.
Power Indicator
When the monitor is in operating mode, the power indicator
will turn Red (on mode).
When the monitor is in power saving mode, the power indica-
tor will blink Red.
Loading ...
Loading ...
Loading ...