Loading ...
Loading ...
Loading ...
6
This section describes how to install the unit and screen, how to connect the equipment from which you want to project
the picture, etc.
Installing the Unit
The installation distance between the unit and a screen
varies depending on the size of the screen or whether or not
you use the lens shift features. Install this unit so that it fits
the size of your screen. For details on the distance between
the unit and the screen (the projection distance) and the
size of projected video, see “Projection Distance and Lens
Shift Range” (page 47).
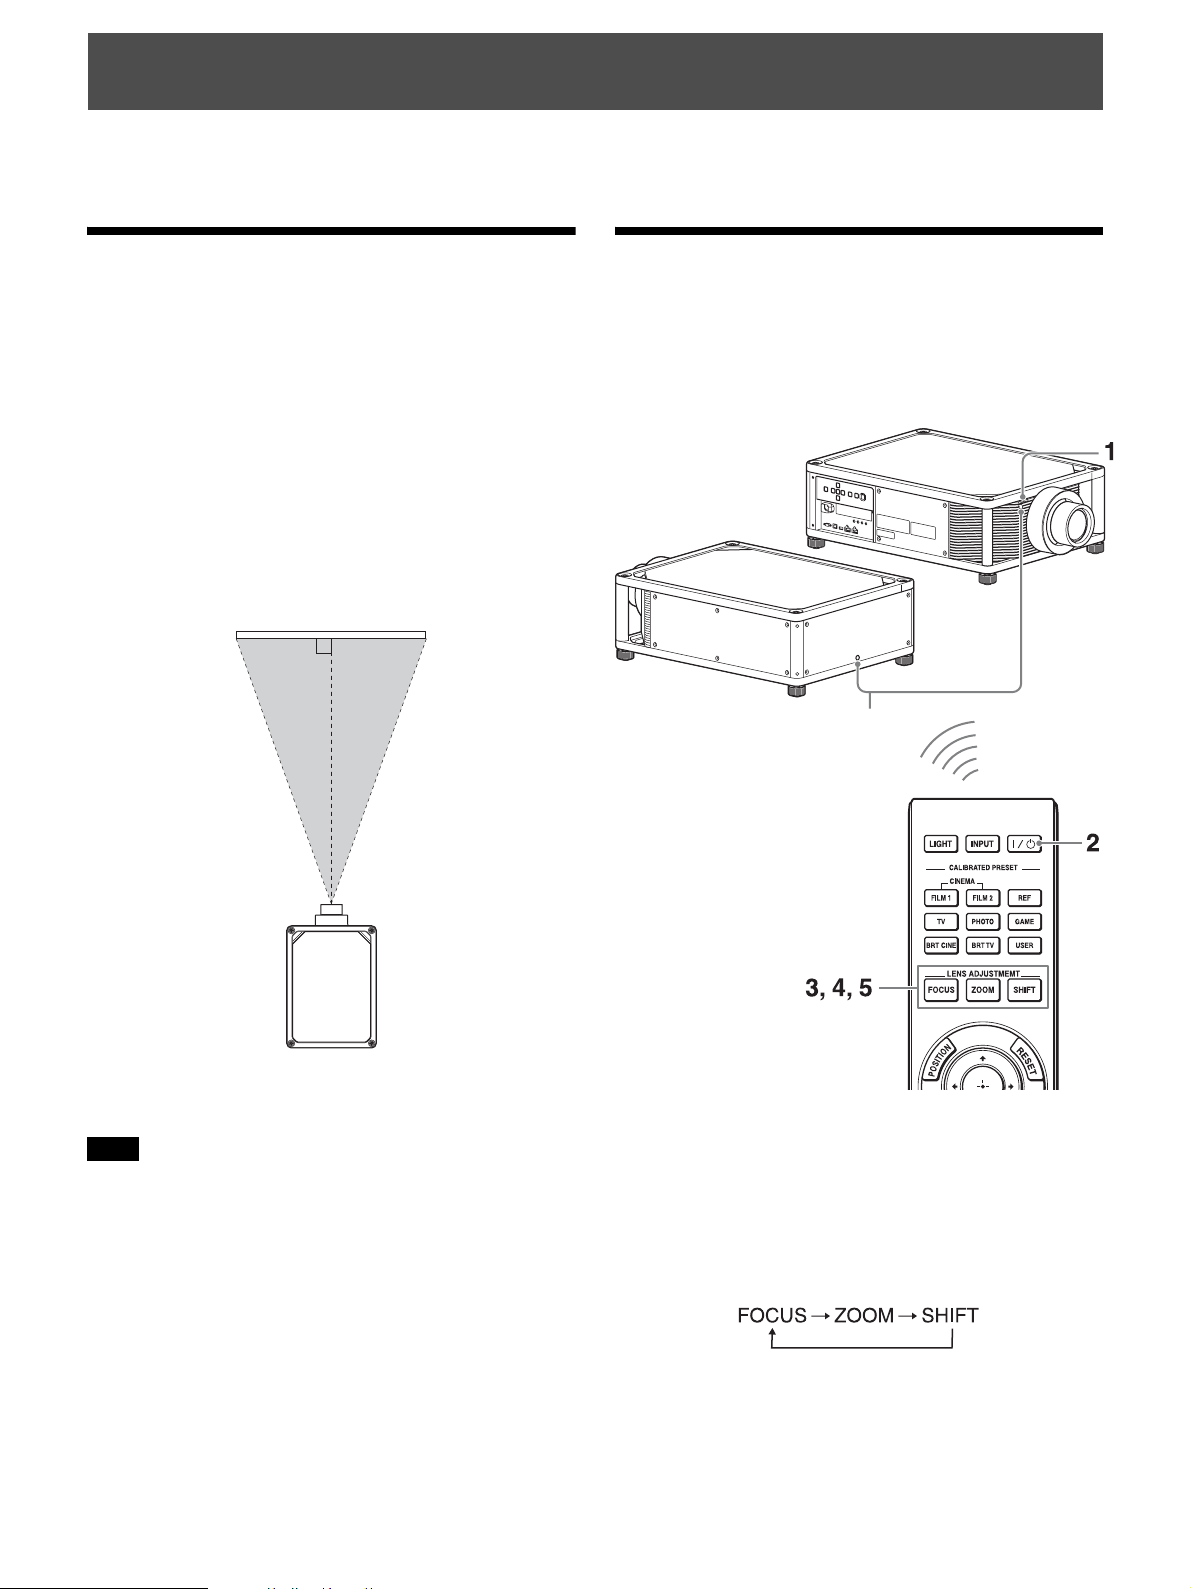
1 Position the unit so that the lens is parallel to the
screen.
Top view
2 Project an image on the screen and adjust the picture
so that it fits the screen (page 6).
When using a screen with an uneven surface, stripes pattern may
rarely appear on the screen depending on the distance between the
screen and the unit or the zooming magnifications. This is not a
malfunction of the unit.
Adjusting the Picture
Position
Project an image on the screen and then adjust the picture
position.
Tips
•The ?/1 (On/Standby), INPUT, MENU, and M/m/</,/
ENTER buttons on the side panel of the unit function the same as
those on the remote control. The LENS button functions in the
same way as the LENS ADJUSTMENT (FOCUS, ZOOM,
SHIFT) buttons of the remote control.
• When adjusting the lens, each time you press the LENS button on
the unit, the lens adjustment function switches between “Lens
Focus,” “Lens Zoom” and “Lens Shift.”
Connections and Preparations
Note
Screen
Remote control detector
Loading ...
Loading ...
Loading ...