Loading ...
Loading ...
Loading ...
88
Chapter 14
Manage the Router
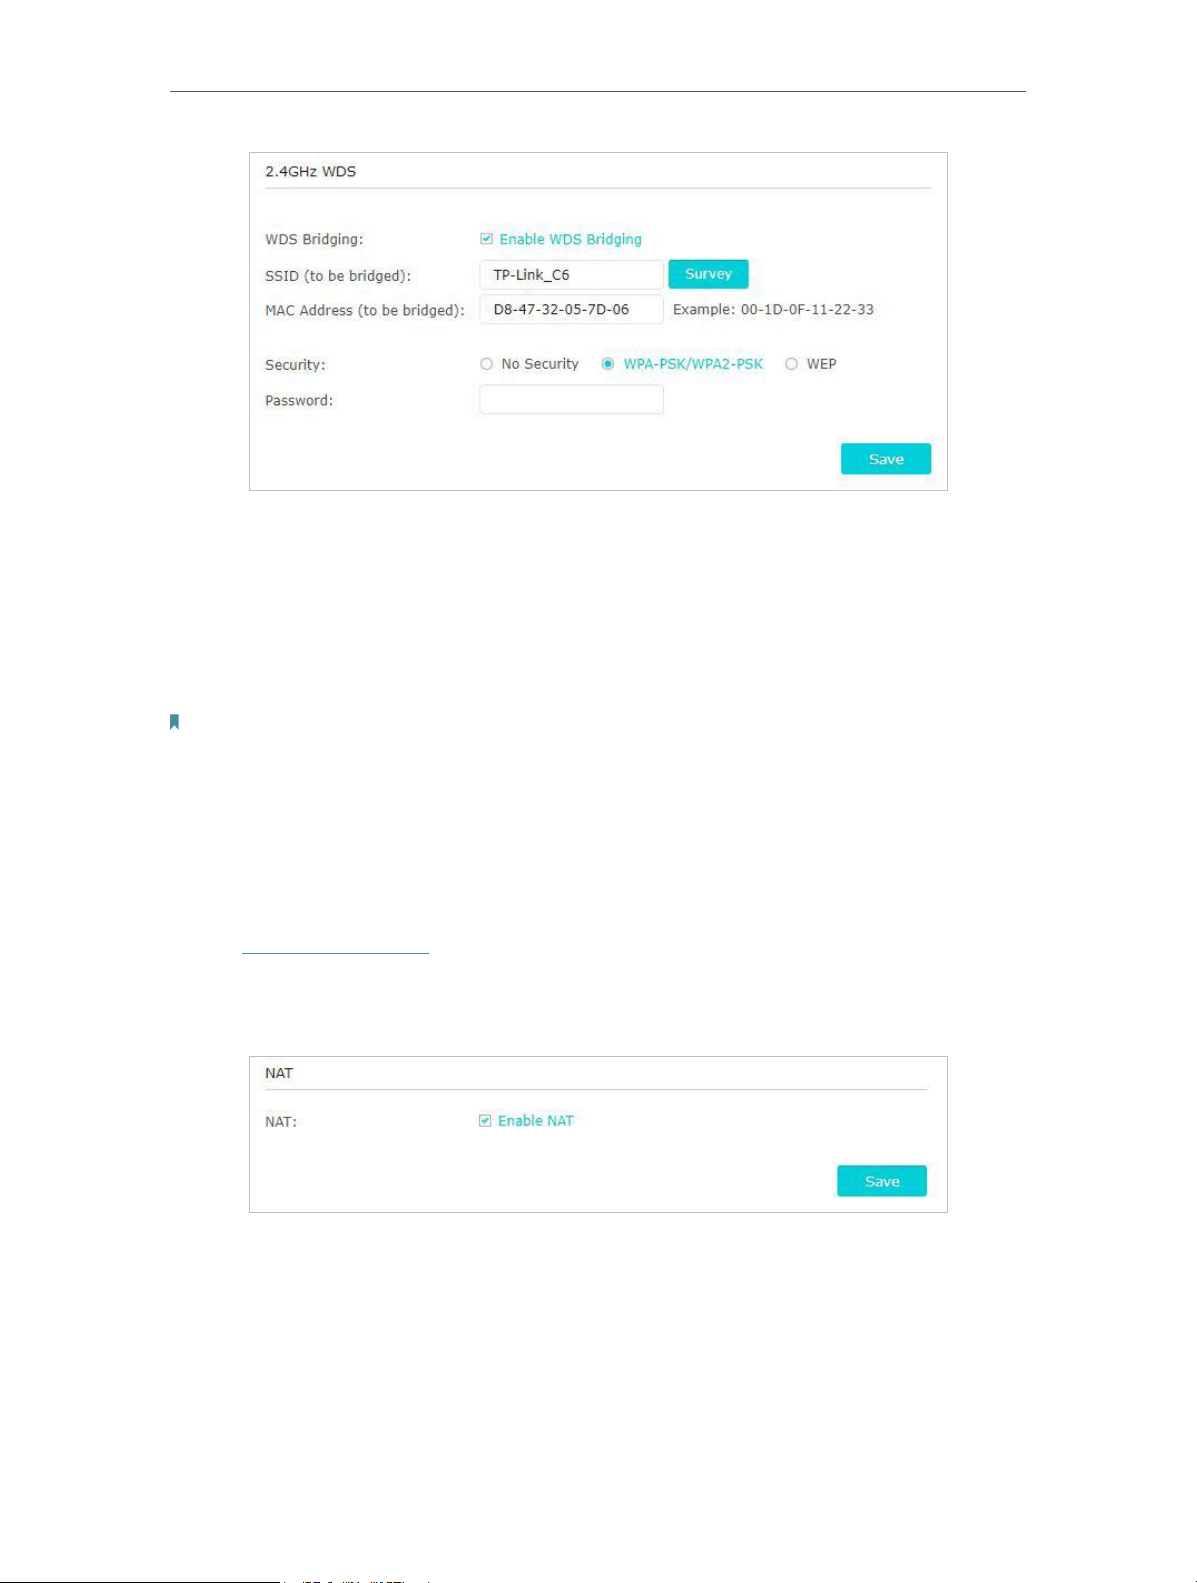
4. Click Survey to scan all available networks and select the network you want to bridge.
The SSID (network name) and MAC Address will be automatically populated. You can
also manually fill in these parameters.
5. Select a Security type and enter related parameters, which should be the same as
the network to be bridged.
6. Click Save.
Note: You need to enable and configure the WDS Bridging feature for the access point as well.
14. 13. 3. NAT
The router’s NAT (Network Address Translation) feature makes devices on the LAN
use the same public IP address to communicate with devices on the internet, which
protects the local network by hiding IP addresses of the devices.
1. Visit http://tplinkwifi.net, and log in with your TP-Link ID or the password you set for
the router.
2. Go to Advanced > System Tools > System Parameters. Focus on the NAT section.
3. NAT feature is enabled by default and it’s highly recommended. If you disable it, you
may have no access to the internet and NAT Forwarding will not take effect.
14. 13. 4. Internet Port Negotiation Speed Setting
The router’s NAT (Network Address Translation) feature makes devices on the LAN
use the same public IP address to communicate with devices on the internet, which
protects the local network by hiding IP addresses of the devices.
Loading ...
Loading ...
Loading ...