Loading ...
Loading ...
Loading ...
72 73
Time Lapse Settings
INTERVAL TIME LAPSE
Choose how often your camera captures a frame of video or takes a
photo. Use shorter intervals for quick activities and longer intervals
for extended activities.
To learn more, see Time Lapse Interval (page 134).
INTERVAL NIGHT LAPSE
Set how often your camera takes a shot in low and ultra low-light scenes.
Choose short intervals for scenes with a lot of movement and more light.
Use longer intervals in scenes with little or no movement or light.
To learn more, see Night Lapse Interval (page 136).
OUTPUT TIME LAPSE PHOTO, NIGHT LAPSE PHOTO
Save your photos as standard .jpg or RAW files.
To learn more, see RAW Format (page 131).
SHUTTER NIGHT LAPSE
Set how long your camera’s shutter stays open for night shots.
Choose longer exposures for darker shots.
To learn more, see Shutter Speed (page 129).
PROTUNE TIMEWARP, TIME LAPSE VIDEO, NIGHT LAPSE VIDEO
Take manual control of advanced video settings.
To learn more, see Protune (starting page 137).
Live Streaming + Webcam Mode
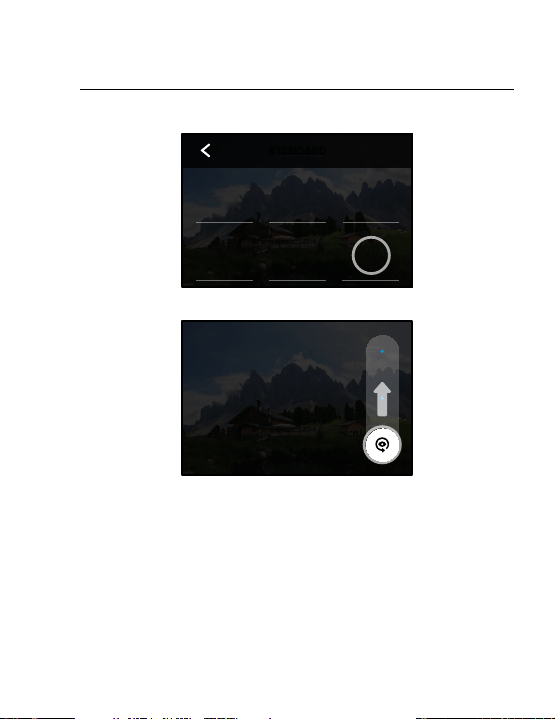
SETTING UP A LIVE STREAM
1. Connect to the GoPro app. For details, see Connecting to the GoPro
App (page 85).
2. In the app, tap
to control your camera.
3. Tap
and follow the instructions to set up your stream.
For complete step-by-step instructions,
visit gopro.com/live-stream-setup.
USING YOUR GOPRO AS A WEBCAM
Both your GoPro and computer must be set up for webcam mode before
you go live. Your camera is in webcam mode by default. Connect your
camera to your computer using the included USB-C cable, and then
follow the step-by-step setup instructions at gopro.com/webcam.
Follow these steps if you need to put your camera in webcam mode:
1. Swipe down on the rear screen to access the Dashboard.
2. Swipe left and tap Connections > USB Connection.
3. Choose GoPro Connect.
Loading ...
Loading ...
Loading ...