Loading ...
Loading ...
Loading ...
46 47
ninjakitchen.eu
ninjakitchen.eu
USING YOUR Foodi®
MULTIFUNCTION OVEN – CONT.
Bake
1 To select the function, turn the dial until
BAKE illuminates. The default time and
temperature settings will display.
2 Press the TIME/SLICE button and
use the dial to select your time up to
2 hours. To set the time, press the
TIME/SLICE button again.
3 Press the TEMP/DARKNESS button
and use the dial to select a temperature
between 120°C–230°C. To set the
temperature, press the TEMP/DARKNESS
button again.
4 Press START/PAUSE to begin preheating.
5 Place ingredients on the oven tray.
When the unit beeps to signify it has
preheated, immediately place the oven
tray on the wire rack. Close oven door.
6 During cooking, you can open the oven
door to check on or flip ingredients.
7 When cook time is complete, the unit
will beep.
NOTE: If cooking for less than 1 hour the
clock will count down by minutes and
seconds. If cooking for more than 1 hour, the
clock will count down by hours and minutes.
Roast
1 To select the function, turn the dial until
ROAST illuminates. The default time and
temperature settings will display.
2 Press the TIME/SLICE button and use
the dial to select your time up to 2 hours.
To set the time, press TIME/SLICE
button again.
3 Press the TEMP/DARKNESS button
and use the dial to select a temperature
between 120°C–230°C. To set the
temperature, press the TEMP/DARKNESS
button again.
4 Press START/PAUSE to begin preheating.
5 Place ingredients on the oven tray.
When the unit beeps to signify it has
preheated, immediately place the oven
tray on the wire rack. Close oven door.
6 During cooking, you can open the oven
door to check on or flip ingredients.
7 When cook time is complete, the unit
will beep.
Grill
1 To select the function, turn the dial until
GRILL illuminates. The default time and
temperature settings will display.
2 Press the TIME/SLICE button and
use the dial to select your time up
to 30 minutes. To set the time, press
the TIME/SLICE button again.
3 Press the TEMP/DARKNESS button
and use the dial to select either HI
or LO. To set the temperature, press
the TEMP/DARKNESS button again.
4 Place ingredients on the oven tray.Place
the sheet pan on the wire rack and close
the oven door, press START/PAUSE to
start cooking.
5 During cooking, you can open the oven
door to check on or flip ingredients.
6 When cook time is complete, the unit
will beep
NOTE: If cooking for less than 1 hour the
clock will count down by minutes and
seconds. If cooking for more than 1 hour, the
clock will count down by hours and minutes.
NOTE: Food cooks faster when using
the Air Roast function than when using
the Bake function, so for traditional
oven recipes, lower the cook time 30%
and lower the temperature 10°C.
NOTE: There is no temperature adjustment
available for the Toast function, and the
unit does not preheat in Toast mode. It is
very important to select the exact number
of slices to avoid over- or under-toasting.
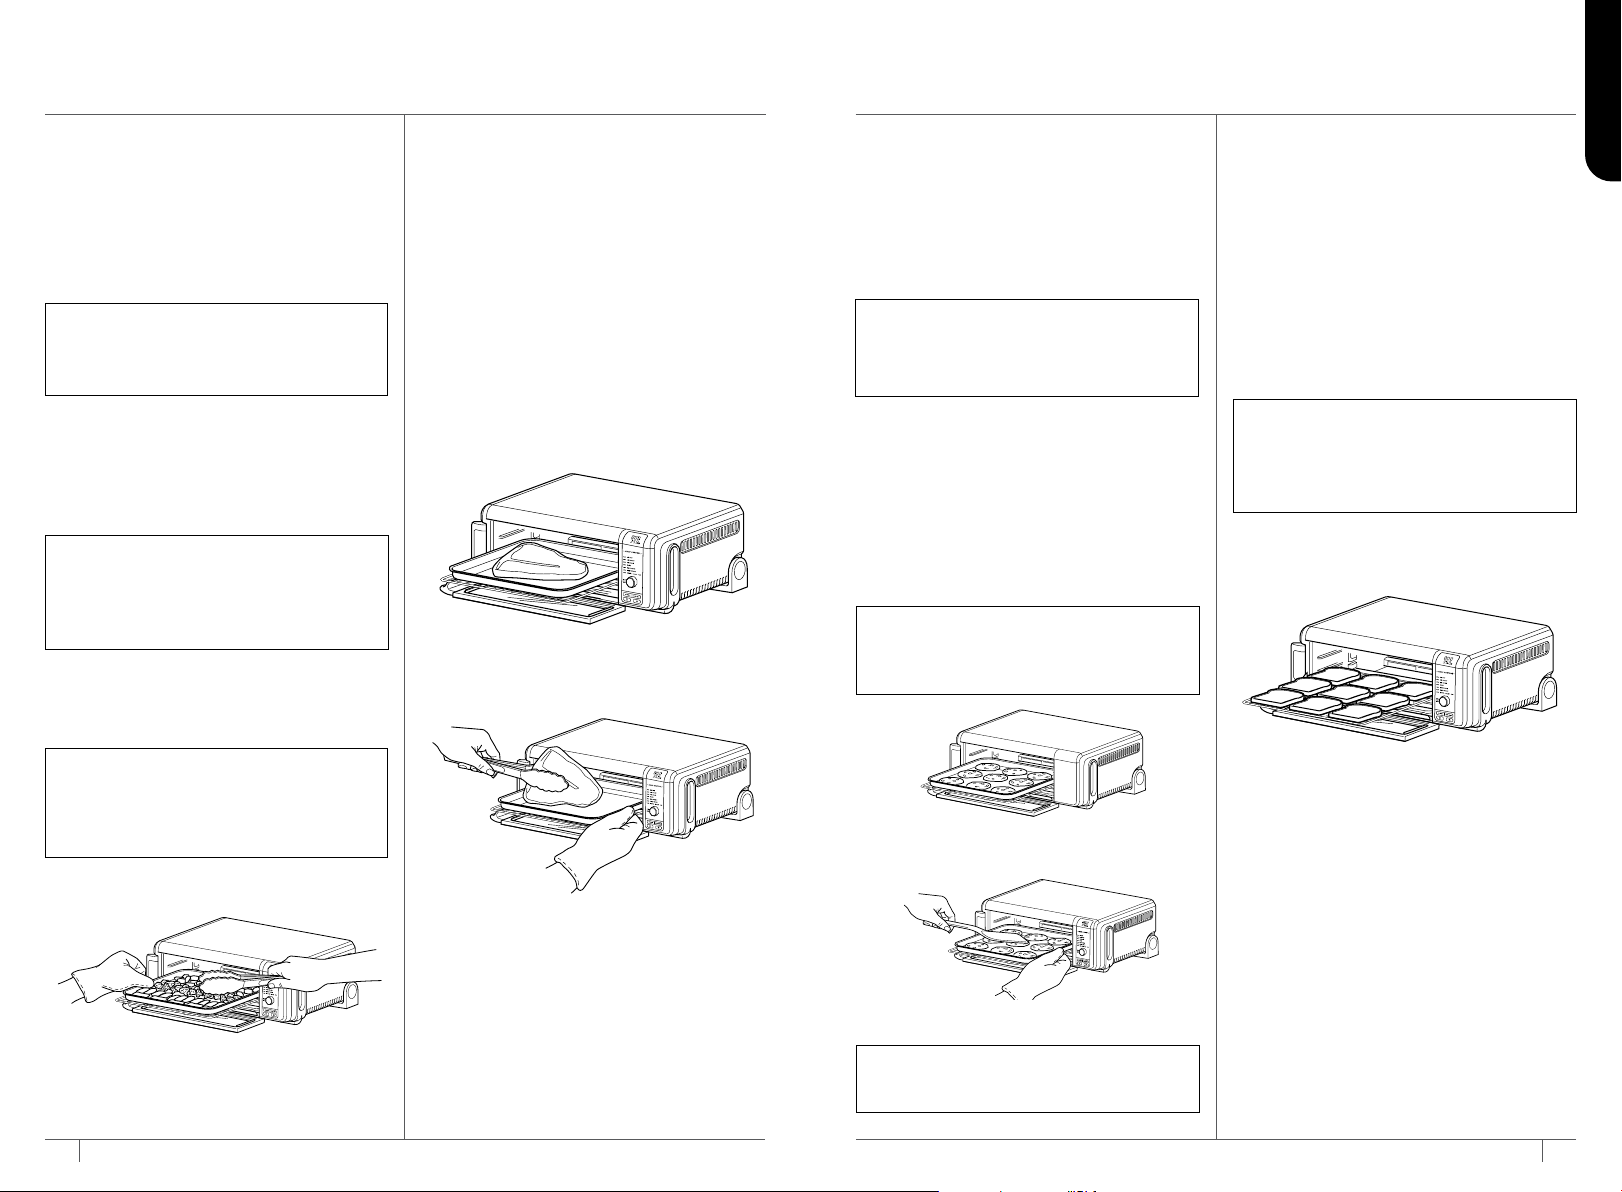
Toast
1 To select the function, turn the dial until
TOAST illuminates. The default amount
of slices and darkness will be displayed.
2 Press the TIME/SLICE button and use
the dial to select the number of bread
slices. You may toast up to 9 slices at
once. To set the number of slices, press
the TIME/SLICE button again.
3 Press the TEMP/DARKNESS button
and use the dial to select a darkness level.
To set the darkness level, press the
TEMP/DARKNESS button again.
4 Place bread slices on the wire rack. Close
oven door and press START/PAUSE to
begin cooking.
5 You do not need to flip the slices during
cooking. When cook time is complete,
the unit will beep.
NOTE: The timer will start counting
down as soon as the unit has preheated.
If ingredients are not ready to go into
the oven, simply turn the dial to add
more time.
NOTE: The timer will start counting
down as soon as the unit has preheated.
If ingredients are not ready to go into the
oven, simply turn the dial to add more time.
NOTE: For best results with baked
goods such as cookies, line the Ninja®
Oven tray with baking parchment paper.
ENGLISH
Loading ...
Loading ...
Loading ...