Loading ...
Loading ...
Loading ...
6 7
Switching On The Turntable For The First Time
Plug into AC power by following the instructions on the previous "Connecting The
AC adapter" section. Press the
button to turn on the turntable, and press it again
to turn off the turntable.
Switching Between Different Sources
After turning on the turntable, press the Function button to switch between CD/
USB/BLUETOOTH/PHONO/FM Radio/AM Radio/AUX/CASSETTE TAPE sound sources.
Adjusting Sound Volume Level
After turning on the turntable, turn the Volume control dial to adjust the level of
sound volume.
SETTING THE CLOCK
1. The clock can be set when the turntable is in Standby mode and the screen is
displaying the time.
2. Press and hold the CLK SET button until the display digits flash on the display.
3. Press the
/
buttons to select a 12 or 24-hour format for the clock.
4. Press the CLK SET button to confirm the hour format and the hour digits will flash
on the display.
5. Press the
/
buttons to increase or decrease the hour time.
6. Press the CLK SET button to confirm the hour setting and the minute digits will
flash on the display.
7. Press the
/
buttons to increase or decrease the minute time.
8. Finally, press the CLK SET button to confirm and set the time.
NOTE:
• When the turntable is disconnected from power, the clock settings will be erased. Please
set the clock again when the turntable is plugged back into power.
• When the hour format is set on 12H, carefully check that the AM/PM indicator is correct.
LISTEN TO THE PHONO (TURNTABLE)
Gently Open The Dust Cover
1. Lift the Dust Cover all the way up until it stops. The cover will now stay open.
2. Use a screwdriver and turn the screw lock clockwise to unlock the turntable plate
(if the screw lock is locked).
3. Remove the tie-wrap from the Tone Arm (if the tie-wrap is still in place).
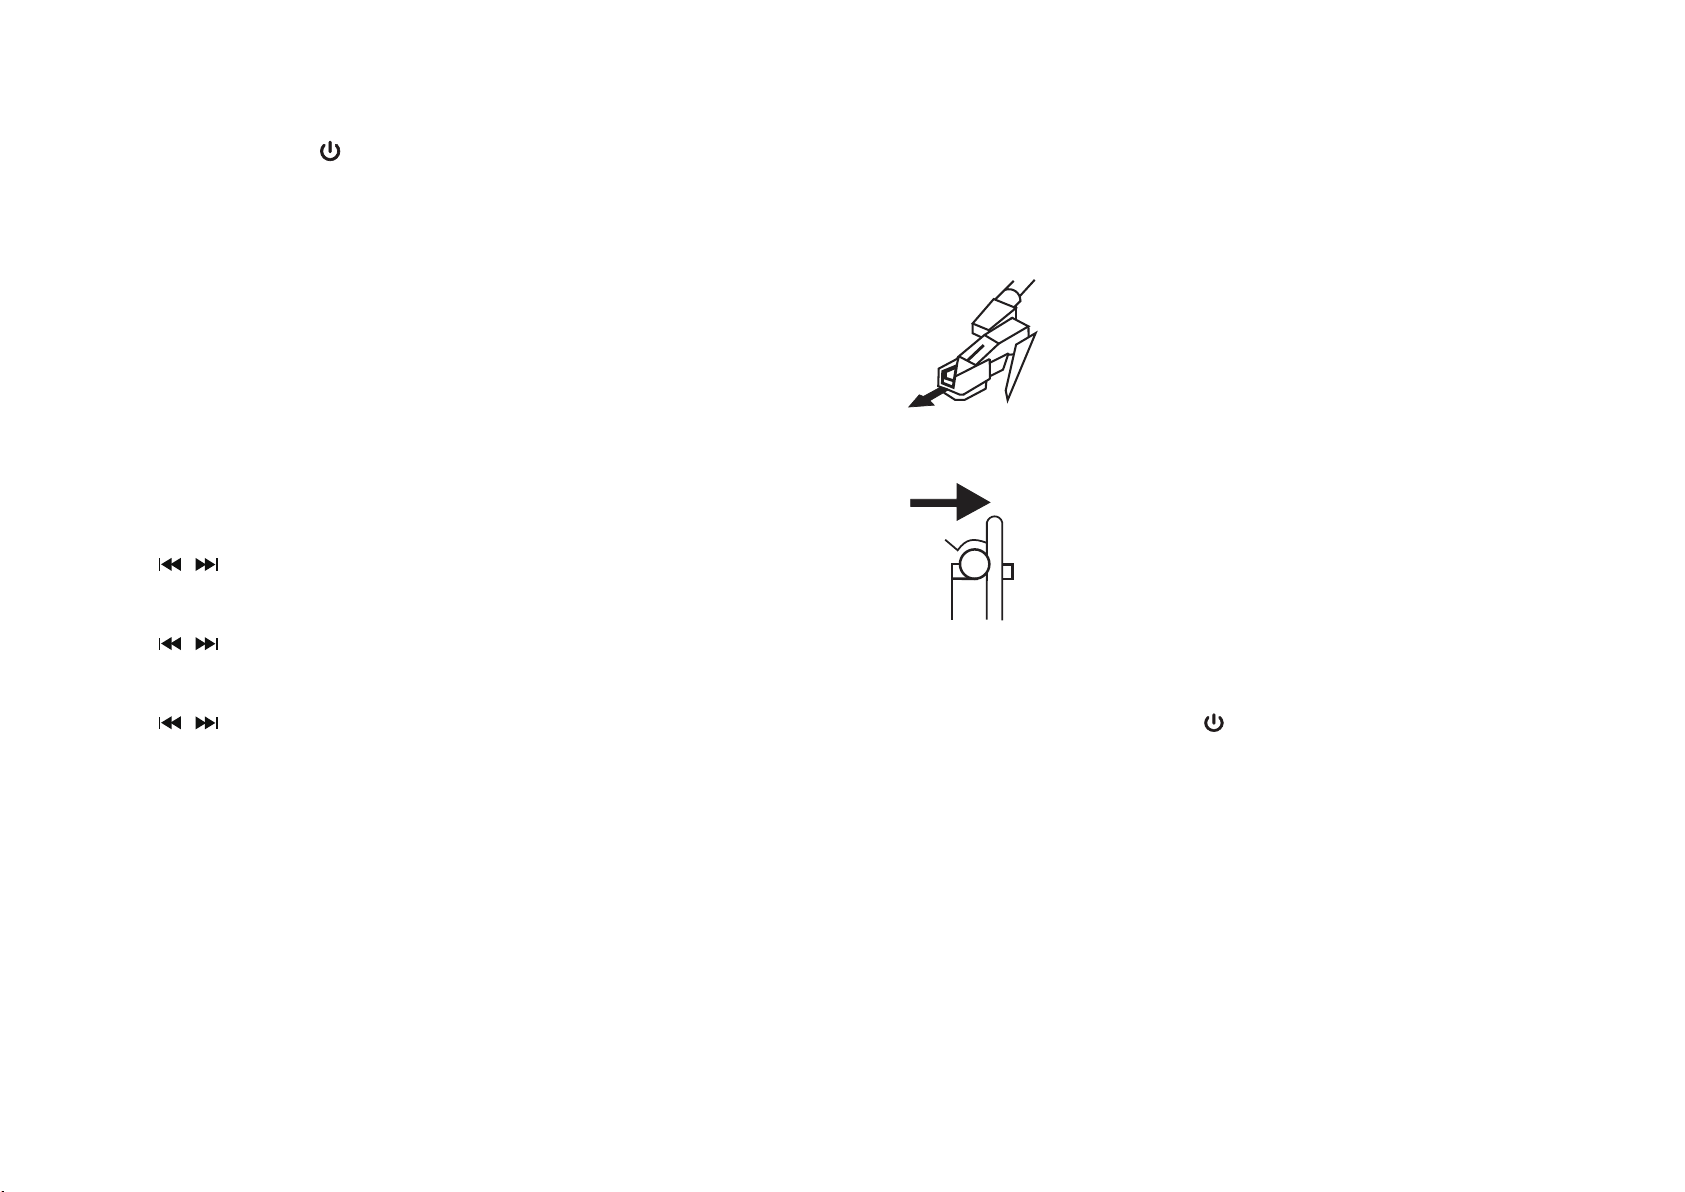
4. Remove the white protective needle cover by gently pulling it forward.
5. Release the Tone Arm Hold Down Clip by gently pushing it to the right. This will
unlock the Tone Arm from its arm rest.
NOTE: Re-lock the Hold Down Clip when moving the turntable to another location.
Turntable Operation
1. Connect to power and press the button to turn on the turntable.
2. Press the Function button until the “PHONO and PHO” indicator shows on the
display, indicating that the PHONO mode has been selected.
3. Toggle the Speed selector to the correct position (33, 45 or 78 RPM).
4. Gently place a record on the turntable.
5. Lift the Tone Arm Control lever and move the Tone Arm to the desired starting
point over the record.
6. Lower the Tone Arm Control lever and the Tone Arm will move down and music
will start playing.
7. Turn the Volume Control dial to adjust the volume to the desired level.
8. Toggle the Auto Stop Control switch to select the auto stop function.
9. At the end of the record, the Tone Arm will stop automatically when Auto Stop
Control is selected. You must return the Tone Arm to the Tone Arm Rest manually
when the record is finished.
NOTE: When playing records, sound output of the built-in amplifier is limited to avoid
feedback and rumble. This is normal. Keep the volume as low as possible on the turntable
and instead increase volume on the external amplifier.
Loading ...
Loading ...
Loading ...