Loading ...
Loading ...
Loading ...
Start up and operation
11
Tronic 3000 – 6 721 803 545 (2020/02)
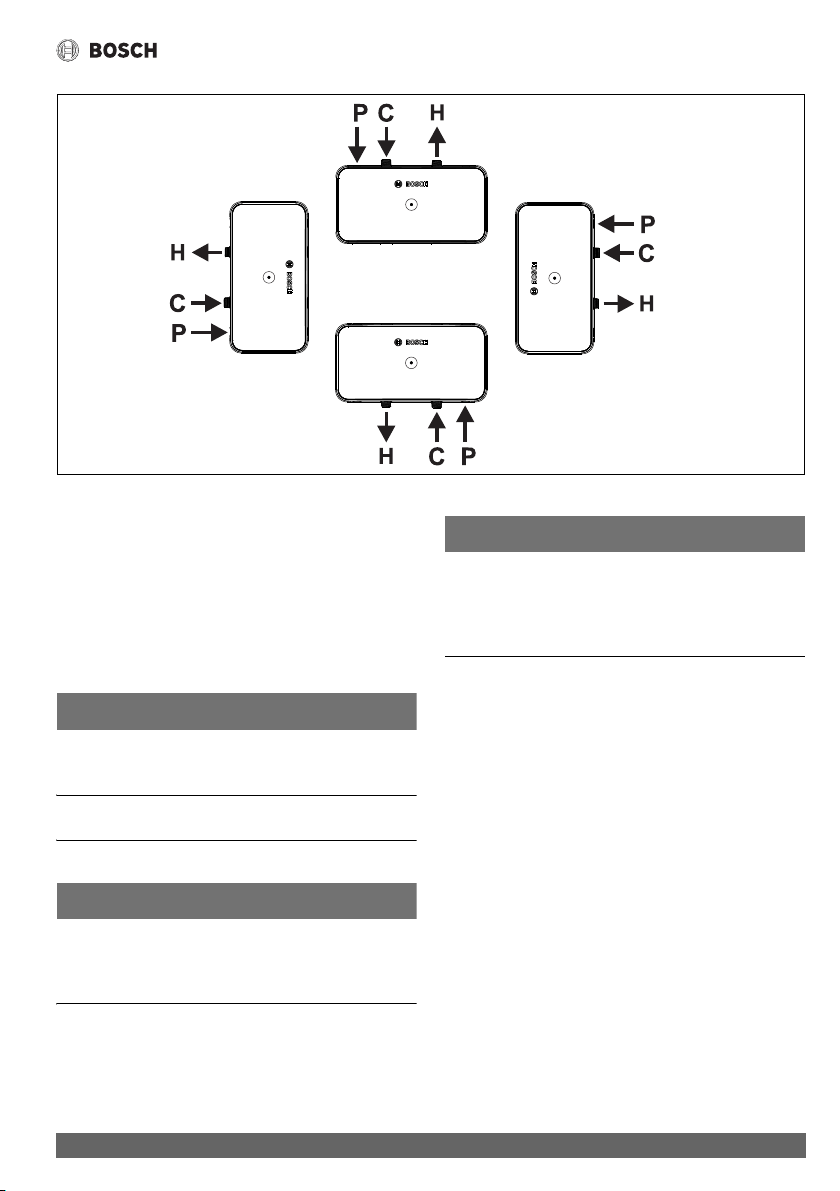
Fig. 13 Unit position
[P] Power
[C] Cold
[H] Hot
4.5.2 Mounting on the wall
▶ Hold the backplate in position against the suitable wall
while you mark the four mounting holes.
▶ Drill the holes and secure the unit to the wall using the four
no. 8 wood screws supplied.
NOTICE:
Appliance damage!
▶ Do not install a non-return check valve within 6 feet of the
inlet.
5Start up and operation
NOTICE:
▶ Do not use the unit if you think it may be frozen, as this
could result in serious damage to the unit. Wait until you are
sure it has completely thawed out before you switch it on.
NOTICE:
Appliance Damage!
Before turning on power:
▶ Open cold water shutoff valve to the unit and turn on all hot
water taps supplied by the unit. Flow water out the tap(s)
until all air has purged from the unit and plumbing.
▶ Turn on the power to the unit.
▶ Turn on the hot tap FULLY.
If the tap is not full on, the temperature of the water may
vary. The hot water temperature can then be set by
adjusting the flow.
If the unit has been used recently:
▶ Run the water through for a few seconds to let the
temperature settle down.
The water temperature coming out of the unit may be very
hot.
If a second tap connected to the unit is also turned on, the hot
water will be shared between the two, therefore the flow and/or
the temperature of the water will decrease.
5.1 Adjusting flow and regulating temperature
▶ Ensure the service valves are open.
▶ Turn on the hot tap fully at the sink.
▶ Adjust the outlet service valve until the water comes out of
the tap at the required temperature, (increase flow for
cooler, decrease for hotter). Refer to table 3, for
expected temperature rise at given flow rates.
6721803545-13.1V
Loading ...
Loading ...
Loading ...