Loading ...
Loading ...
Loading ...
GENERAL MAINTENANCE
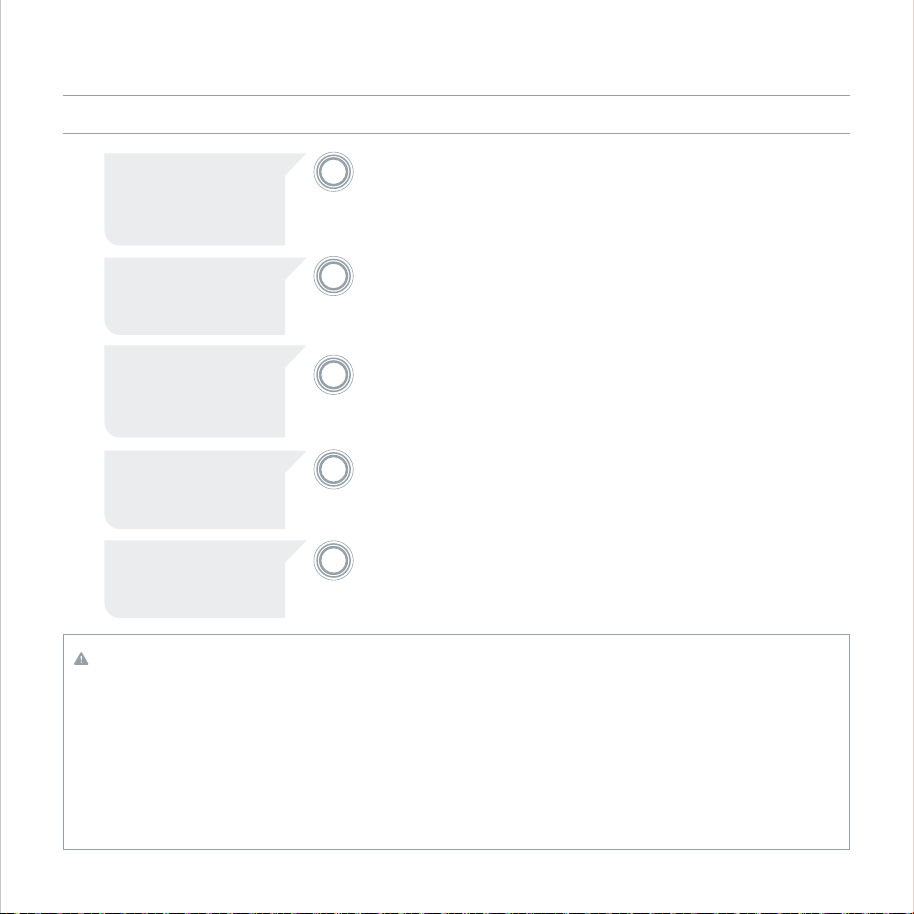
YELLOW pulses. Low battery. Change the batteries
of Nest Protect now.
“THE BATTERY IS LOW IN
THE [ROOM NAME].
REPLACE THE BATTERY
NOW.” Single chirp
every 60 seconds.
Nest Protect has tested
its sensors and there is
a problem.
“THE SENSORS HAVE
FAILED IN THE [ROOM
NAME]. REPLACE NEST
PROTECT NOW.” Single
chirp every 60 seconds.
Nest Protect has expired
and reached the end of
its life.
Replace Nest Protect now.
“NEST PROTECT HAS
EXPIRED. REPLACE IT
NOW.” Two chirps every
60 seconds.
There’s a problem with
the horn of Nest Protect.
Replace Nest Protect now.
“NEST PROTECT CAN’T
SOUND THE ALARM IN
THE [ROOM NAME].”Two
chirps every 60 seconds.
YELLOW pulses. Change the batteries
of Nest Protect soon.
Low battery.
“THE BATTERY IS LOW IN
THE [ROOM NAME].
REPLACE THE BATTERY
SOON.”
YELLOW pulses.
YELLOW pulses.
WHAT YOU HEAR WHAT IT MEANS WHAT TO DOWHAT YOU SEE
GENERAL MAINTENANCE
YELLOW pulses.
Clean according to
instructions on page 16.
If the problem persists,
replace Nest Protect.
3
2
1
6
5
4
3
2
1
6
5
4
2. Open the battery door on
the back of Nest Protect.
3. Replace the batteries.
Align the + positive and
- negative ends with the
markings in the battery
compartment.
4. Close the battery compartment.
Do not force the door closed.
5. Push Nest Protect onto the backplate and
turn it clockwise until you feel it grip.
6. Press the Nest button twice.
SERVICING
1. Before sending Nest Protect for service,
visit nest.com/support
2. If your Nest Protect needs servicing,
first contact our support team to get
a return number
3. Send your Nest Protect to:
Nest Labs
(YOUR RETURN NUMBER)
4 East Stow Road
Marlton, NJ 08053 USA
GENERAL MAINTENANCE
CLEANING YOUR NEST PROTECT
Nest Protect has been designed to be as
maintenance free as possible, but you
should keep it clean. As with any smoke
alarm, dust buildup on the outside or
inside of Nest Protect can stop it from
working properly.
To clean Nest Protect:
1. Remove it from the wall or the ceiling
(turn counterclockwise until it comes
off the backplate).
2. Wipe the outside with a clean,
slightly damp cloth. Don’t use any
soaps or solvents.
3. Place Nest Protect on a soft, dry cloth
with the Nest button facing down.
Open the battery compartment door and
remove the batteries. Remove the screws
and lift off the back. Be careful to not
lose the screws.
4. Gently vacuum the inside. Make sure
to clean all the way around the mesh
sides of the smoke chamber (the large
metal circle).
Note: Never use detergents or solvents (like
glass cleaner) on your Nest Protect and do
not spray air fresheners, hair spray or other
aerosols near it. Do not get water inside the
alarm or paint over it.
REPLACING THE BATTERIES
Nest Protect uses six AA Energizer® Ultimate
Lithium batteries (L91). These batteries can
be purchased at your local retailer.
1. Twist Nest Protect counterclockwise until
it disconnects from the backplate.
1716
WARNING
• Use only batteries specified by Nest.
Use of a different battery model will
have a detrimental effect on the smoke
alarm operation.
• Never remove the batteries to stop an
unwanted alarm (caused by cooking smoke,
etc.) Removing the batteries disables the
alarm so it cannot sense smoke or carbon
monoxide (CO). Instead open a window or
fan the smoke away from the unit.
• The batteries cannot work until you install
the batteries in the correct position
(Match + to + and - to -).
• Once Nest Protect has expired you’ll no
longer be protected from smoke or CO if
you don’t replace it.
Loading ...
Loading ...
Loading ...