Loading ...
Loading ...
Loading ...
13
2. Setting up the Display
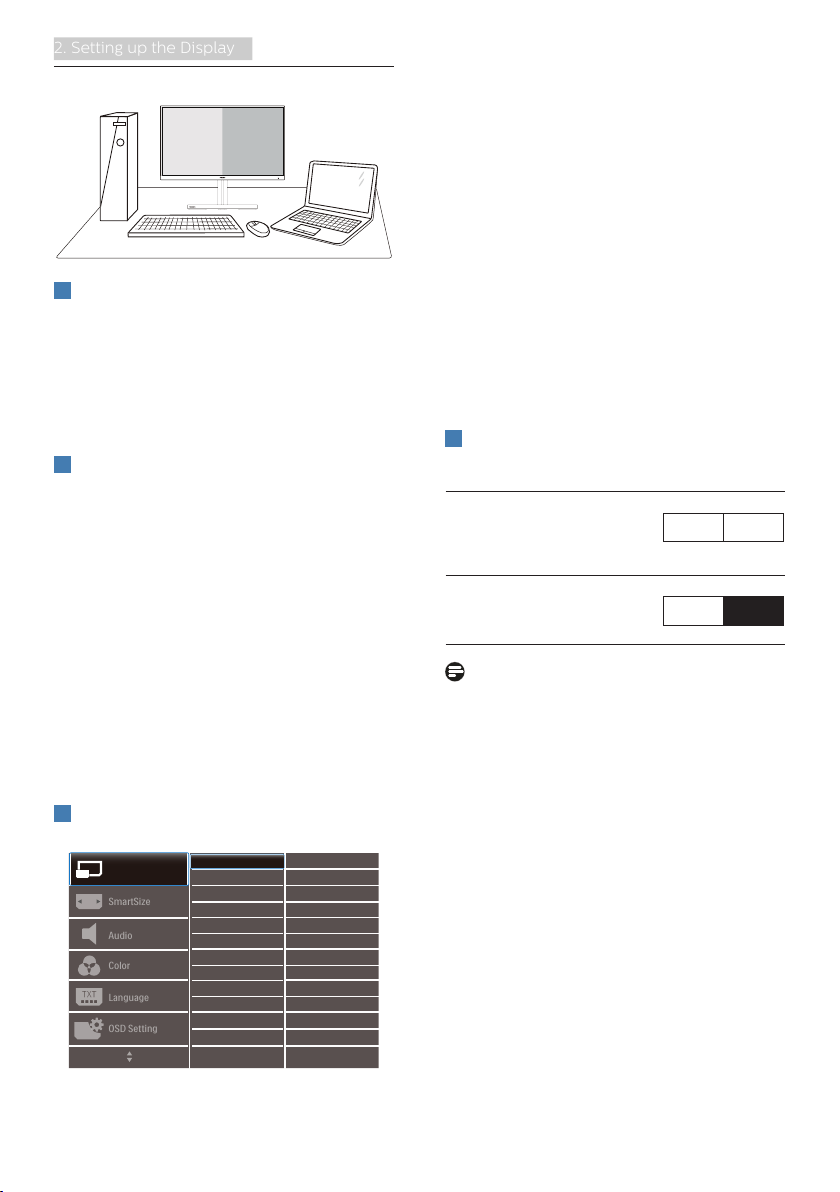
2.4 MultiView
1
What is it?
Multiview enables active variety
connect and view so that you can
work with multiple devices like PC and
Notebook side-by-side simultaneously,
making complex multi-tasking work a
breeze.
2
Why do I need it?
With the ultra high resolution Philips
MultiView display, you can experience
a world of connectivity in a comfortable
way in the office or at home. With this
display, you can conveniently enjoy
multiple content sources at one screen.
For example: You may want to keep
an eye on the live news video feed
with audio in the small window, while
working on your latest blog, or you may
want to edit an Excel file from your
Ultrabook, while logged into secured
company intranet to access files from a
desktop.
3
How to enable MultiView by OSD
menu?
1. Toggle to the right to enter OSD
Menu Screen.
2. Toggle to the up or down to select
main menu [PBP], then toggle to the
right to confirm.
3. Toggle to the up or down to select
[PBP Mode], then toggle to the right.
4. Toggle to the up or down to select
[PBP], then toggle to the right to
confirm your selection.
5. Now you can move backward to
set the [PBP Mode], [PBP Input], or
[Swap].
6. Toggle to the right to confirm your
selection.
4
MultiView in OSD menu
[PBP]: Picture by Picture
Open up a sub-window
side-by-side of another
signal source.
A (main) B
When the sub source is
not detected:
A (main) B
Note
The black strip shows on the top and
the bottom of the screen for the correct
aspect ratio when in the PBP mode. If
you expect to see full screen side by
side, adjust your devices resolution as
pop up attention resolution, and make
sure graphic card’s resolution is set to
‘1920 x 2160 at 60Hz’.
Loading ...
Loading ...
Loading ...