Loading ...
Loading ...
Loading ...
Version 3/15 - Page 5
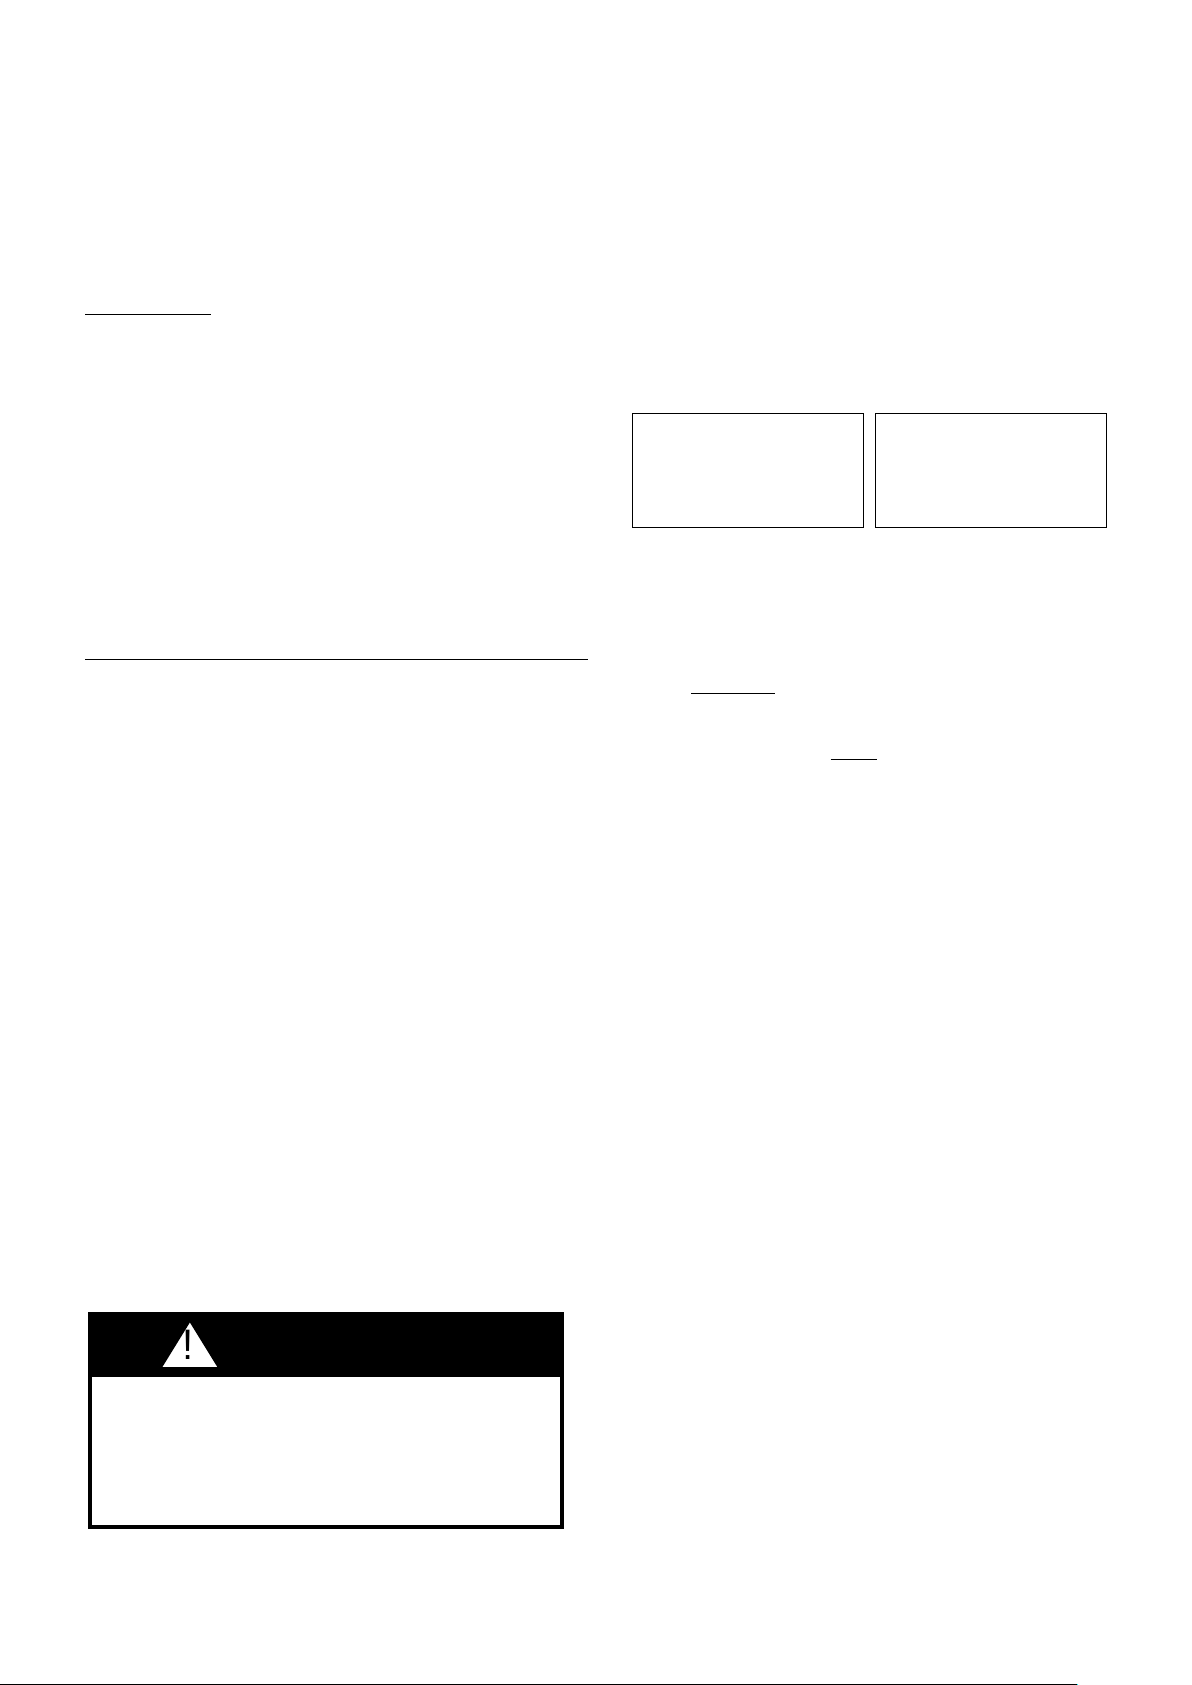
9 Feet Straight Duct
2 - 90˚ Elbows
Wall Cap
Total System
9.0 feet
14.0 feet
0.0 feet
23.0 feet
FIGURE 2
5.0 feet
7.0 feet
12.0 feet
0.0 feet
45˚ Elbow
90˚ Elbow
90˚ Flat Elbow
Wall Cap
FIGURE 1
TOOLS NEEDED FOR INSTALLATION
• Saber Saw or Jig Saw
• Drill
• 1 1/4" Wood Drill Bit
• Pliers
• Phillips Screwdriver
• Flat Blade Screwdriver
• Wire Stripper or Utility Knife
• Metal Snips
• Measuring Tape or Ruler
• Level
• Pencil
• Caulking Gun
• Duct Tape
• 7 MM Nut Driver
PARTS SUPPLIED FOR INSTALLATION
• 6 Mounting Brackets (2 support legs, 2 under counter and
2 over-counter brackets
• 2 End Caps
• 2 Stainless Grease Filters
• Stainless steel top strip
• Nuts to connect top strip
• Installation Screws
• 1 Literature Package
PARTS NEEDED FOR INSTALLATION
• 2 Conduit Connectors
• Power Supply Cable
• Wiring Cable - Optional Remote Blower Only
• 1 Wall or Roof Cap
• All Metal Ductwork
CHOOSE A BLOWER TO PAIR WITH THE SCIROCCO PLUS
• Internal Blower model #IBDD600
• Remote Blower model # RBORIG900 OR RBORIG1200
• Use your existing remote blower rated at max 4.2 Amp suitable for
use with solid state variable speed control
PLAN THE DUCTWORK
The Scirocco Plus downdraft system is designed to offer wide
exibility in ducting. The interior blower can be ducted on the
front or back of the downdraft unit in multiple directions: down,
left, right or backwards (front side only) using a 6" round vent.
The remote blower can be ducted from the front or back of the
downdraft unit, pointing down using a 10" round vent.
The remote blower requires a separate wiring cable that
should be installed at the same time that the ductwork is
installed. For best results, 10" duct is recommended for the
remote blower. A damper plate is included in the box with the
downdraft package and must be attached over the
opening of the front / back of the downdraft blower box.
Remote blower can be mounted on either an outside wall or
the roof of the home.
CALCULATE THE DUCTRUN LENGTH
The ductwork length should not exceed 55 equivalent feet for
6" duct, or 75 equivalent feet for 10" round duct. Calculate
the length of the ductwork by adding the equivalent feet listed
in FIGURE 1 for each piece of duct in the complete system.
An example is given in FIGURE 2.
For best results, use no more than three 90° elbows. Make
sure that there is a minimum of 24" of straight duct between
elbows if more than one is used. Do not install two elbows
together. Round duct is recommended instead of rectangular
duct especially if elbows are needed. For internal blower
models, rectangular duct should be transitioned to 6" round
as soon as possible.
When planning the cutout for the downdraft:
• Draw both the cooktop and downdraft cutouts on the
countertop before making any cuts.
• Check that there is enough room in the cabinet for both.
Failure to follow these warnings could result in damage to
the countertop.
WARNING
!
GENERAL INSTALLATION GUIDELINES
(IMPORTANT - READ BEFORE INSTALLATION)
The Scirocco Plus is meant to be installed with residential
use cook tops, cook tops / oven combinations, free standing
ranges WITHOUT backguards and range tops. This product
is not recommended for use with slide in ranges which may
require additional space behind the range for oven venting OR
with freestanding ranges WITH backguards. Always consult
your cooking manufacturer installation instructions for cooking
product dimensions and specic cfm needs.
In the event of installations where the blower is located
on the back of the unit, it is advised to leave an access
door or opening to reach the bottom of the Scirocco
Plus where the wiring box and motor is located should
service be needed.
NOTE: When using this hood with a range top or free
standing range with the motor box reversed behind
the hood, a 3/4" clearance is required on the front
of the hood to clear a duct plate and front edge of
the down draft body. A ller strip may be needed on
the counter top in this type of installation to cover
this gap between the cooking surface and the hood.
Loading ...
Loading ...
Loading ...