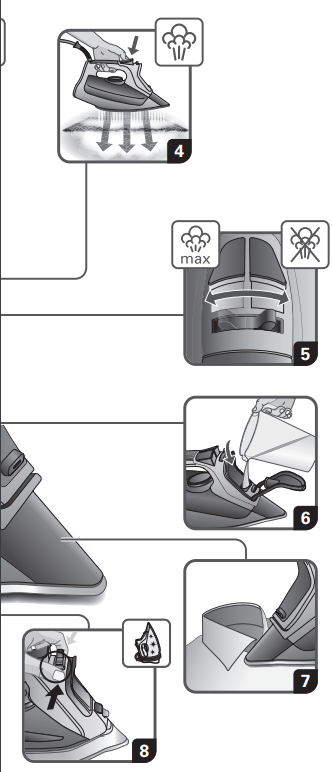
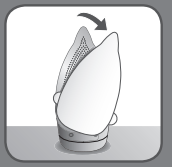
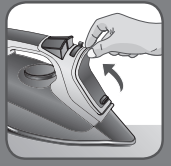
Open the filling inlet door (the iron is unplugged).
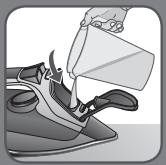
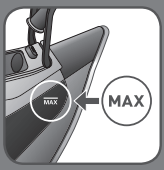
Fill in the water tank.
Stop filling water when MAX level is reached.
Close the filling inlet door.
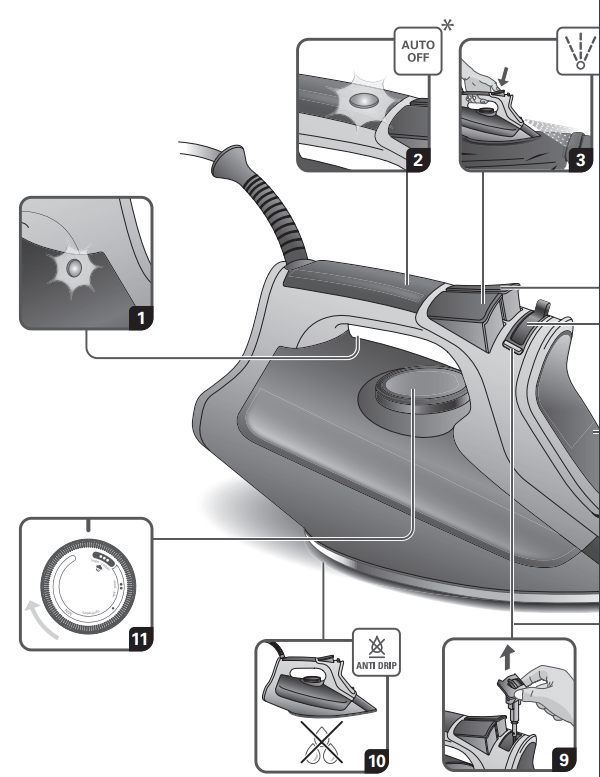
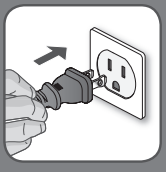
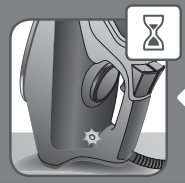
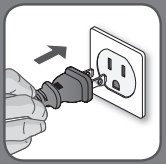
Place the iron on the heel and plug the iron.
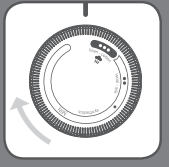
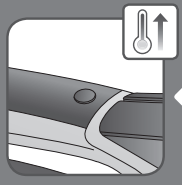
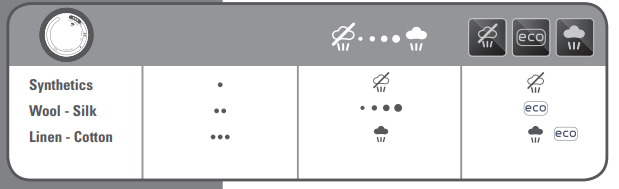
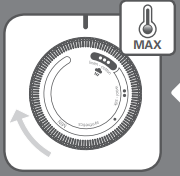
Set the thermostat knob on the desired setting.
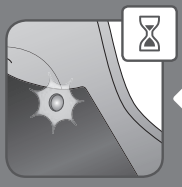
The pilot light is switched on when the iron is heating up.
Once the pilot light is switched off the iron is ready to be used and steam can be activated.
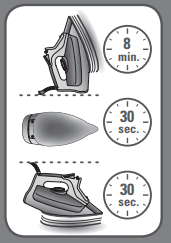
AUTO OFF
When plugged, the iron will automatically switch off after: 30 seconds when left on the soleplate or side; 8 minutes when left on its heel.
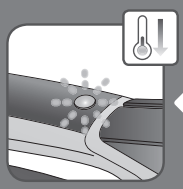
When Auto Off function is on the Auto Off indicator light blinks and the iron starts to cool down.
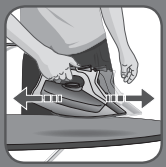
Move the iron back and forth to reactivate it.
When Auto Off function is off the Auto Off indicator light stops blinking and the iron heats up again.
SETTING THE TEMPERATURE
DRY IRONING
Set the steam lever on position.
SPRAY
Press the spray button
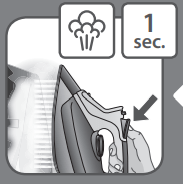
SHOT OF STEAM
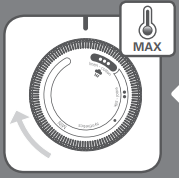
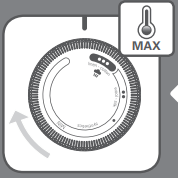
Set the thermostat knob on MAX position.
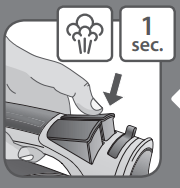
Press the burst of steam button for 1 second.
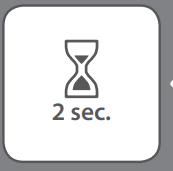
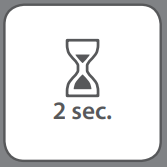
Wait for 2 seconds and repeat the operation if necessary.
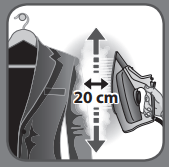
VERTICAL STEAM
Set the thermostat knob on MAX position.
Hold the iron vertically and press the shot of steam button for 1 second.
Wait for 2 seconds before repeating the operation if necessary.
The iron has to be held 8 inches/20cm away from the garment.
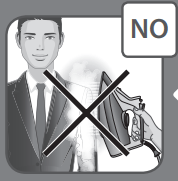
Do not do vertical steaming on yourself or on others.
WARNING
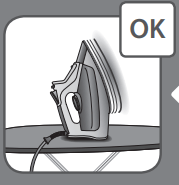
When the iron is plugged put it on its heel.
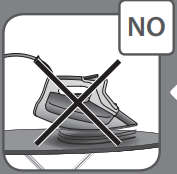
Do not leave the iron on the soleplate when plugged.
SOLEPLATE CLEANING
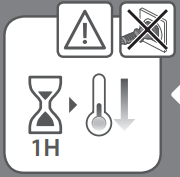
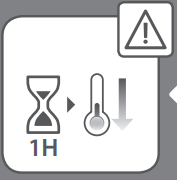
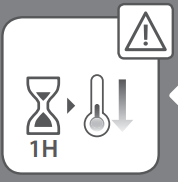
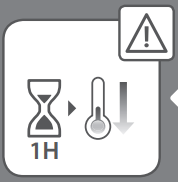
Let the iron cool down for 1 hour after unplugging it
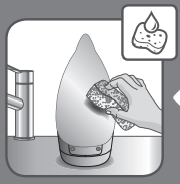
Once the soleplate has cooled down you can wipe it with a damp cloth or sponge.
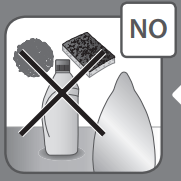
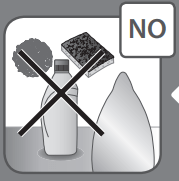
Do not use detergent to clean the soleplate. We recommend the Rowenta soleplate cleaning kit. Do not use sharp or abrasive cleaning accessories to clean the soleplate.
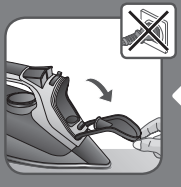
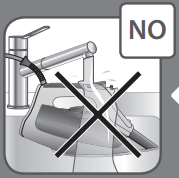
Do not pour water onto the iron.
IRON STORAGE
Unplug the iron.
Switch the steam lever / STORE or iron may leak if some water remains in the iron.
Let the iron cool down for 1 hour after unplugging it.
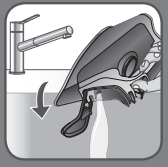
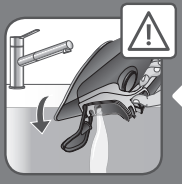
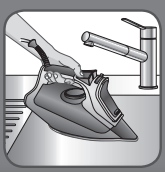
Empty the water tank over a sink (the iron is unplugged).
Wrap the cord around the iron’s heel and store it in vertical position.
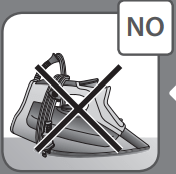
Do not store the iron in horizontal position.
CLEANING THE ANTI CALC VALVE
(every two months)
We recommend to clean the calc collector every 2 months.
Unplug the iron
Let the iron cool down for 1 hour after unplugging it.
Empty the water tank over a sink.
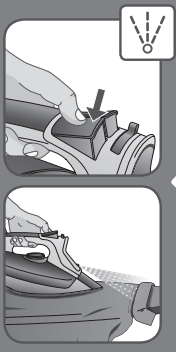
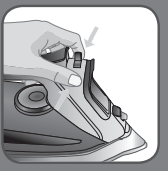
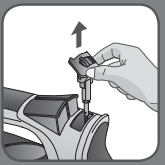
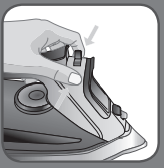
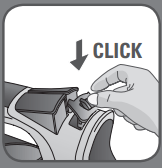
Push the 2 buttons on the left & right side of the valve pin to unlock to a mid position.
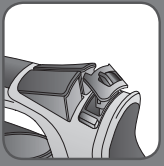
Remove the anti calc valve.
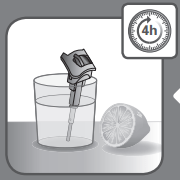
Soak the anti calc valve in a cup of plain lemon juice or a cup of white vinegar for 4 hours. WARNING: never touch the end of the valve.
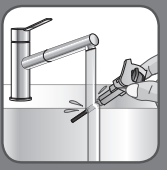
Rinse the anti calc valve under running water.
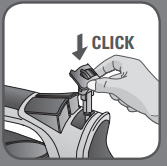
Replace the anti calc valve. WARNING: the iron will not function without the anti calc valve.
SELF CLEANING
(every two weeks)
We recommend to clean the calc collector every 2 weeks.
Set the steam lever on position.
Fill in the water tank until MAX level is reached.
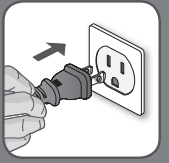
Plug the iron
Set the thermostat knob on MAX position.
The pilot light is switched on when the iron is heating up.
Once the pilot light is switched off the iron is ready to be used.
Unplug the iron
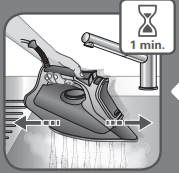
Hold the iron over a sink.
Push the 2 buttons on the left & right side of the valve pin to relaese valve pin to the self clean position.
Keep the valve pin in the raised position.
Gently shake the iron over the sink for 1 minute
Replace the anti calc valve into position.
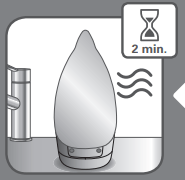
Plug the iron.
Let the iron heat up for 2 minutes to dry the soleplate.
Unplug the iron.
Let the iron cool down for 1 hour after unplugging it.
Once the soleplate has cooled down you can wipe it with a damp cloth or sponge.
Do not use detergent to clean the soleplate. We recommend the Rowenta soleplate cleaning kit. Do not use sharp or abrasive cleaning accessories to clean the soleplate.
TROUBLESHOOTING
If there is a problem?
PROBLEM
POSSIBLE CAUSE
SOLUTION
Water drips from the holes in the soleplate.
You are using steam while the iron is not hot enough.
Wait until the thermostat light goes out.
You are using the shot of steam button too often.
Wait a few seconds between each use of the button.
You have stored the iron horizontally, without emptying it and without setting it to .
See the section “Iron storage”.
Brown streaks come through the holes in the soleplate and stain the linen.
You are using ironing water additives (i.e. scented water, starch).
Never use ironing water additives; these will permanently damage your steam iron.
You are not using the right type of water.
Perform a Self cleaning operation and consult the chapter “What water to use?”.
Your linen has not been rinsed sufficiently or you have ironed a new garment before washing it.
Make sure that your laundry is rinsed sufficiently in order to remove any deposits of soap or chemical products on new clothes.
The soleplate is dirty or brown and can stain the linen.
Your are ironing with an inappropriate temperature selection (temperature too high).
Clean the soleplate (refer to chapter 9). Select the appropriate program.
You have ironed over a printed area of a garment.
Never iron over printed areas or applications – always iron the reverse side of such a garment.
There is little or no steam.
The water tank is empty.
Fill the water tank.
Your iron has been used dry for too long.
Carry out a Self clean.
Valve pin is not correctly in place.
Make sure valve pin is in correct position.
Thermodial is not set to steaming area.
Set thermodial between 2dot and Max.
The soleplate is scratched or damaged.
You have placed your iron flat on a metallic rest-plate or ironed over a zip.
Refrain from ironing over metallic buttons or zippers
Steam or water come from the iron as you finish filling the tank.
The steam control is not set to the DRY position.
Check that the steam control is set to the DRY position.
The water tank is overfilled.
Never exceed the Max level.
The spray does not spray.
The water tank is not filled enough.
Fill up the water tank.
IMPORTANT SAFETY INSTRUCTIONS
When using an iron, basic precautions should always be followed, including the following:
READ ALL INSTRUCTIONS BEFORE USING
Only use an iron for its intended use.
To avoid the risk of electric shock, do not immerse the iron in water or other liquids.
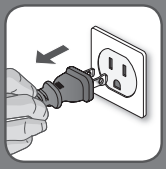
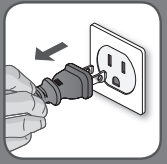
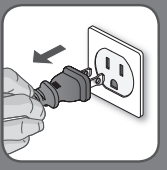
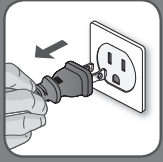
Always turn the iron OFF before plugging or unplugging the iron from the electrical outlet. Never pull on the cord to disconnect the iron from the electrical outlet; instead, grasp the plug and pull on the plug to disconnect the iron.
Do not let the cord touch hot surfaces. Let the iron cool completely before putting the iron away. Coil the cord loosely around the iron when storing.
Always disconnect the iron from the electrical outlet before filling the iron with water, emptying the water from the iron, and when the iron is not in use.
Do not operate the iron with a damaged cord or in the event the iron has been dropped or damaged. To avoid the risk of electric shock, do not disassemble the iron. Take it to a qualified serviceman for examination and repair. Incorrect assembly might result in a risk of electric shock when the iron is used after reassembly.
Close supervision is required for any appliance used by or near children. Do not leave the iron unattended while the iron is connected or on an ironing board.
Burns can occur from touching hot metal parts, hot water, or steam. Use caution when you turn a STEAM IRON upside down – there might be hot water in the reservoir.
To avoid a circuit overload, do not operate an iron on the same circuit with another high wattage appliance.
If an extension cord is absolutely necessary, a cord with an ampere rating equal to or greater than the maximum rating of the iron shall be used. A cord rated for less amperage can result in a risk of fire or electric shock due to overheating. Care shall be taken to arrange the cord so that it cannot be pulled or be tripped over.
This appliance is not intended for use by persons (including children) with reduced physical, sensory or mental capabilities, or lack of experience and knowledge, unless they have been given supervision or instruction concerning use of the appliance by a person responsible for their safety.
Children should be supervised to ensure that they do not play with the appliance.
The iron must be used and rested on a stable surface; • When placing the iron on its stand, ensure that the surface on which the stand is placed is stable;
The iron must not be left unattended while it is connected to the supply mains.
Cleaning and user maintenance shall not be made by children without supervision.
The iron is not to be used if it has been dropped, if there are visible signs of damage or if it is leaking.
Always disconect the iron from the electrical outlet, before you leave the room.
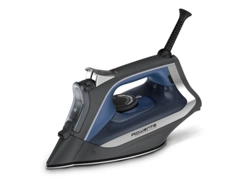
Yes! The Rowenta Focus Steam Iron can also be used as a dry iron.
#2 Is there a calc plug to remove to clean the irons calcium deposits?
The Rowenta Focus Xcel DW5260 Iron features a self-cleaning feature as well as a built-in Anti-Calc system to ensure for a clean steam and long-lasting performance. The Anti-Calc system includes a removeable valve that we would recommend cleaning every 2 months.
#3 The sole late looks much smaller than iron. Does any one know plate measurements?
The measurement of the sole plate on the Rowenta Focus Excel DW5260 iron is approximately 9.25"x5"

 position.
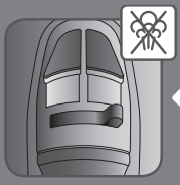

 position.
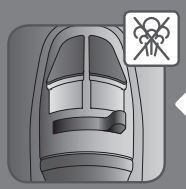
 / STORE or iron may leak if some water remains in the iron.
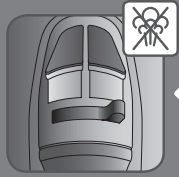


 position.
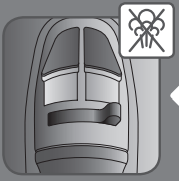


 .
.