Loading ...
Loading ...
Loading ...
9EN
English
5 Cleaning
Note
• Always turn the air purier o and
unplug from the electrical outlet
before cleaning.
• Never immerse the appliance in water
or any other liquid.
• Never use abrasive, aggressive, or
ammable cleaning agents such as
bleach or alcohol to clean any part of
the appliance.
• Only the pre-lter is washable. The air
purication lter is not washable nor
vacuum cleanable.
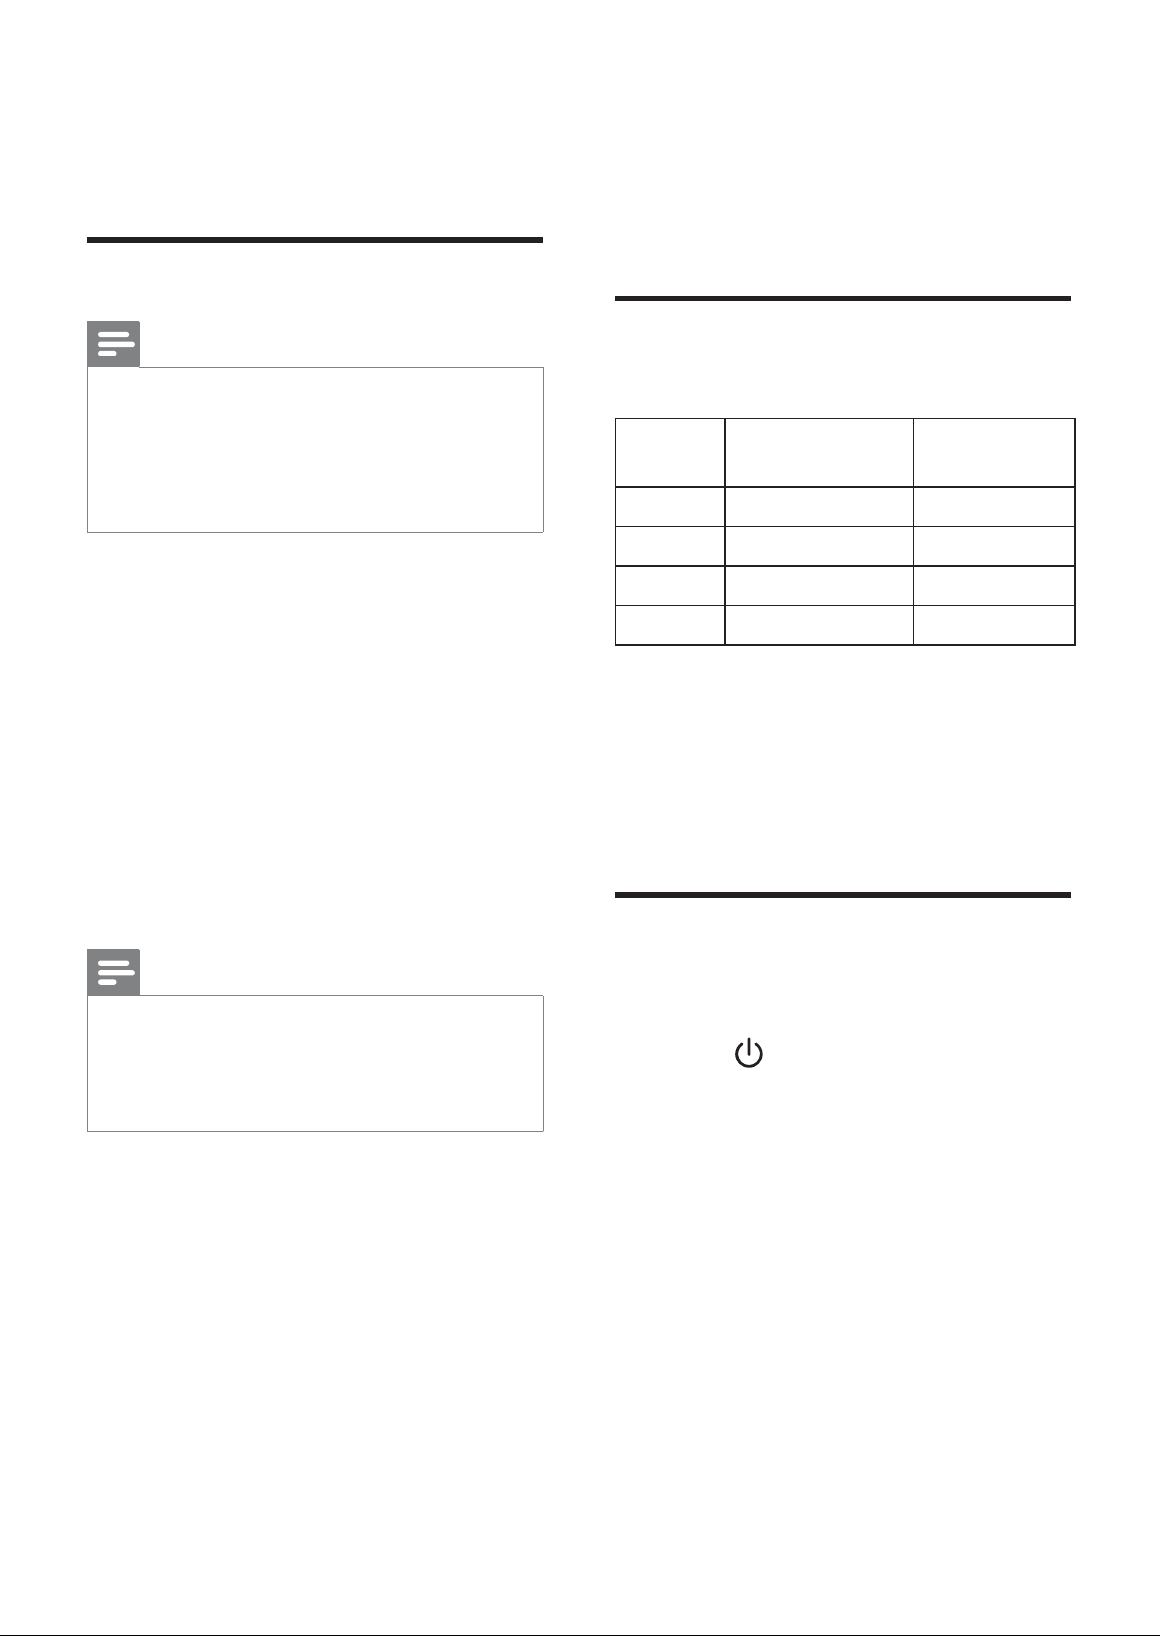
Cleaning schedule
Frequency Cleaning method
When necessary
Wipe the surface
of the appliance
with a soft dry
cloth
When F0
displays on the
screen
Clean the
pre-lter
Every two
months
Clean the air
quality sensors
Cleaning the body of the
appliance
Regularly clean the inside and outside
of the air purier to prevent dust from
collecting.
1 Use a soft, dry cloth to clean both
the interior and exterior of the air
purier.
2 The air outlet can also be cleaned
with a dry, soft cloth.
Cleaning the air quality
sensor
Clean the air quality sensor every
2 months for optimal functioning of the
purier. Clean them more frequently
if you use the purier in a dusty
environment.
Note
• When the humidity level in the
room is very high, it is possible that
condensation develops on the air
quality sensor. As a result, the air
quality light may indicate that the air
quality is bad even though it is good.
In this case you have to clean the
air quality sensor or use one of the
manual speed settings.
1 Switch o the air purier and
unplug from the wall outlet.
2 Clean the air quality sensor inlet
and outlet with a soft brush (g. r).
3 Remove the air quality sensor cover
(g. s).
4 Clean the air quality sensor, the
dust inlet and the dust outlet with a
lightly moistened cotton swab
(g. t).
5 Dry them with a dry cotton swab.
6 Reattach the air quality sensor
cover (g. u).
Loading ...
Loading ...
Loading ...