Loading ...
Loading ...
Loading ...
E-17
SD_HX500_SEC_SECL_E1.fm04/2/4
ENGLISH
TINSKA015AWZZ
SD-HX500
Preparation for Use
- Setting the clock -
Setting the clock
By setting the unit to the correct time, you can use it not only as a clock but also for
timer playback.
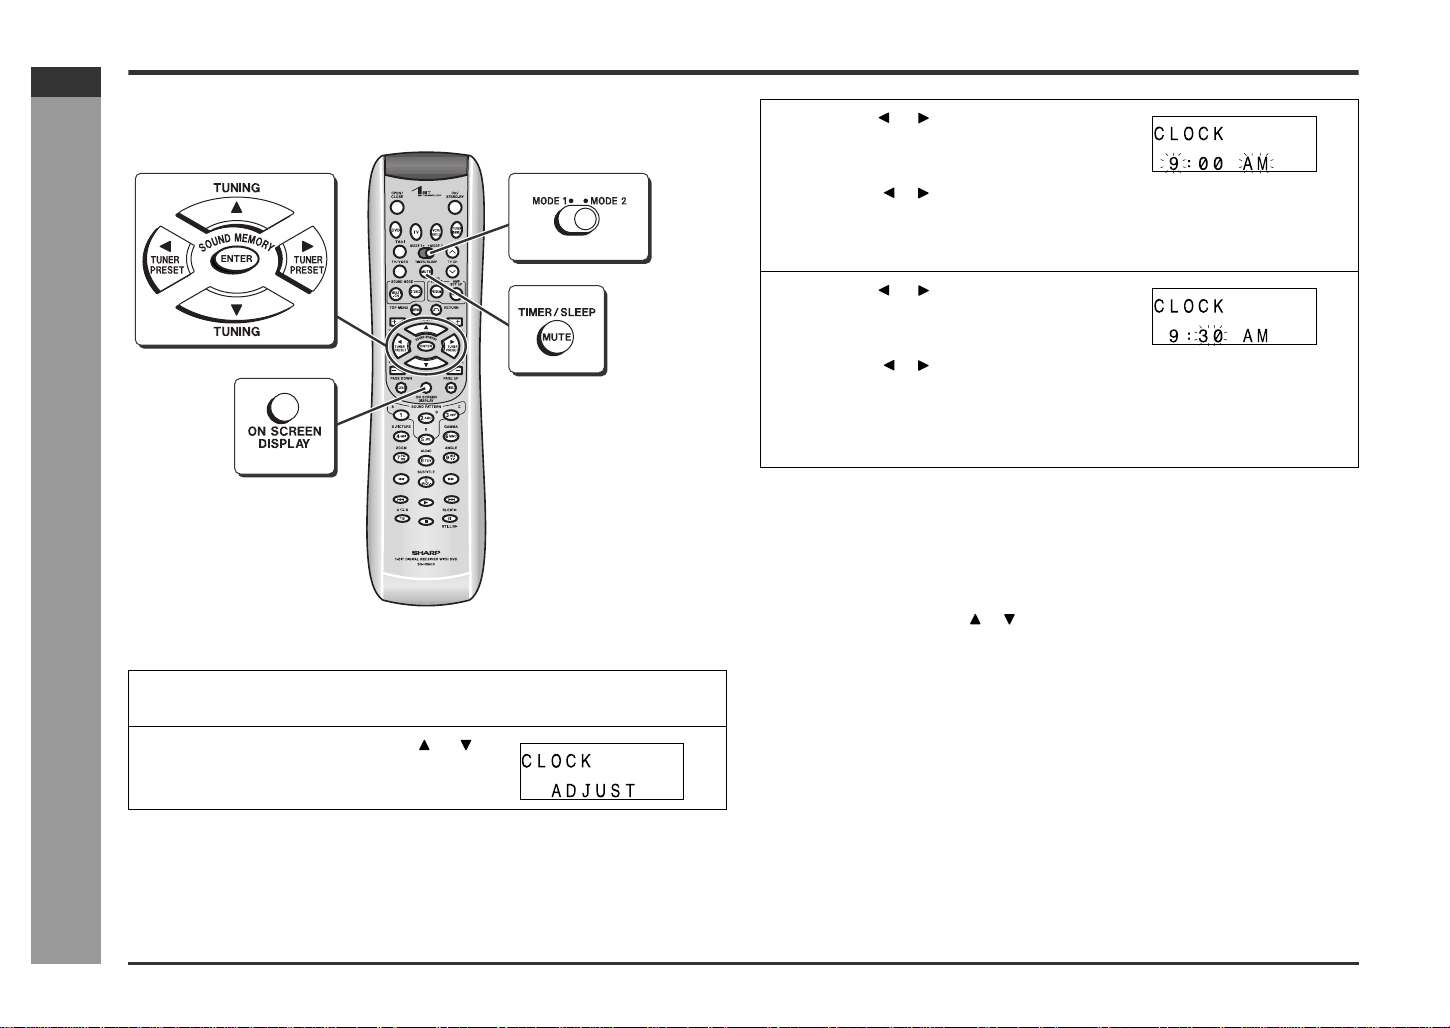
In this example, the clock is set to 9:30 AM.
To confirm the time display:
[When the unit is in the stand-by mode]
Set the MODE 1/MODE 2 switch to MODE 1 and press the DISPLAY button.
The time display will appear for about 5 seconds.
[When the power is on]
Set the MODE 1/MODE 2 switch to MODE 2 and press the TIMER/SLEEP button.
Within 10 seconds, press the or button to select "CLOCK".
The time display will appear for about 10 seconds.
To readjust the clock:
Perform "Setting the clock" from the beginning.
" In step 2, the time will be displayed.
" Follow steps 3 - 4.
Note:
Unplugging the unit or power failure will clear the clock setting.
Readjust the clock.
1
Turn on the power, set the MODE 1/MODE 2 switch to MODE 2 and
press the TIMER/SLEEP button.
2
Within 10 seconds, press the or
button to select "CLOCK ADJUST",
and then press the ENTER button.
3
Press the or button to adjust the
hour and then press the ENTER but-
ton.
" Press the or button once to advance the time by 1 hour. Hold it down to
advance continuously.
" The 12-hour display will appear.
" "AM" will change to "PM" automatically.
4
Press the or button to adjust the
minutes and then press the ENTER
button.
" Press the or button once to advance the time by 1 minute. Hold it down
to advance continuously.
" The hour will not advance even if minutes advance from "59" to "00".
" The clock starts from "0" second (seconds are not displayed).
" The time disappears after approx. 2 seconds.
Loading ...
Loading ...
Loading ...