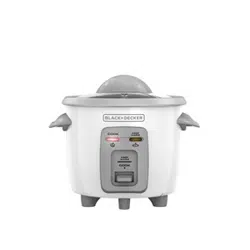
Black+Decker RC503 3-Cup Rice Cooker
Product's Documents
Below are documents related to this product, you can read online or download:
User Manual
User Manual
- User Manual - (English, Spanish) Read Online | Download pdf
- W11236415_V9 - (English) Download
- Installation Instructions - (Spanish) Download