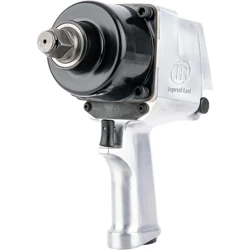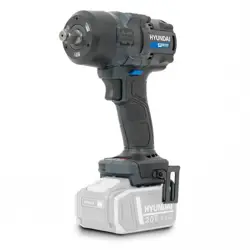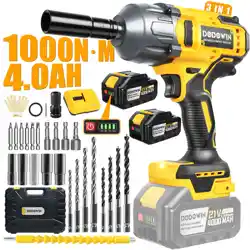
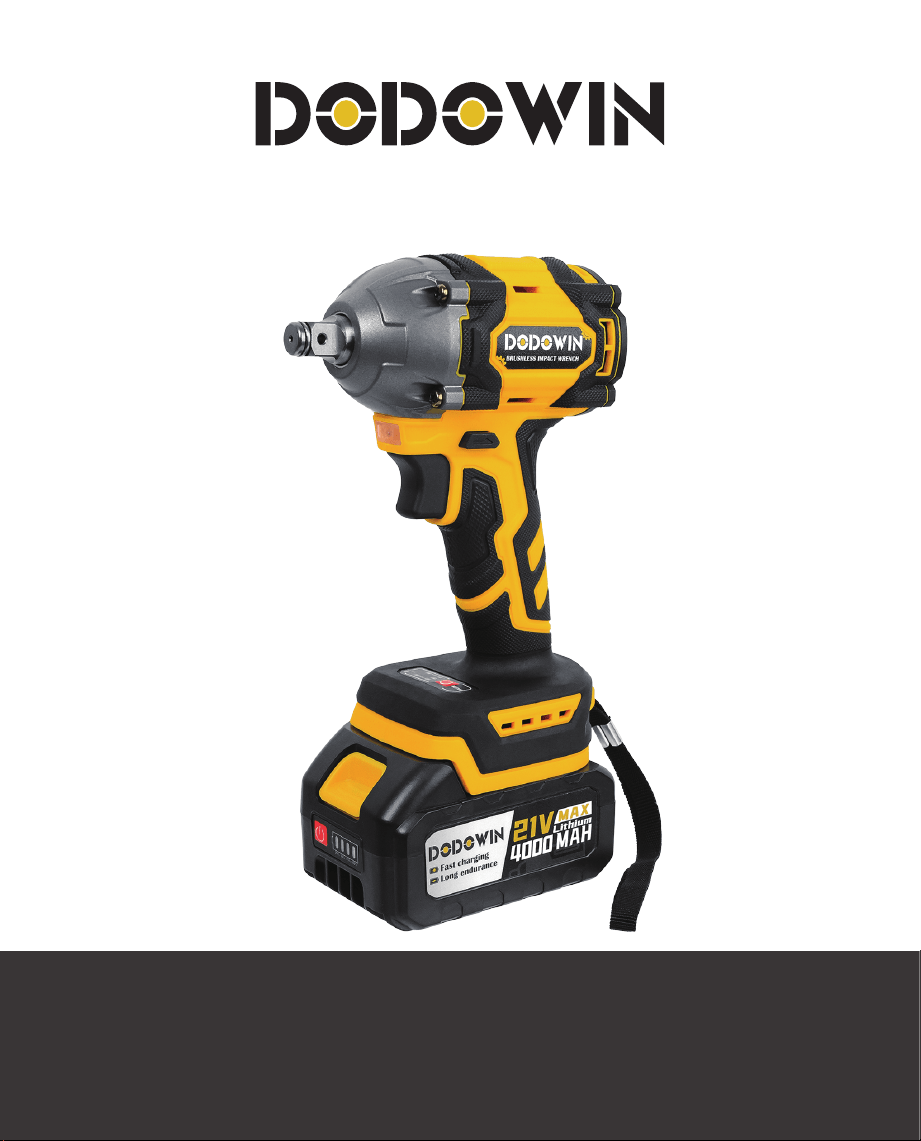
BRUSHLESS IMPACT WRENCH
USERMANUAL

TABLE OF CONTENTS
Components
Package
Battery charge level indicator
Installing or removing the battery pack
Tool/Battery protection system
Battery Charging Instructions
Forward and reverse switch action
Switch action
Install or remove retaining pin
Mode selector
Battery precaution and handling
After-sales service
1
1
2
2
2
2
3
3
3
4
4
4

COMPONENTS
1.
2.
3.
4.
Trigger Switch
Forward/Reverse Control Button
Anvil
Main Handle
5.
6.
7.
8.
Battery Release Button
Battery Pack
Work Light
Mode Selector
1
2
4
6
8
5
7
3
Carefully unpack the tool and ensure all accessories
are included.
Inspect the product carefully to ensure no damage
occurred during shipping. If you find damaged or
missing parts, please contact us via e-mail.
PACKAGE
NOTE
Do not discard the shipping carton and packaging
material until you are ready to use your new power
tool. Properly dispose of these materials in
accordance with local regulations.
The equipment and packaging material are not toys.
Do not let children play with plastics, foils, or small
parts. These items can be swallowed and cause
poisoning or death.
Do not insert the battery until assembly is complete.
Failure to comply could result in accidental starting
and possible serious personal injury.
WARNING
1
Depending on the conditions of use and the ambient
temperature, the indication may differ slightly from
the actual capacity.
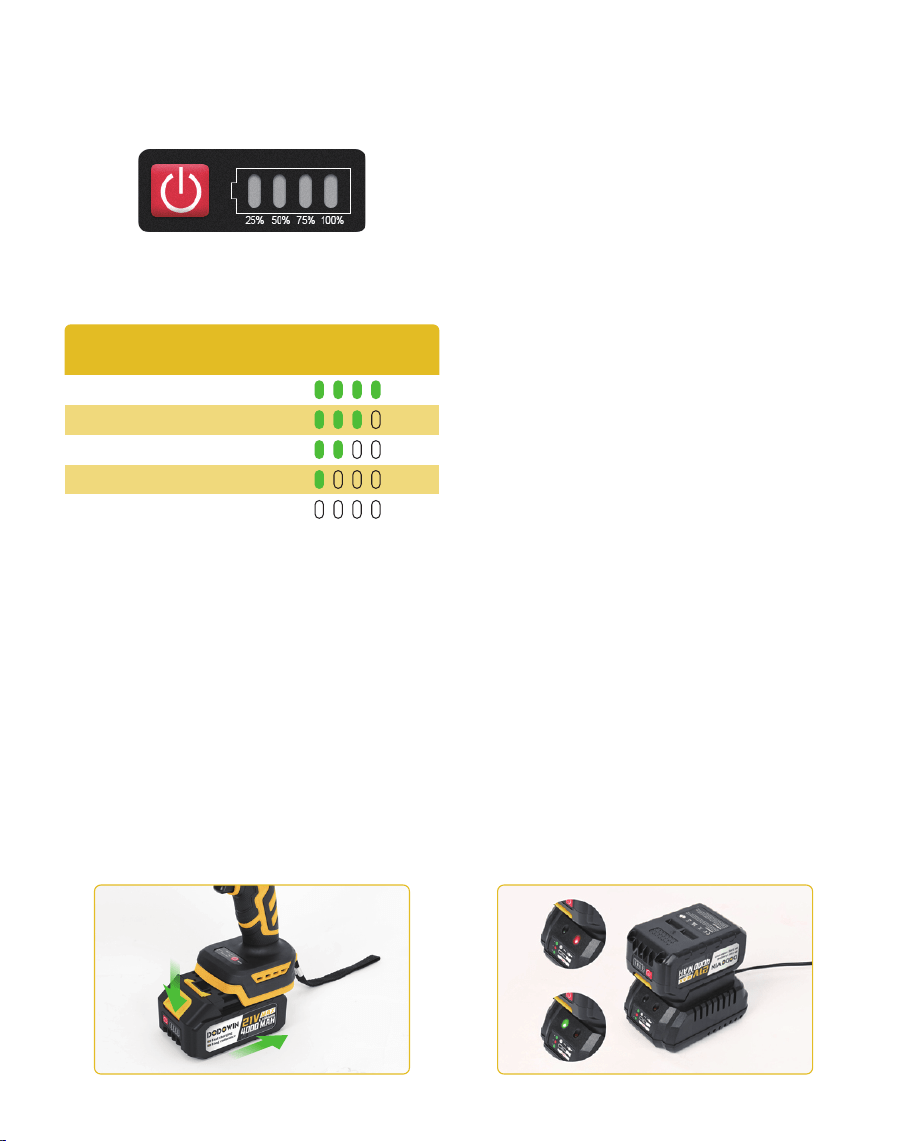
BATTERY CHARGE LEVEL
INDICATOR
Press the check button on the battery cartridge to
indicate the remaining battery capacity. The indicator
lamps light up for a few seconds:
Remaining Capacity Indicator Lamps
75% - 100%
50% - 75%
25% - 50%
0% - 25%
Charge the battery
NOTE
To remove the battery compartment, slide the button
on the front of the battery compartment while sliding
it out of the tool.
Align the battery pack with the housing grooves and
slide it in until it clicks into place.
Always turn off the tool before installing or removing
the battery pack.
When installing or removing the battery pack, hold the
tool and battery pack firmly. Failure to hold the tool
and battery pack securely may cause them to slip from
your hands, resulting in damage to the tool and battery
pack and personal injury.
INSTALLING OR REMOVING
THE BATTERY PACK
This tool comes with a tool/battery protection system.
The system automatically cuts off power to extend tool
and battery life. The tool will automatically stop during
operation if the tool or battery is in one of the
following conditions:
Overload protection
This protection comes into play when the tool is
operated in a manner that causes it to draw an
unusually high amount of current. In this case, turn off
the tool and stop the application that is overloading
the tool. Then turn on the tool and restart.
Overheat protection
This protection comes into play when the tool or
battery overheats. In this case, allow the tool and
battery to cool before turning the tool back on.
TOOL/BATTERY
PROTECTION SYSTEM
Over discharge protection
This protection kicks in when the remaining battery
power becomes low. In this case, remove the battery
from the tool and charge the battery.
BATTERY CHARGING
INSTRUCTIONS
2

Step 1: Safety Check
Use the original or compatible charger. Ensure the
battery is not damaged or leaking.
Step 2: Preparation
Remove the battery from the wrench. Clean terminals;
ensure no dust or corrosion. Select the correct charger
slot (if applicable).
Step 3: Charging
Insert the battery into the charger with correct polarity.
Plug in the charger to start charging.
Step 4: Completion
Red light = charging;
Green = fully charged.
Unplug and remove the battery once fully charged.
To activate the tool, simply pull the switch trigger.
Increase tool speed by increasing pressure on the
switch trigger. Release the switch trigger to stop.
SWITCH ACTION
Switch trigger
NOTE
Make sure the rotation direction is correct before
operation.
Do not change the rotation direction unless the tool is
completely stopped to prevent damage.
Set the switch to neutral when not in use.
The tool has a reversing switch to change the
direction of rotation. Press the reversing switch lever
from side A to rotate clockwise; press it from side B to
rotate counter clockwise. When the reversing switch
lever is in the neutral position, the switch trigger can
not be pulled.
FORWARD AND REVERSE
SWITCH ACTION
Reversing switch lever
AA BB
Move the O-ring out of the groove in the impact sleeve
and remove the pin from the impact sleeve. Install the
impact socket onto the impact wrench so that the
holes in the impact socket line up with the holes in the
impact wrench.
Insert the pin into the hole in the impact socket and
impact wrench. Then return the O-ring to its original
position in the groove of the impact sleeve to secure
the pin.
To remove the impact socket, follow the installation
steps in reverse.
INSTALL OR REMOVE
RETAINING PIN
Impact socket
PinO-ring
3

NOTE
The electric wrench has a reverse-rotation self-stop
function in reverse rotation mode, which is mainly
used in the process of reverse-rotation to suck and
tighten the screw. After the screw is loosened to a
certain extent, it will stop running and the screw will
not fall off to the screw rod.
The tool comes with a mode selector that allows you
to choose one of two speeds.
Choose the appropriate mode based on desired torque
or speed. Use the variable-speed trigger to control
output.
MODE SELECTOR
WARNING
To reduce the risk of injury or explosion, never burn or
incinerate a battery pack even if it is damaged, dead
or completely discharged. When burned, toxic fumes
and materials are emitted into the surrounding
atmosphere.
Always dispose of the battery pack in accordance with
federal regulations and local regulations. Please
contact your local recycling agency to find out where
your waste is dropped off.
BATTERY PRECAUTIONS
AND HANDLING
Failure to insert the battery with the correct polarity
according to the instructions on the battery pack or
instruction manual may shorten the life of the
battery or cause battery leakage.
4.
Do not mix old and new batteries.
5.
Do not mix alkaline, standard (carbon-zinc) or
rechargeable (nickel-cadmium, nickel-metal hydride
or lithium-ion) batteries.
6.
Do not put batteries into fire.
7.
Batteries should be recycled or disposed of in
accordance with state and local guidelines.
8.
Install only new batteries of the same type in your
product (if applicable).
3.
Even discharged battery packs contain some energy.
Before disposing, use electrical tape to cover the
terminals to prevent the battery pack from shorting,
which could cause a fire or explosion.
1.
Batteries vary by device. Consult your manual for
specific information.
2.
If you encounter any issues with the product, please
don't hesitate to contact us. Our team is ready to
assist you with repairs, replacements, refunds, and
other after-sales support.
We are committed to providing you with the best
possible service. Thank you for choosing us!
AFTER-SALES SERVICE
Email :
Website :
dodowinoffi[email protected]
www.dodowin.com
4