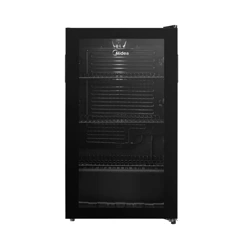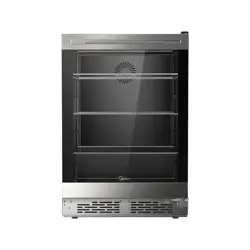
Beverage Cooler
MRV185S5BSS
USER MANUAL
Warning notices: Before using this product, please read this manual carefully and keep it for future reference.
The design and specifications are subject to change without prior notice for product improvement.
Consult with your dealer or manufacturer for details.
The diagram above is just for reference. Please take the appearance of the actual product as the standard.

01
THANK YOU LETTER
Thank you for choosing Midea! Before using your new Midea product, please read
this manual thoroughly to ensure that you know how to operate the features and
functions that your new appliance offers in a safe way.
CONTENTS
THANK YOU LETTER
------------------------------------------------- 01
SPECIFICATIONS
------------------------------------------------------ 02
PRODUCT OVERVIEW
----------------------------------------------- 03
PRODUCT INSTALLATION
------------------------------------------04
OPERATION INSTRUCTIONS
---------------------------------------09
CLEANING AND MAINTENANCE
----------------------------------- 11
TROUBLESHOOTING
--------------------------------------------------12

02
SPECIFICATIONS
Product model MRV185S5BSS
Volume 5.4 cu.ft.(152 L)
Rated Voltage 115V~
Rated Frequency 60Hz
Rated Current 1.8A
Refrigerant R600a
Amount 1.55oz(44g)
Product Dimension ( W x D x H) 23.4x24.0x34.6 in(595x610x870 mm)
03
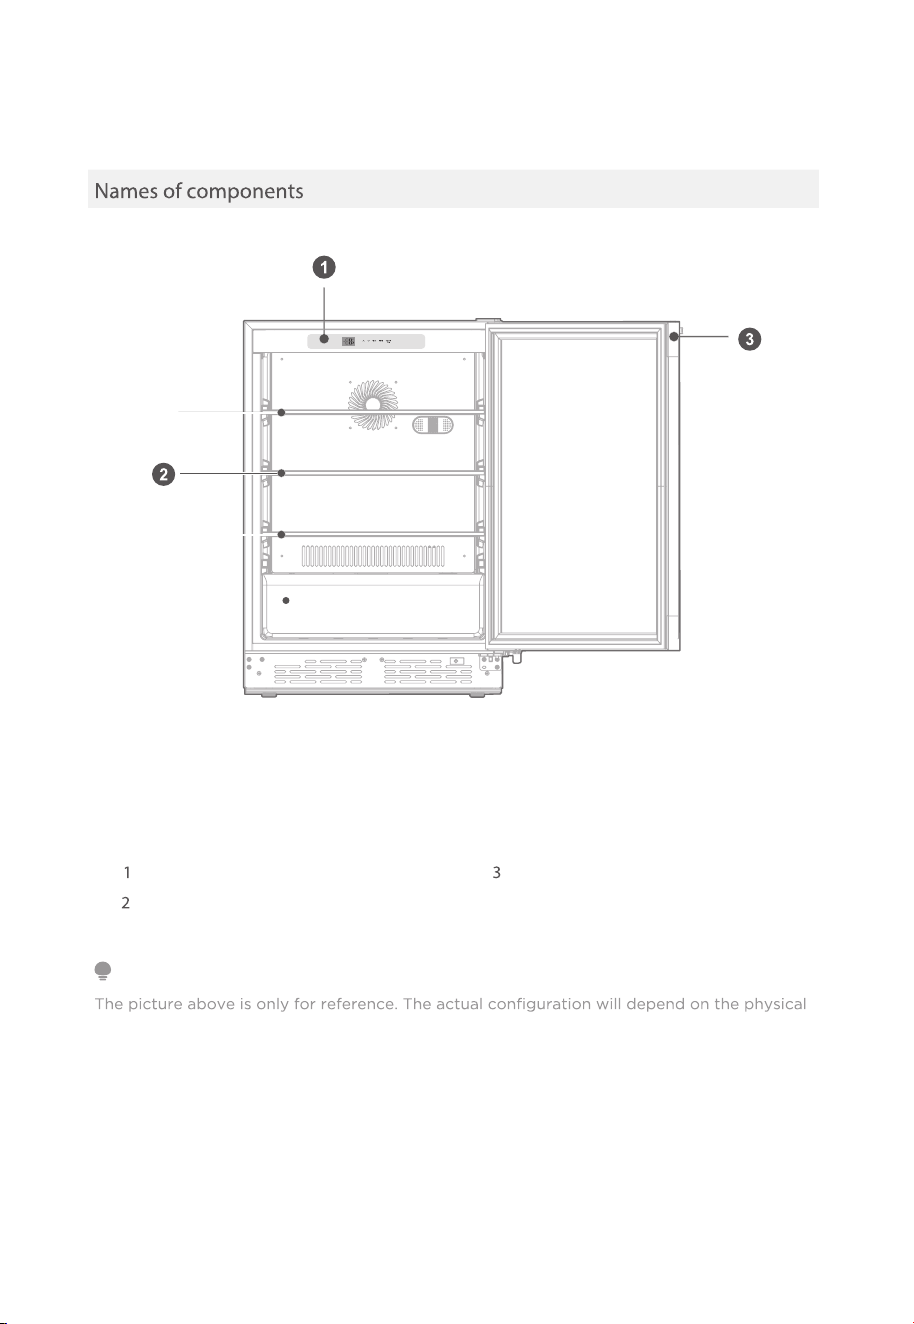
PRODUCT OVERVIEW
Temperature control panel Glass door
Shelf
ATTENTION
product or statement by the distributor.
04
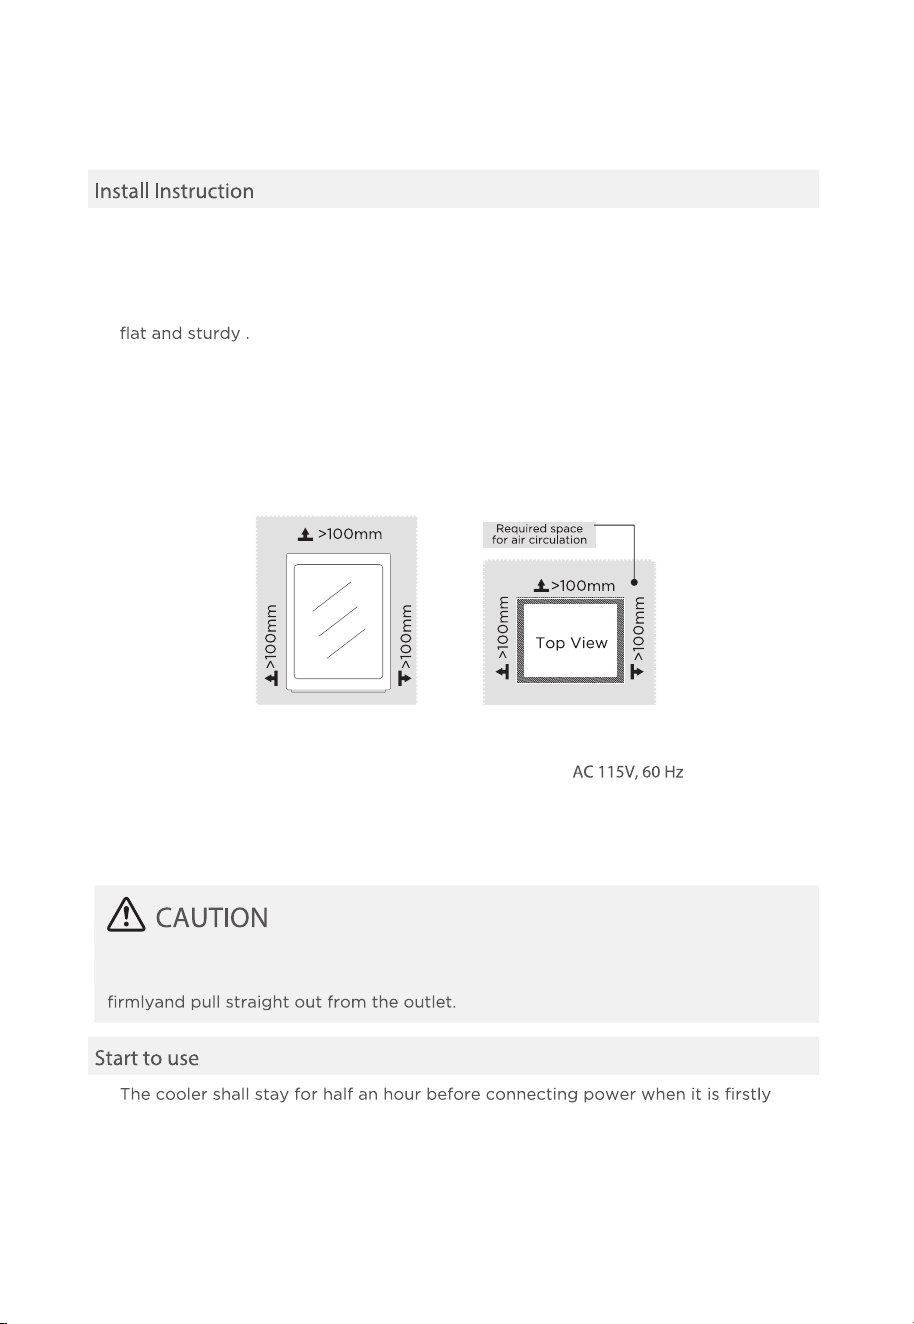
PRODUCT INSTALLATION
Finding a suitable location
• This cooler is designed to be free standing only, and should not be recessed or built-
in.
• The cooler should be placed in a well-ventilated indoor place; the ground shall be
• Keep away from heat and avoid direct sunlight. Do not place the cooler in moist or
watery places to prevent rust or reduction of insulating effect.
Dimensions and Clearances
• Too small of a distance from adjacent items may result in the degradation of
freezing capability and increased electricity costs. Allow over 100 mm of clearance
from each adjacent wall when installing the appliance.
Providing a proper power supply
• Check your local power source. This cooler requires a power
supply.
• Use a receptacle that accepts the grounding prong. The power cord is equipped
with a 3-prong (grounding) plug which mates with a standard 3-prong (grounding)
wall outlet to minimize the possibility of electric shock hazard from this cooler.
The cooler should always be plugged into its own individual electrical outlet which
has a voltage rating that matches the rating plate.
Never unplug your cooler by pulling on the power cord. Always grip the plug
•
started.
• The cooler shall run 2 to 3 hours before loading fresh or frozen foods; the cooler
shall run for more than 4 hours in summer in advance considering that the ambient
temperature is high.

05
• Do not let the beverage can tough the back side of cooler in order to maintain
good air circulation in the cabinet.
• The capacity of beverage can storage is calculated based on the standard size
can 355ml(outline size
65mm*125mm,12oz) , oversized beverage can may
impact on the number of can storage in the cabinet.
Top shelf ,middle shelf and
bottom shelf
Bottom zone
185 cans of cola can be stored
ATTENTION
ATTENTION
Due to different temperature zones generated due to air circulation in the beverage cooler,
the upper area’s temperature is higher than the low area.
• The beverage cooler shall be placed in room dry and ventilated. The beverage
cooler can not be put under direct sunlight or next to heat source(such
as radiator, stove, etc.), and a suitable insulation board shall be applied if
necessary.
• Try to shorten opening time of beverage cooler’s door.
• Put beverage into beverage cooler after it has cooled down.
06
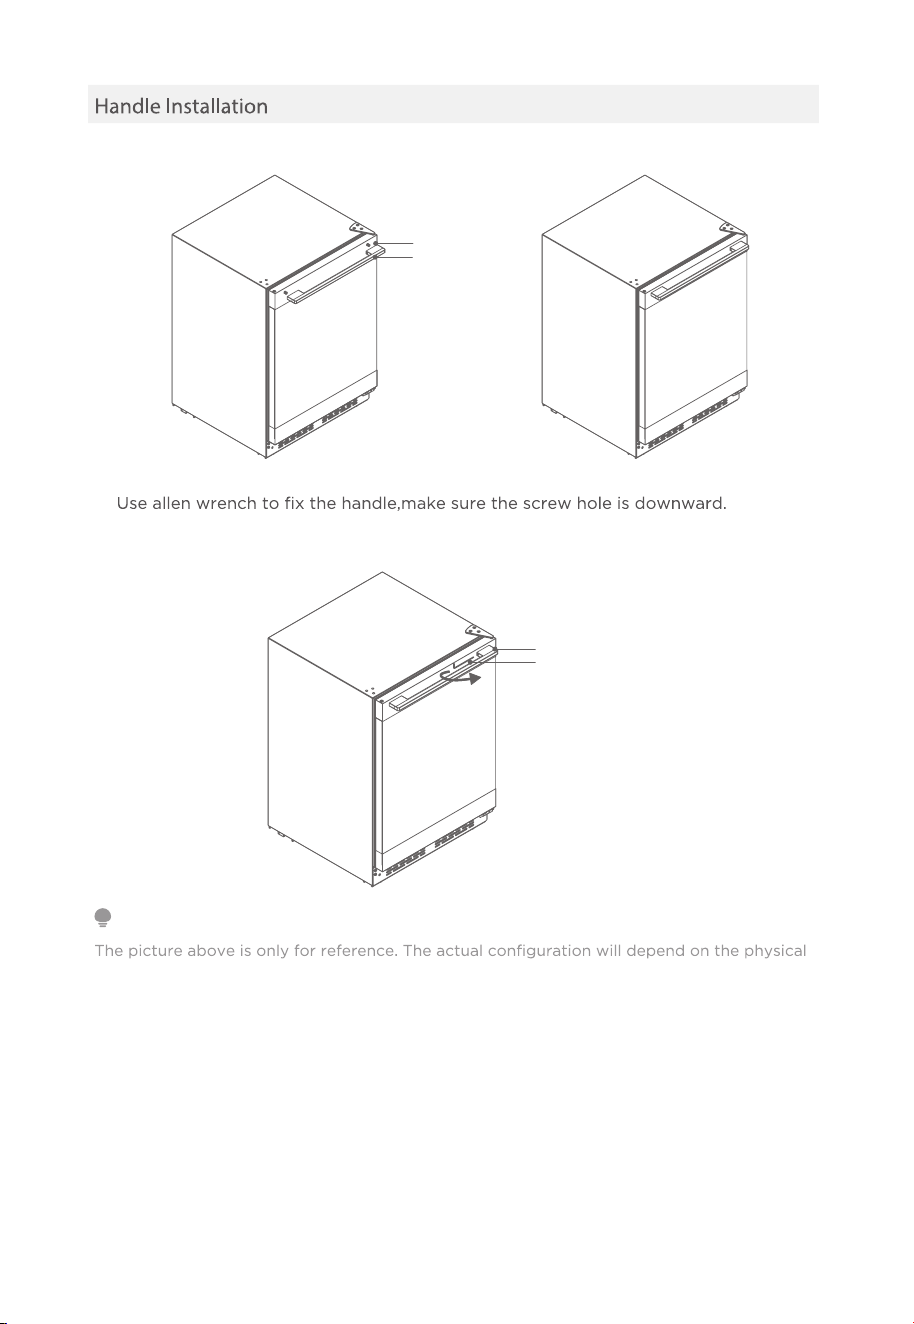
1.
Put the handle on glass door through the two bolts.
2.
ATTENTION
product or statement by the distributor.
Bolt
Handle
Handle screw
Allen wench
07
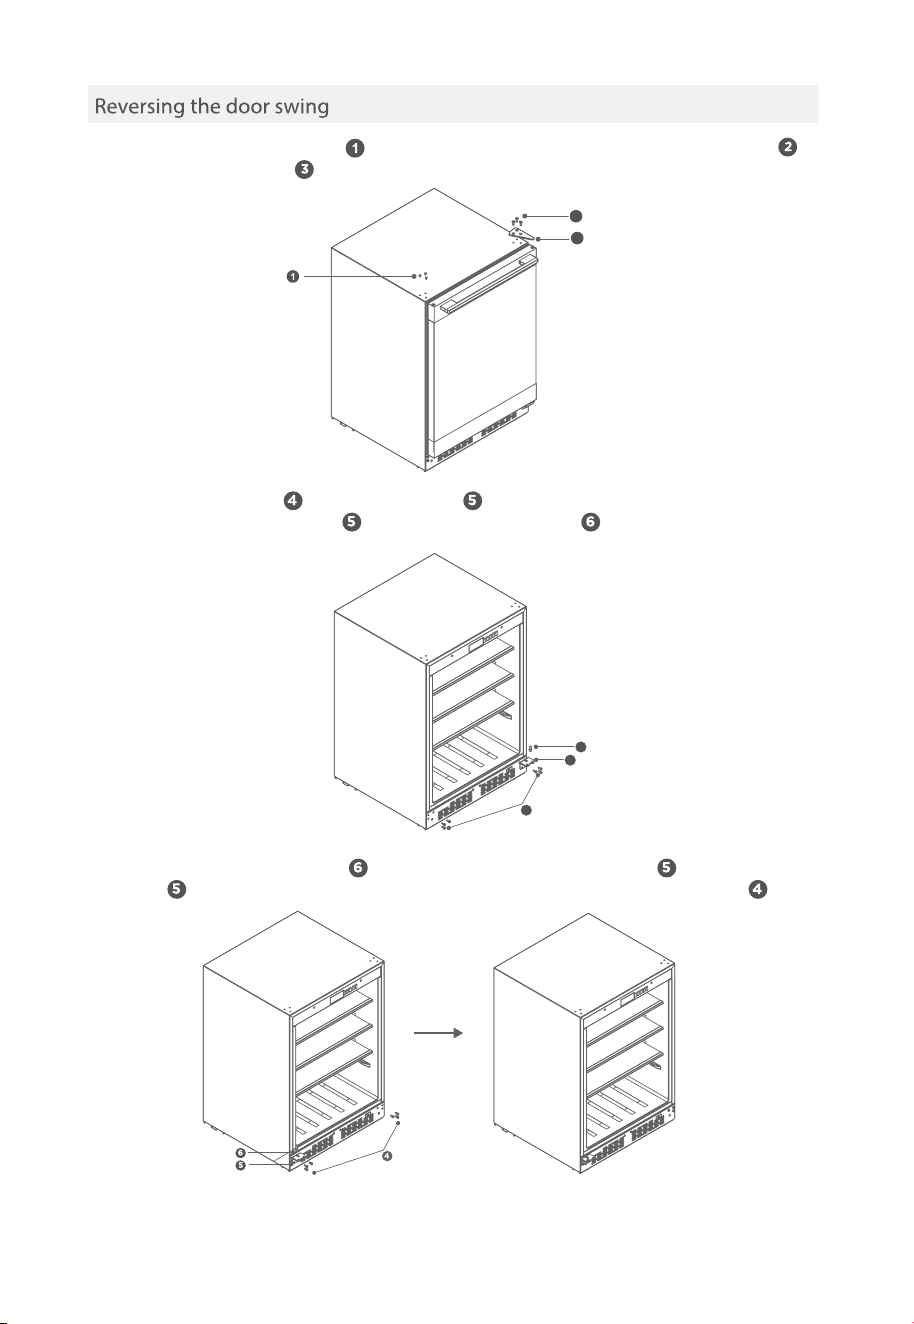
1.
Carefully remove the rivets with a blade,loosen the three positioning screws ,
move the door hinge
.
2.
Remove the screws of the lower hinge , the screws at the same position on the
other side ,the lower hinge
,and the lower hinge shaft .
3.
Install the lower hinge shaft on the left hole of the lower hinge ,install the lower
hinge
and the hole at the same position on the other side with the screws .
2
3
4
6
5
08
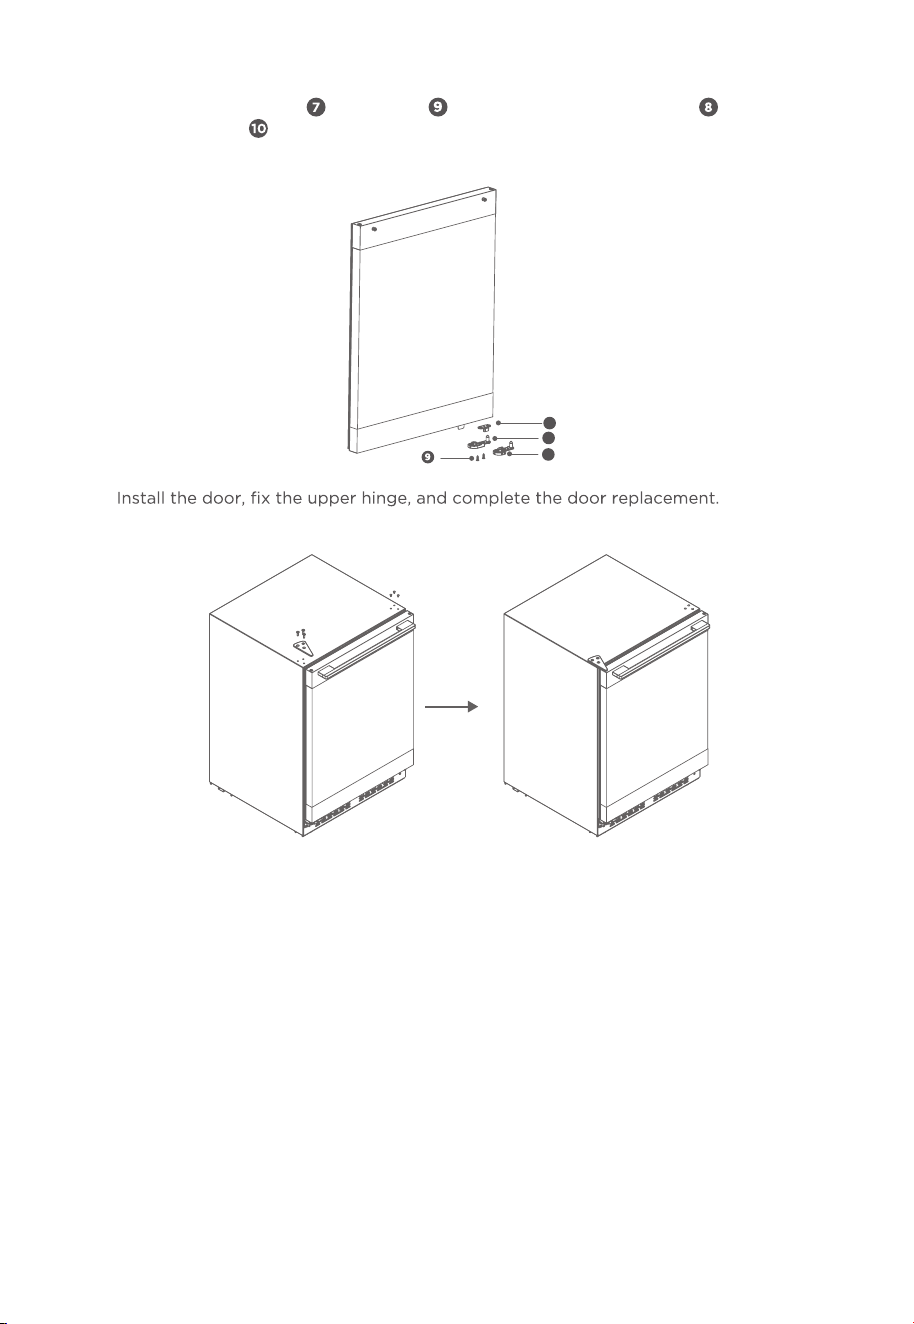
4.
Remove the door limit and screws ,replace the right self-locking with the
left self-locking
, install all of the above together on the lower left side of the
door.
5.
8
10
7
09
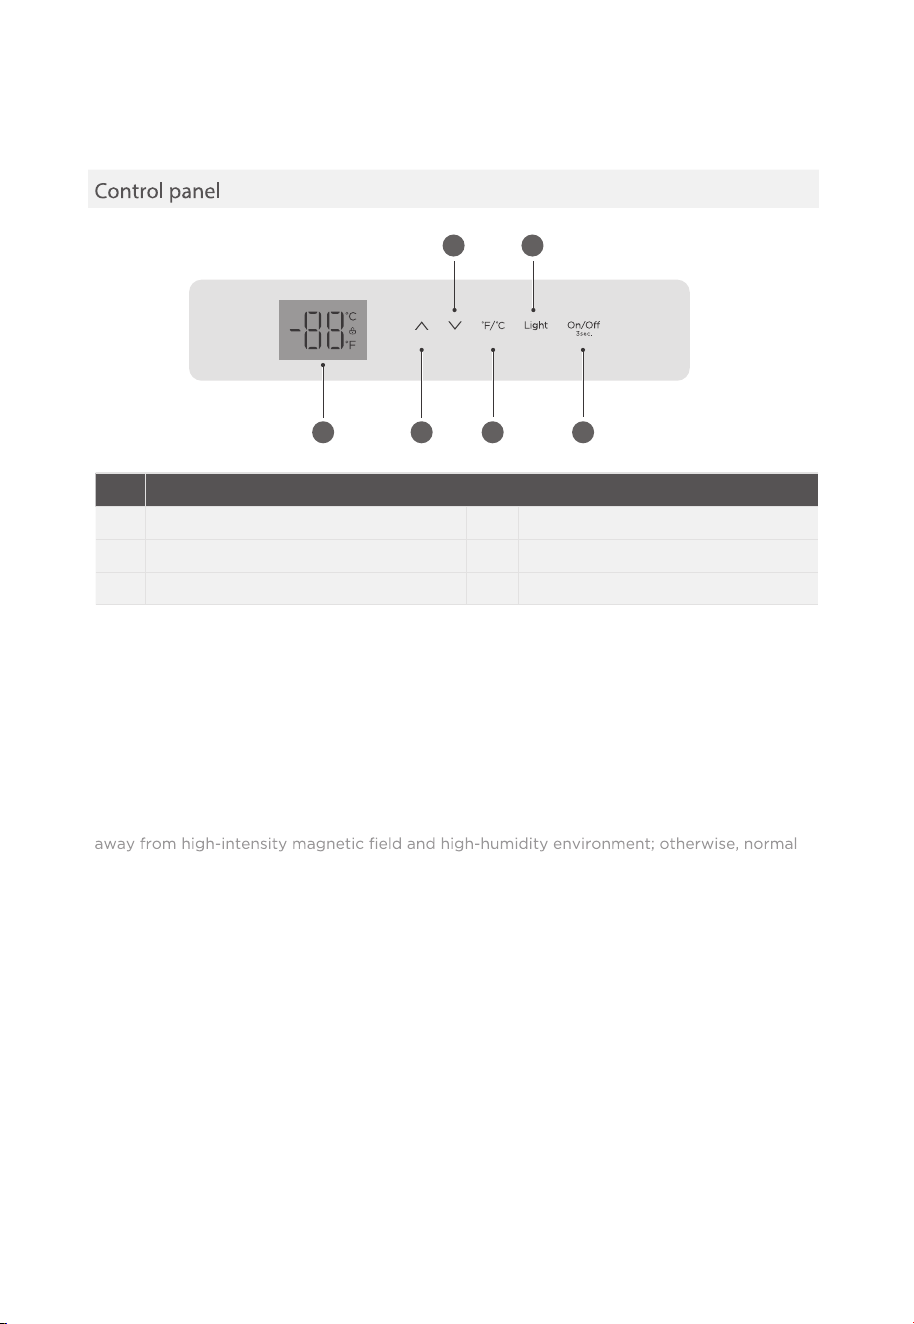
OPERATION INSTRUCTIONS
Display
1
Temperature decrease button
4
Temperature increase button
2
Lighting button
5
°C/°F conversion button
3
Display area
6
Standby button
* The actual control panel may differ from model to model.
Display Control
• If power on for 1st time,the display area will shine fully last for 3 seconds with
the start-up tone then enter in normal running state.
• Digital display area: display the fault code (cyclically) in the case of failure and
the set temperature in the case of no failure.
* This beverage cooler can be controlled by gently touching buttons on the glass touch
screen. The display pane should be prevented from scratching by sharp objects and kept
setting and operation of the beverage cooler may be affected.
Standby function
• Press the standby button for 3s to enter/exit the standby mode. The standby
mode will be valid after locking.
Lighting
• Press the lighting button to turn on or off the light. In this case, the buzzer will
utter sound oncel The light is on when door is opened, the light is off when
door is closed.
• Press this button to turn off or on the light when the door is open. The ON
state of the light is not affected by door opening and closing.
1 2
3 4
5
6

10
°C/°F conversion button
• Short-press the
°
C/
°
F conversion button to switch between Centigrade
and Fahrenheit temperature. In this case, the display area will display the
Centigrade or Fahrenheit temperature setting of the existing mode.
Temperature setting
• Once the temperature increase button is pressed, the temperature will increase
by one degree (
°
C/
°
F). Once the temperature decrease button is pressed, the
temperature will decrease by one degree (
°
C/°F).
ATTENTION
The setting range of centigrade temperature is 1°C-10°C; and the setting range of Fahrenheit
temperature is 34 °F- 50°F.
Memory function
• The beverage cooler has the power-off memory function. If the power supply
is reconnected, the beverage cooler will run under the temperature set before
power-off.
Error code
• If the failure happens, the display area will show corresponding error codes as
shown as below table, the user shall contact a specialist for maintenance, so as
to make sure the normal use of beverage cooler.
Error Code Description
E1 Chamber temperature sensor fault
E6 Communication fault

11
CLEANING AND MAINTENANCE
If the beverage cooler left unused for a long time, please:
1.
Unplug the beverage cooler;
2.
Clean the beverage cooler;
3.
Keep the beverage cooler door open.
• Dusts behind the beverage cooler and on the ground shall be timely to improve the
cooling effect and energy saving.
• Check the door gasket regularly to make sure there are no debris.
• Clean the door gasket with a soft cloth dampened with soapy water cleaned or
diluted detergent.
• The interior of the beverage cooler should be cleaned regularly to avoid odor.
• Please turn off the power before cleaning interior, remove all foods, drinks ,shelves,
etc.
• Use a soft cloth or sponge to clean the inside of the beverage cooler, with two
tablespoons of baking soda and a quart of warm water. Then rinse with water and
wipe clean. After cleaning, open the door and let it dry naturally before turning on
the power.
•
sandwiches, gaps or corners), it is recommended to wipe them regularly with a soft
rag, soft brush, etc. and when necessary, combined with some auxiliary tools (such
as thin sticks) to ensure no contaminants or bacterials accumulation in these areas.
• Do not use soaps, detergents, spray cleaners, etc. to clean the inside of your
beverage cooler as these may create odors or contamination.
• Clean the shelves with a soft cloth dampened with soapy water or diluted detergent.
Then rinse with water and dry with a soft cloth or dry naturally.
• Wipe the outer surface of the beverage cooler with a soft cloth dampened with
soapy water, detergent, etc., and then wipe dry. Do not rub or scratch the surface of
the glass door to prevent the door from being broken or scratched.
• Do not use hard brushes, clean steel balls, wire brushes, abrasives(such as
toothpastes),organic solvents (such as alcohol, acetone, banana oil, etc.), boiling
water, acid or alkaline items, which may damage the beverage cooler surface and
interior. Boiling water and organic solvents such as benzene may deform or damage
plastic parts.
• Do not rinse directly with water or other liquids during cleaning to avoid short
circuits or affect electrical insulation after immersion.
12
TROUBLESHOOTING
The following simple issues can be handled by the user. Please call the after-sale
service department if the issues are not solved.
Problem Possible reason
Not work
• Whether the cooler is plugged and connected to power
• Low voltage
• Failure power or tripping circuit.
Long-time operation
of the compressor
• It is normal that cooler operates for longer time in summer
when the ambient temperature is higher
• Do not put too much beverage s in the cooler at one time;
• Frequent opening of cooler door.
Light not work
• Whether the cooler is connected to power, whether the
indicator light is damaged.
Loud noises
•
stable;
• Whether the cooler accessories are properly placed.
Over heat on
sidewall
• The cooler enclosure may emit heat during running specially
in summer, this is caused by the radiation of the condenser,
and it is a normal phenomenon.
Surface
condensation
• Condensation: condensation phenomenon will be detected
on the exterior surface and door seals of the cooler when the
ambient humidity is high, this is a normal phenomenon, and
after wiping with towel, turns up the set temperature of the
appliance properly.
Buzz
Clatter
• Refrigerants circulating in the refrigerant lines will produce
eruption of sound and grunts which is normal does not affect
the cooling effect.
• Buzz will be generated by running compressor specially when
starting up or shutting down.
• The solenoid valve or electric switch valve will clatter which is
a normal phenomenon and does not affect the operation.