Panasonic Entertainment & Communication Co., Ltd.
Web Site: https://www.panasonic.com
© Panasonic Entertainment & Communication Co., Ltd. 2020-2022
EB
TQBJ2285-1
L0820CH1072
En
Basic Operating Instructions
Compact Stereo System
Model No. SC-HC200
Thank you for purchasing this product.
For optimum performance and safety, please read these instructions carefully.
Please keep this manual for future reference.
This manual contains basic information.
Visit website below for detailed instructions.
https://panasonic.jp/support/global/cs/audio/oi/sc_hc200eb/
Your system and the illustrations can look differently.
Bottom of product
The symbols on this product (including the accessories)
represent the following:
Safety precautions
WARNING!
Unit
• To reduce the risk of fire, electric shock or product
damage,
– Do not expose this unit to rain, moisture, dripping or
splashing.
– Do not place objects filled with liquids, such as vases,
on this unit.
– Use the recommended accessories.
– Do not remove covers.
– Do not repair this unit by yourself. Refer servicing to
qualified service personnel.
– Do not let metal objects fall inside this unit.
CAUTION!
Unit
• To reduce the risk of fire, electric shock or product
damage,
– Do not install or place this unit in a bookcase, built-in
cabinet or in another confined space. Ensure this unit is
well ventilated.
– Do not obstruct this unit’s ventilation openings with
newspapers, tablecloths, curtains, and similar items.
– Do not place sources of naked flames, such as lighted
candles, on this unit.
• This unit is intended for use in moderate climates.
• This unit may receive radio interference caused by mobile
telephones during use. If such interference occurs, please
increase separation between this unit and the mobile
telephone.
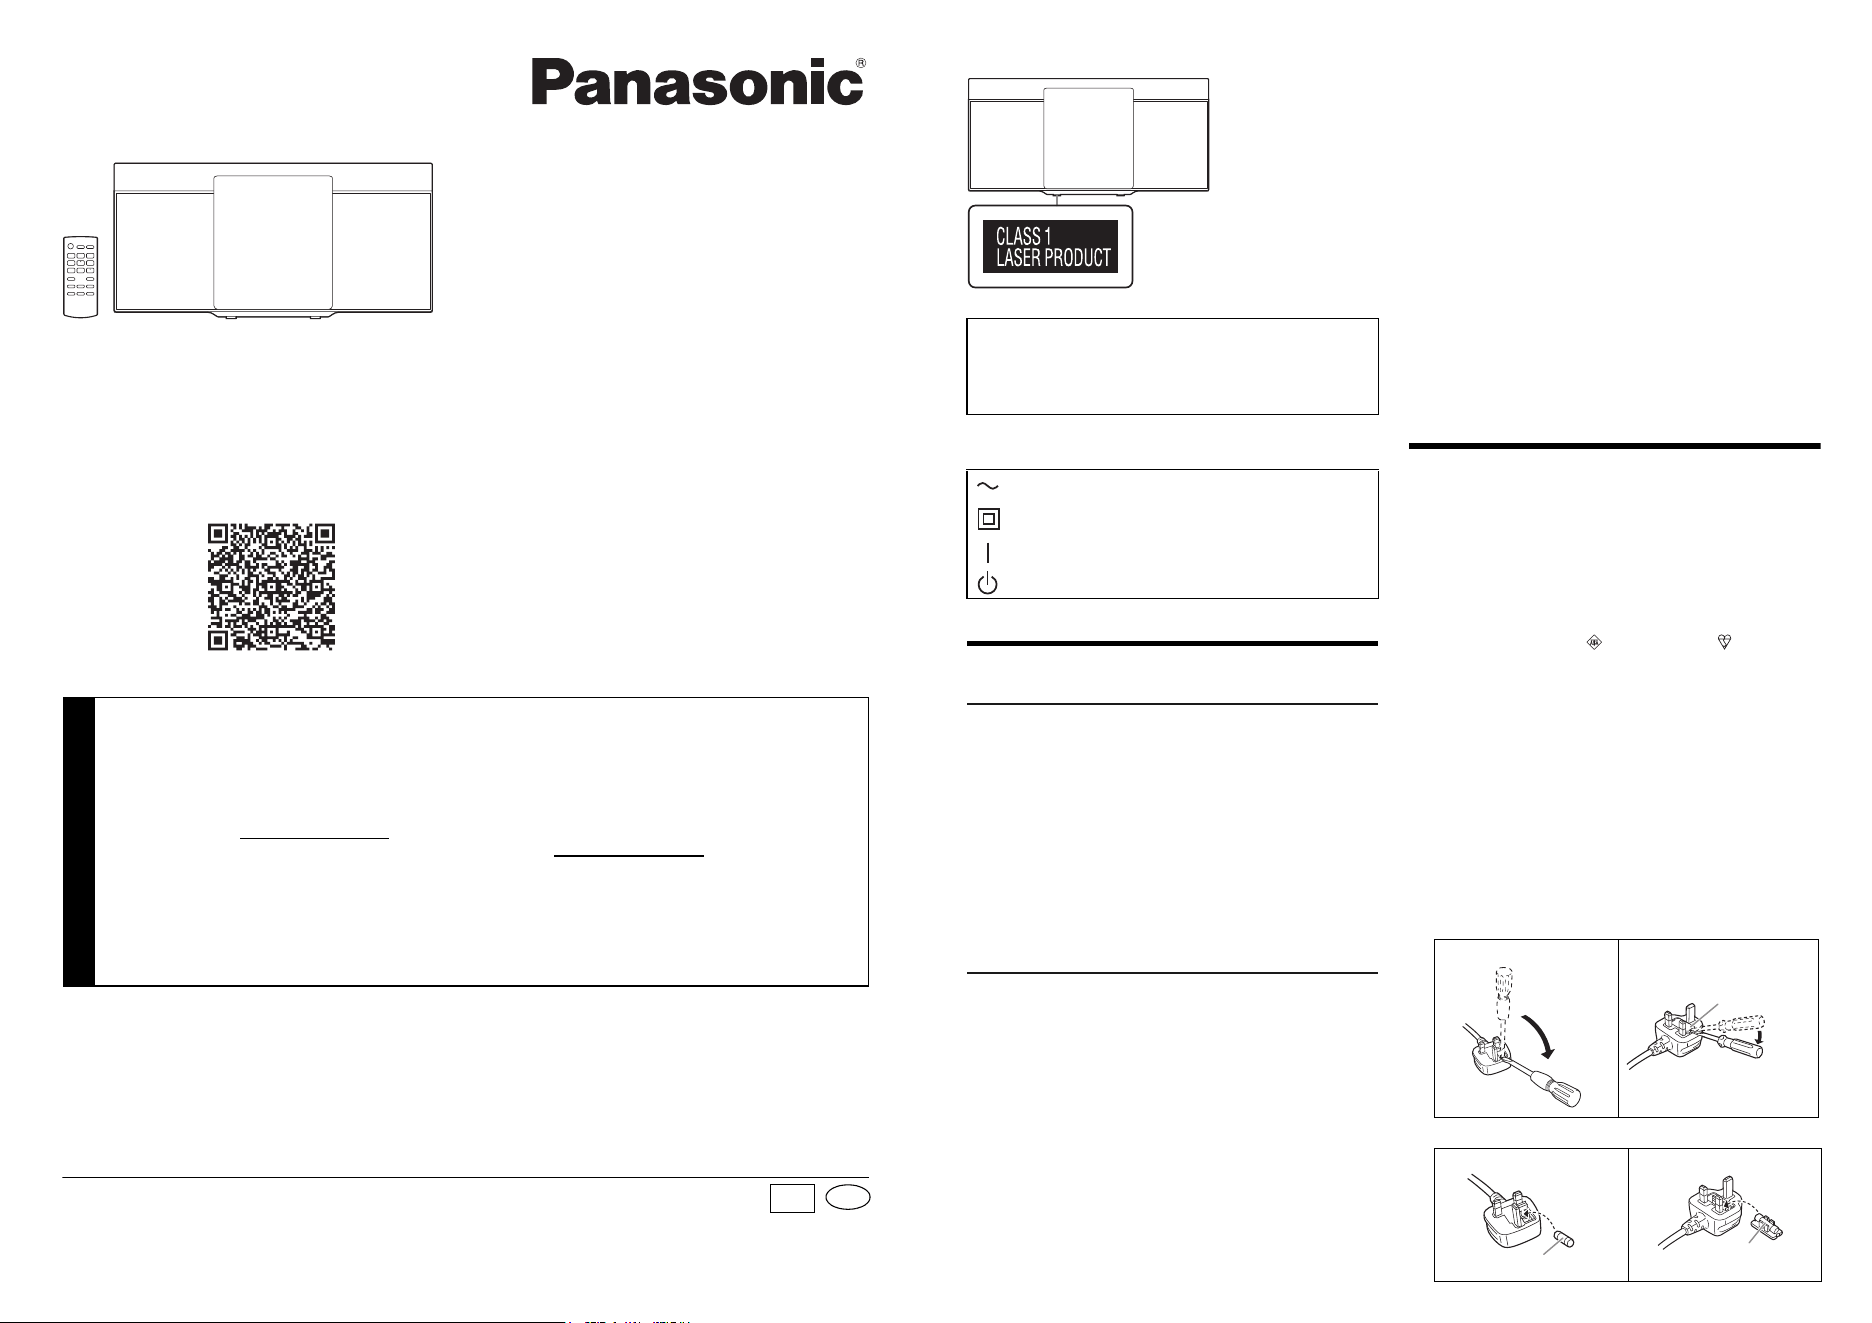
• This unit utilizes a laser. Use of controls or adjustments or
performance of procedures other than those specified
herein may result in hazardous radiation exposure.
• Product Identification Marking is located on the bottom of
the unit.
AC mains lead
• The mains plug is the disconnecting device. Install this
unit so that the mains plug can be unplugged from the
socket outlet immediately.
Battery
• Danger of explosion if battery is incorrectly replaced.
Replace only with the type recommended by the
manufacturer.
• When disposing the batteries, please contact your local
authorities or dealer and ask for the correct method of
disposal.
• Do not heat or expose to flame.
• Do not leave the battery(ies) in a car exposed to direct
sunlight for a long period of time with doors and windows
closed.
Caution for AC mains lead
For your safety, please read the following text carefully.
This appliance is supplied with a moulded three pin mains
plug for your safety and convenience.
A 5-ampere fuse is fitted in this plug.
Should the fuse need to be replaced please ensure that the
replacement fuse has a rating of 5-ampere and that it is
approved by ASTA or BSI to BS1362.
Check for the ASTA mark or the BSI mark on the body
of the fuse.
If the plug contains a removable fuse cover you must ensure
that it is refitted when the fuse is replaced.
If you lose the fuse cover the plug must not be used until a
replacement cover is obtained.
A replacement fuse cover can be purchased from your local
dealer.
Before use
Remove the connector cover.
How to replace the fuse
The location of the fuse differ according to the type of AC
mains plug (figures A and B). Confirm the AC mains plug
fitted and follow the instructions below.
Illustrations may differ from actual AC mains plug.
1. Open the fuse cover with a screwdriver.
2. Replace the fuse and close or attach the fuse cover.
The holes at the back are used only by the retailers for
product display purposes.
Panasonic cannot be held responsible for any property
damage and/or serious injury, including death resulting
from improper use of these holes.
AC
Class II equipment (The construction of the
product is double-insulated.)
ON
Standby
Figure A Figure B
Figure A Figure B
Fuse cover
Fuse (5 ampere)
Fuse (5 ampere)
Manufactured by:
Importer for UK:
Authorized Representative in
Europe:
Panasonic Entertainment & Communication Co., Ltd.
1-10-12 Yagumo-higashi-machi, Moriguchi City,
Osaka 570-0021, Japan
Panasonic UK, a branch of
Panasonic Marketing Europe GmbH
Maxis 2, Western Road, Bracknell, Berkshire, RG12 1RT
Panasonic Marketing Europe GmbH
Panasonic Testing Centre
Winsbergring 15, 22525 Hamburg, Germany
Customer Communications Centre
• For customers within the UK: 0344 844 3899
• For customers within Ireland: 01 289 8333
• Monday – Friday 9:00am – 5:00pm
(Excluding public holidays).
• For further support on your product, please
visit our website: www.panasonic.co.uk
Sales and Support Information
Direct Sales at Panasonic UK
• Order accessory and consumable items for your product
with ease and confidence by phoning our Customer
Communications Centre
Monday – Friday 9:00am – 5:00pm
(Excluding public holidays).
• Or go on line through our Internet Accessory ordering
application at www.pas-europe.com
.
• Most major credit and debit cards accepted.
• All enquiries transactions and distribution facilities are
provided directly by Panasonic UK.
• It couldn’t be simpler!
• Also available through our Internet is direct shopping for a
wide range of finished products. Take a browse on our
website for further details.
TQBJ2285-1_en_boi.fm Page 1 Tuesday, July 12, 2022 9:37 AM
Declaration of Conformity (DoC)
Hereby, “Panasonic Entertainment & Communication Co.,
Ltd.” declares that this product is in compliance with the
essential requirements and other relevant provisions of
Directive 2014/53/EU.
Customers can download a copy of the original DoC to our
RE products from our DoC Server:
https://www.ptc.panasonic.eu/compliance-documents
Contact to Authorised Representative:
Panasonic Marketing Europe GmbH, Panasonic Testing
Centre, Winsbergring 15, 22525 Hamburg, Germany
UK Declaration of Conformity (DoC)
Hereby, “Panasonic Entertainment & Communication Co.,
Ltd.” declares that this product is in compliance with the
essential requirements and other relevant provisions of the
Radio Equipment Regulations 2017 No.1206.
Customers can download a copy of the original DoC to our
RE products from our DoC Server:
https://www.ptc.panasonic.eu/compliance-documents
Contact in the UK: Panasonic Testing Centre on behalf of
Panasonic UK, a branch of Panasonic Marketing Europe
GmbH (Importer)
Maxis 2, Western Road, Bracknell, Berkshire, RG12 1RT
Supplied accessories
Check and identify the supplied accessories.
Use numbers indicated in parentheses when asking for
replacement parts. (Product numbers correct as of
August 2020. These may be subject to change.)
Making the connections
Connect the AC mains lead only after all the other
connections have been made.
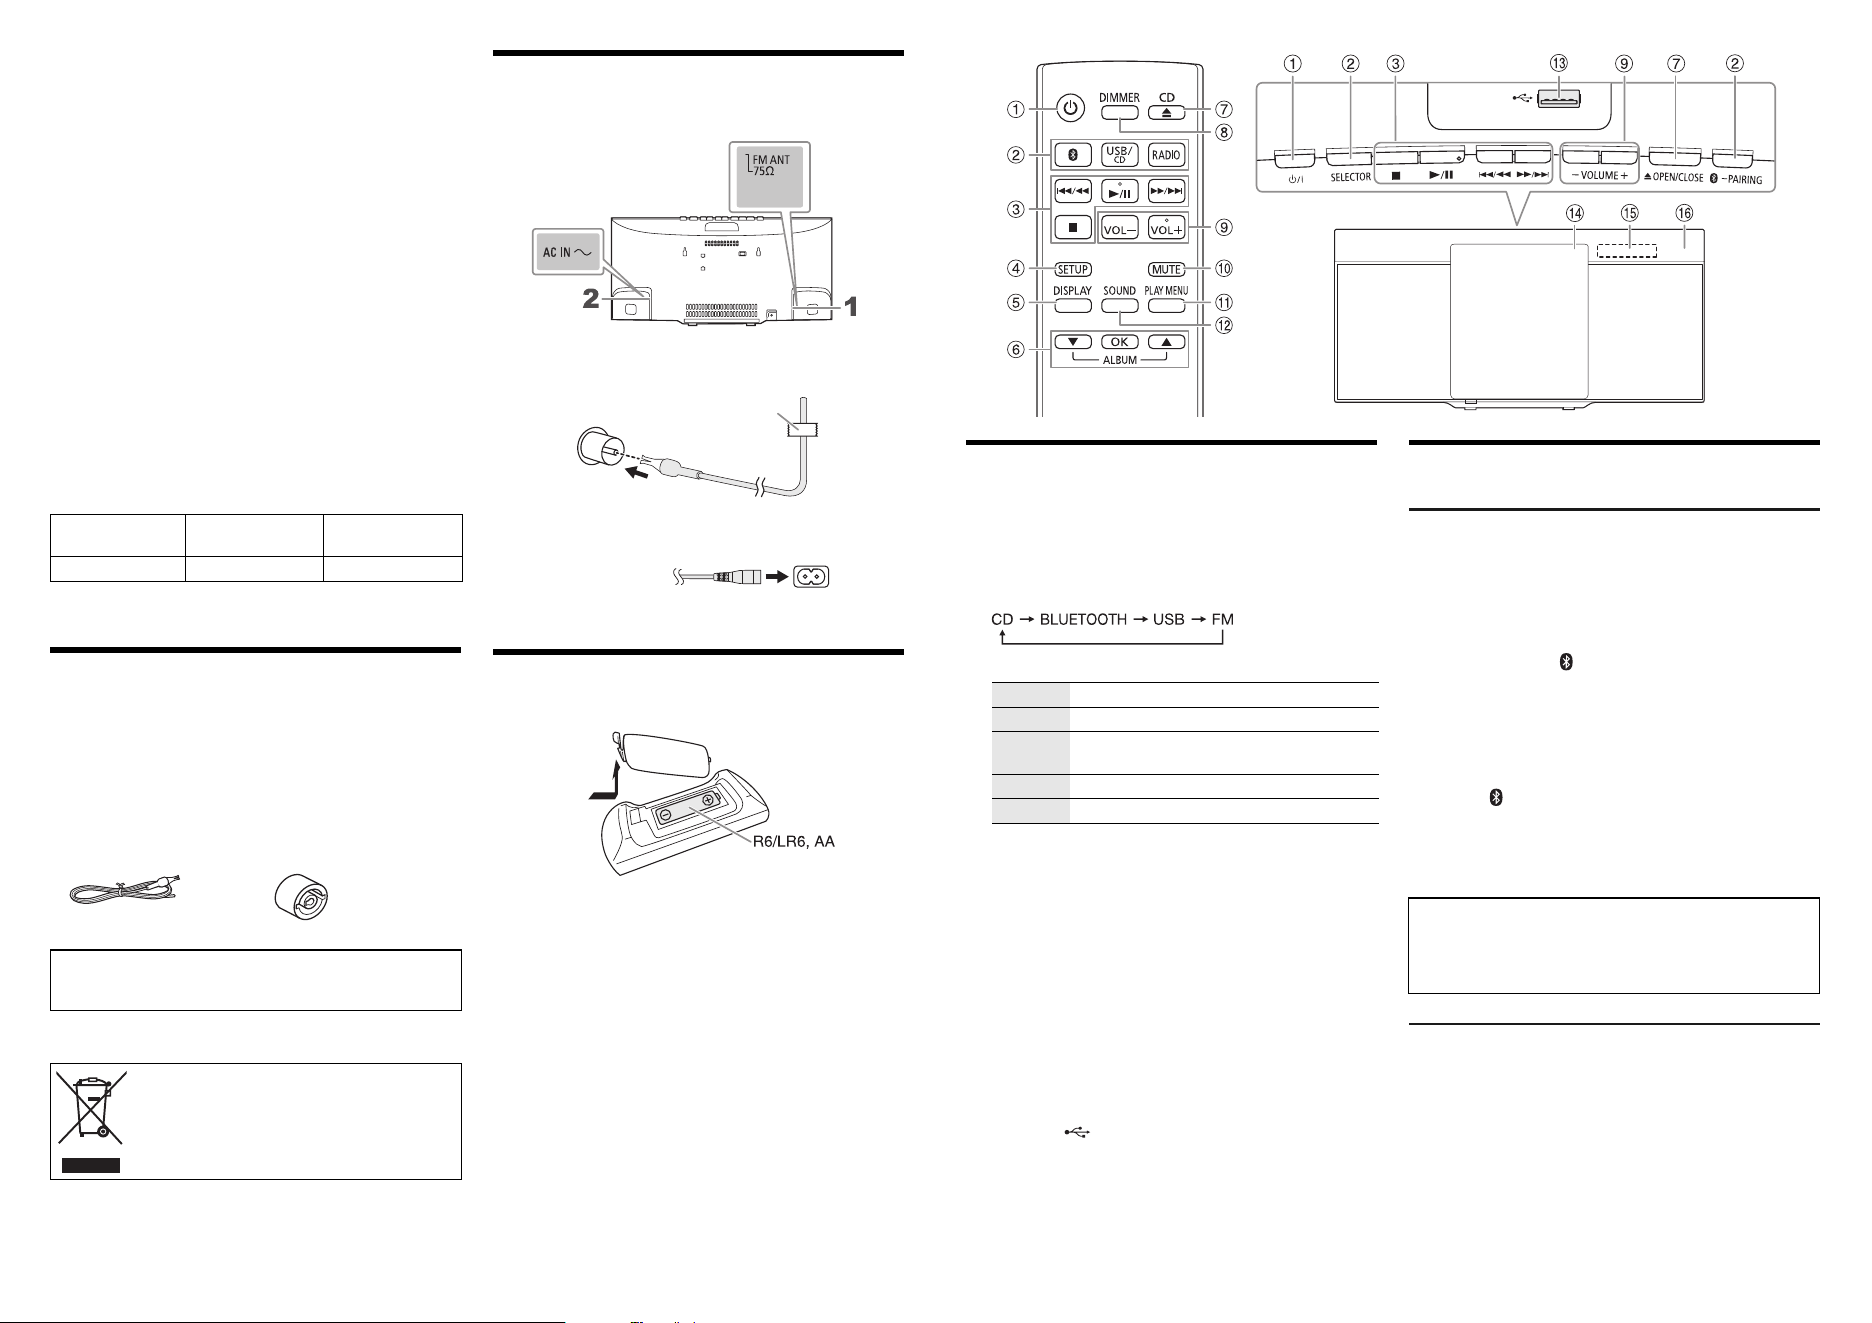
1 Connect the FM indoor antenna.
Place the antenna where reception is best.
2 Connect the AC mains lead.
Preparing the remote control
Use alkaline or manganese battery.
Install the battery so that the poles (+ and –) align with those
in the remote control.
Type of wireless
Frequency band
Maximum power
(dBm E.I.R.P.)
Bluetooth
®
2402 – 2480 MHz 4 dBm
1 AC mains leads
(K2CT2YY00097)
1 FM indoor antenna
(RSAX0002)
1 Remote control
(N2QAYB000984)
1 Antenna plug adaptor
(K1YZ02000013)
CAUTION!
Keep the antenna plug adaptor out of reach of children to
prevent swallowing.
This symbol indicates separate collection of
waste electrical and electronic equipment.
More detailed information is contained in
“Operating Instructions (PDF format)”.
Adhesive tape
(not supplied)
To household
mains socket
(not supplied)
Overview of controls
A Standby/on switch [`], [1]
Press to switch the unit from on to standby mode or vice
versa. In standby mode, the unit is still consuming a
small amount of power.
B Select the audio source
On the main unit:
C Basic playback control
D View the setup menu
E View the content information
F Select and confirm an option
Skip MP3 albums
G Open or close the sliding door
H Decrease the brightness of the display panel
To cancel, press the button again.
I Adjust the volume level
J Mute the sound
To cancel, press the button again.
“MUTE” is also cancelled when you adjust the volume or
when you switch off the system.
K View the play menu
L Select the sound effects
M USB port ( )
N Sliding door
Put in a disc with the label facing towards you.
O Display panel
P Remote control sensor
Distance: Within approximately 7 m
Angle: Approximately 20° up and down, 30° left and right
Basic operations
Bluetooth
®
Preparation
Switch on the Bluetooth
®
feature of the device and put the
device near the system.
█
Pairing a device
1 Press and hold [ –PAIRING] on the main unit until
“PAIRING” is shown.
2 Select “SC-HC200” from the Bluetooth
®
menu of the
device.
█
Connecting a device
1 Press [ ].
2 Select “SC-HC200” from the Bluetooth
®
menu of the
device.
3 Start playback on the device.
Radio
1 Press [RADIO].
2 Press [PLAY MENU] repeatedly to select
“TUNE MODE”.
3 Press [
R
,
T
] to select “MANUAL” and then press
[OK].
4 Press [2/3] or [5/6] to tune in to the
station.
To tune automatically, press and hold the button until
the frequency starts changing quickly.
Play Press [4/9].
Stop Press [8].
Pause Press [4/9].
Press again to continue playback.
Skip Press [2/3] or [5/6].
Search Press and hold [2/3] or [5/6].
The Bluetooth
®
word mark and logos are registered
trademarks owned by Bluetooth SIG, Inc. and any use of
such marks by Panasonic Holdings Corporation is under
license. Other trademarks and trade names are those of
their respective owners.
TQBJ2285-1_en_boi.fm Page 2 Tuesday, July 12, 2022 9:37 AM
