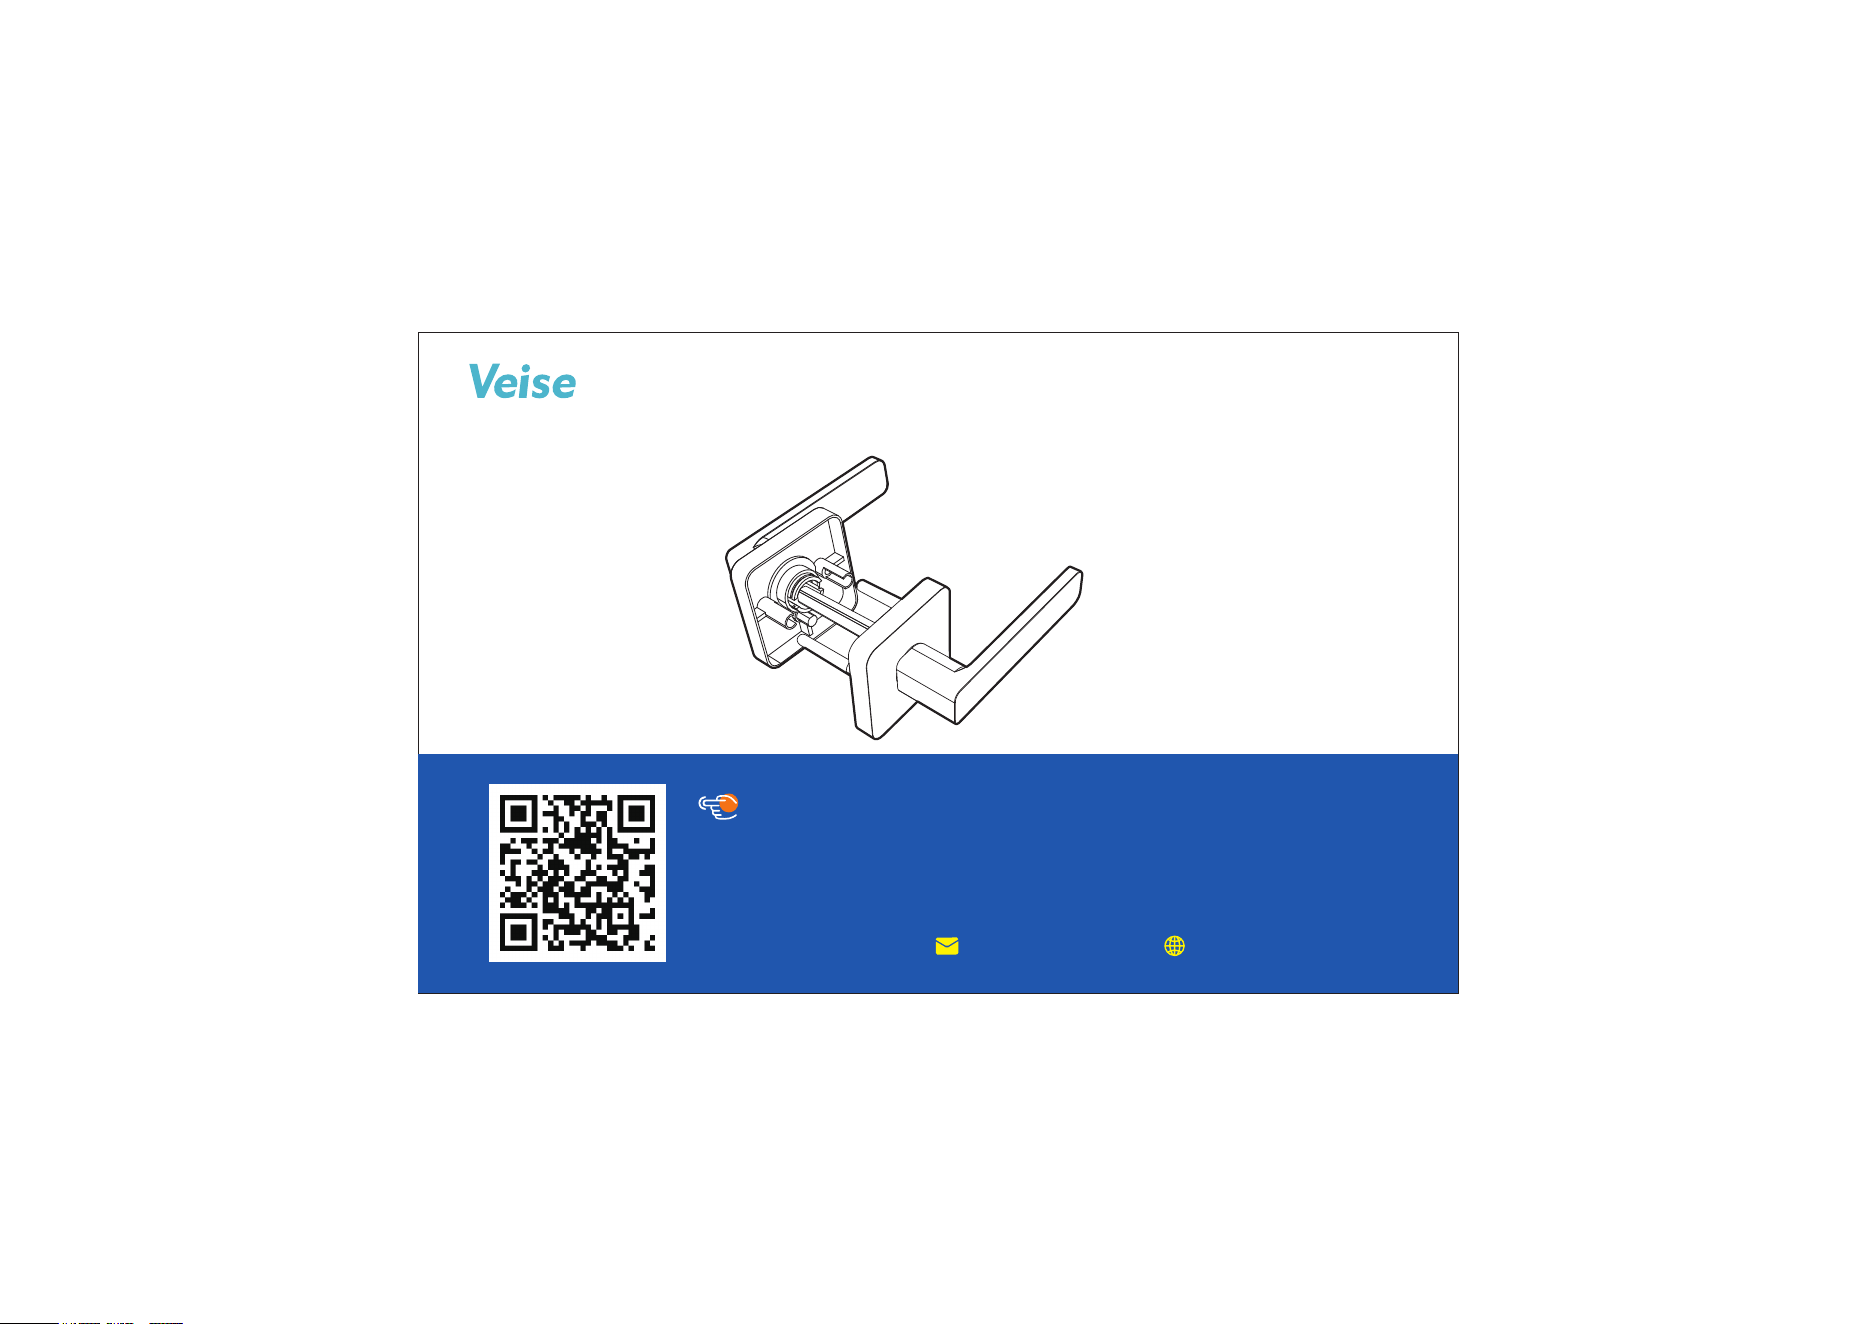
Installation Instructions of Lever (8801)
Need Help? Contact Us!
Call us at +1(855)400-3853 ( Monday-Friday 9:00am-5:00pm PST ),
if you have any questions.
iveise.com
Scan the QR code to get the video.
Tutorial Video
Content
01
Parts List
02
Prepare the Door & Check Dimensions
04
Install the Latch & Strike
03
Latch Adjustment
05
Install Front and Rear Lever
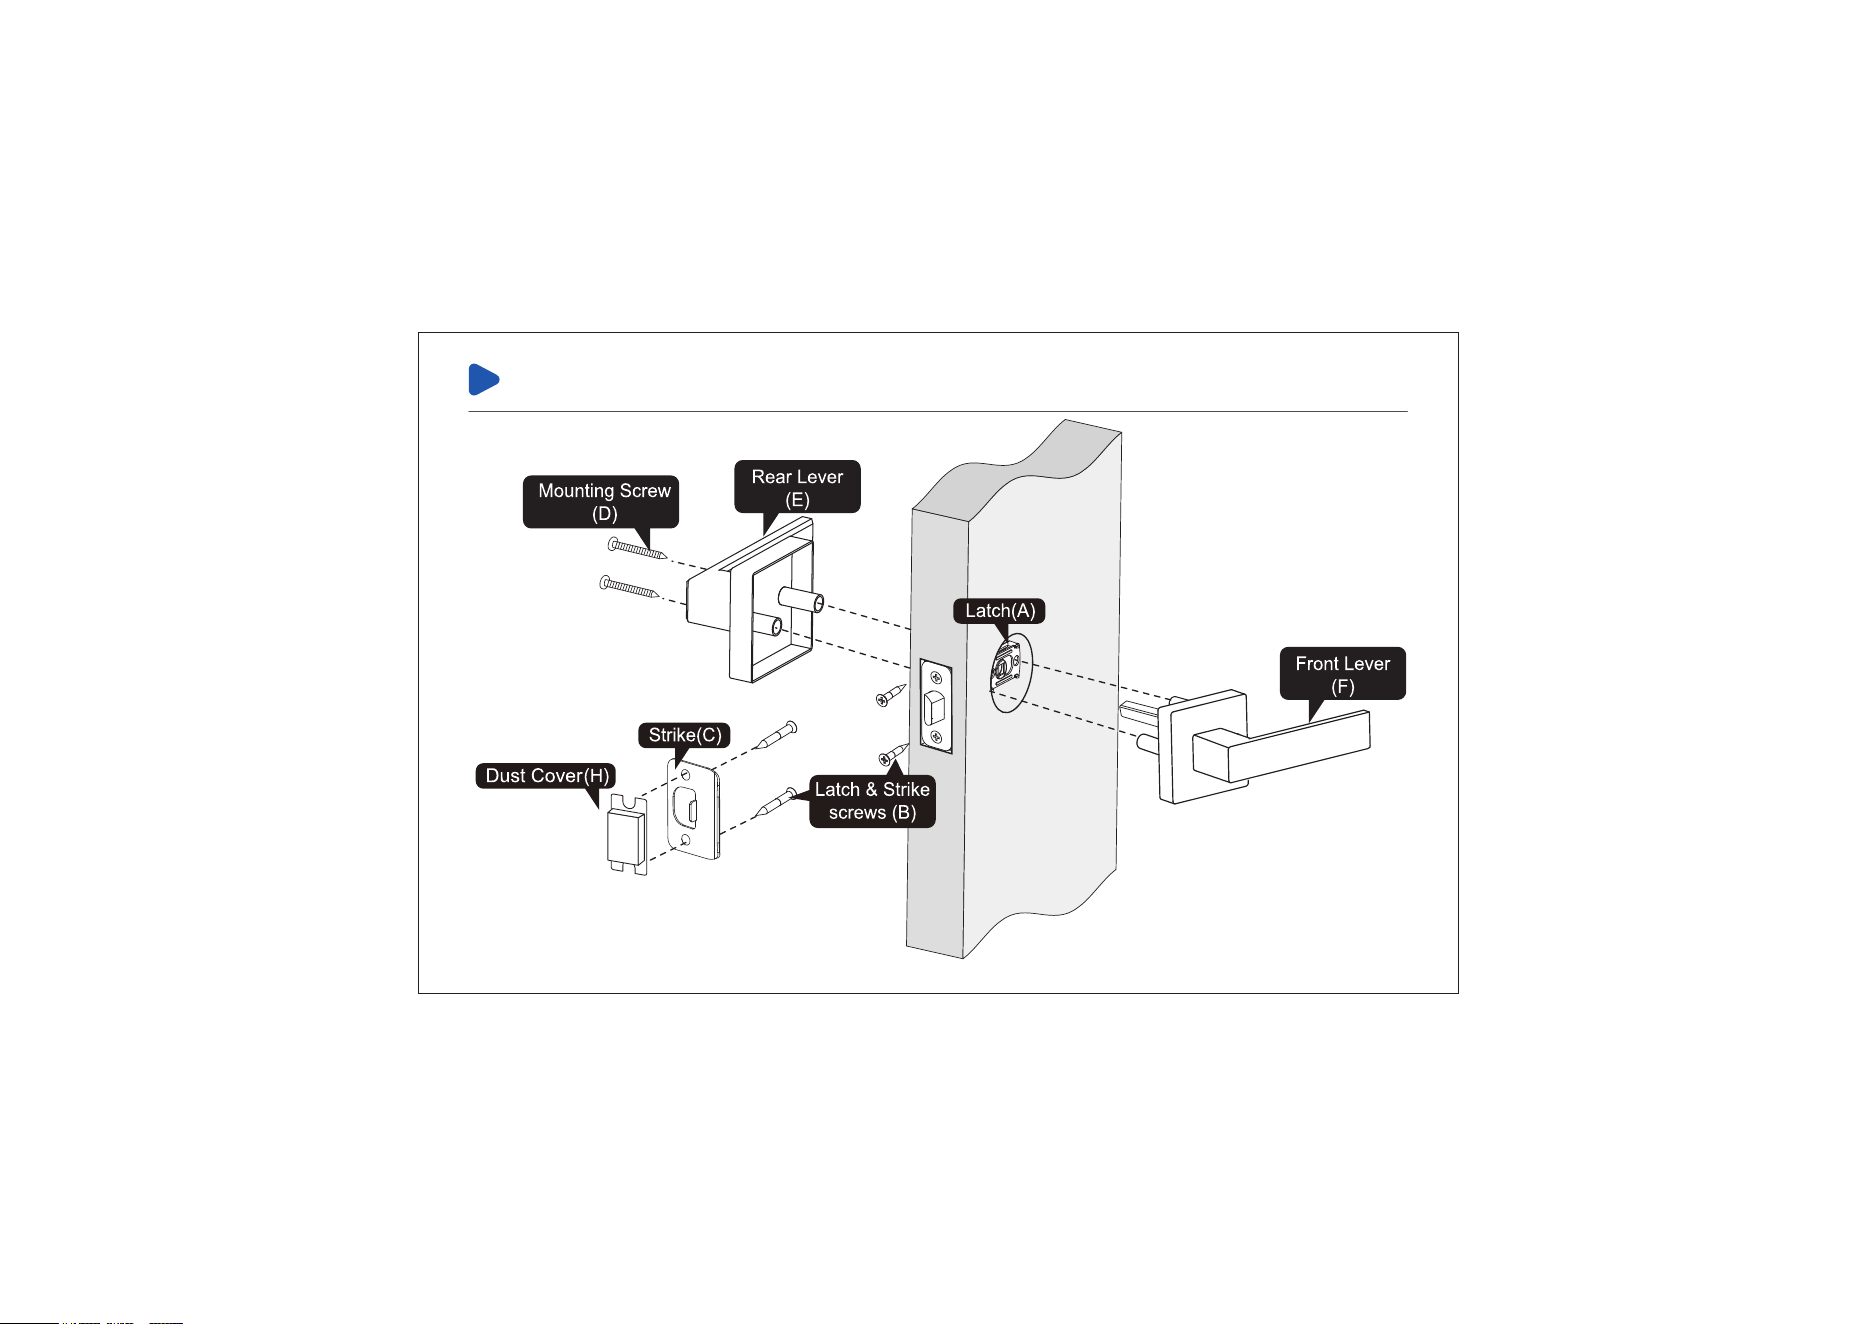
Installation Overview

Parts List
TOOL REQUIRED:
Do not use an electric
screwdriver during installation.
01
Latch x1 Latch & Strike Screws x4 Strike x1
Rear Lever x1
Front Lever x1
Mounting
Screw x2
Dust Cover
x1(Optional)
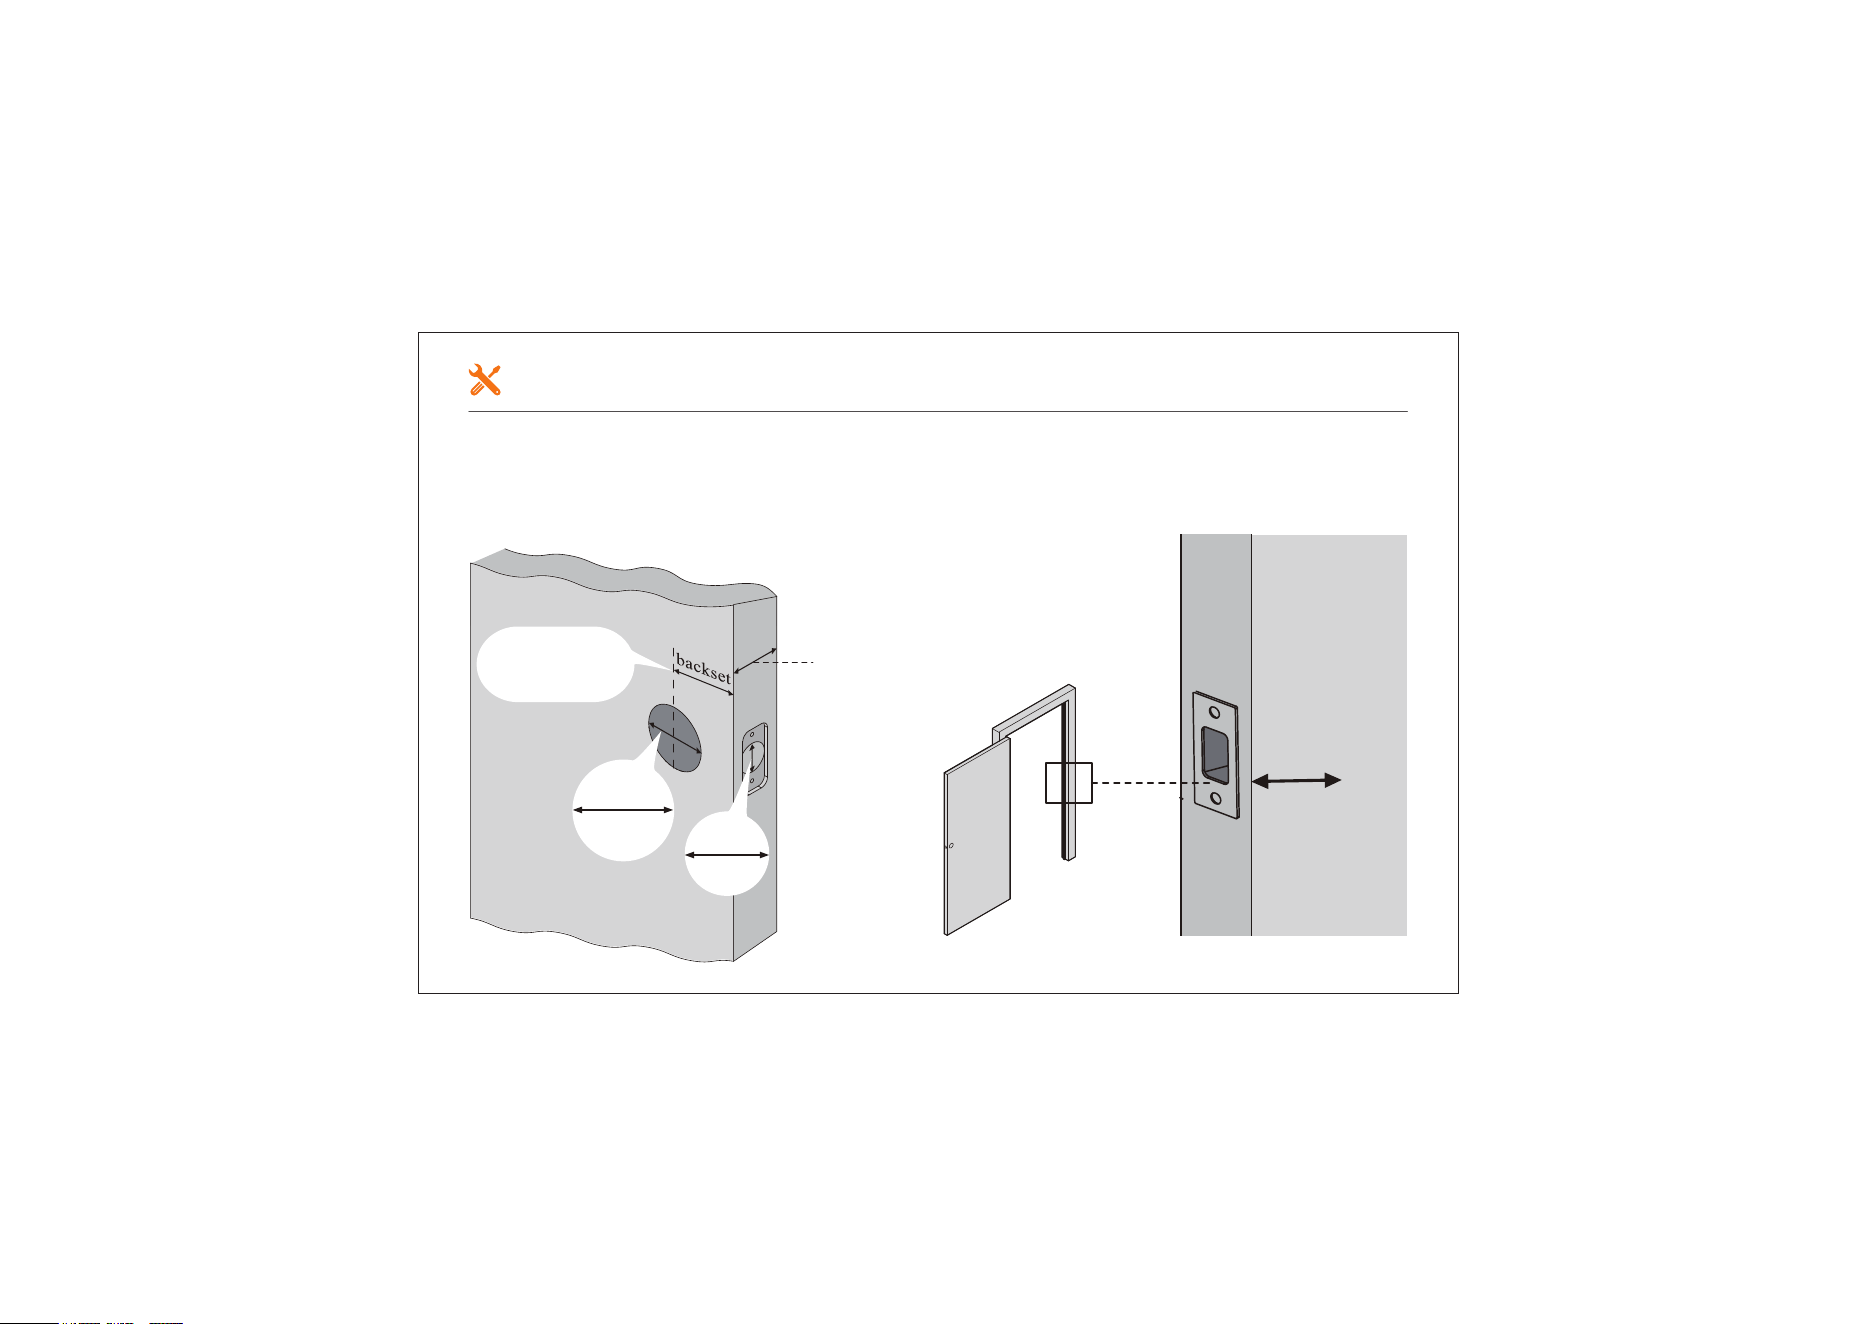
If your door already has the holes shown in the picture below, proceed to the
next step; if your door does not have holes, use the mounting template to drill a
new hole.
2-1/8"
(54mm)
1"
(25mm)
2-3/8" or 2-3/4"
(60 or 70mm)
1"
25mm
Door thickness:
1-3/8" to 2"
(35mm to 50mm)
Prepare the Door & Check Dimensions
02
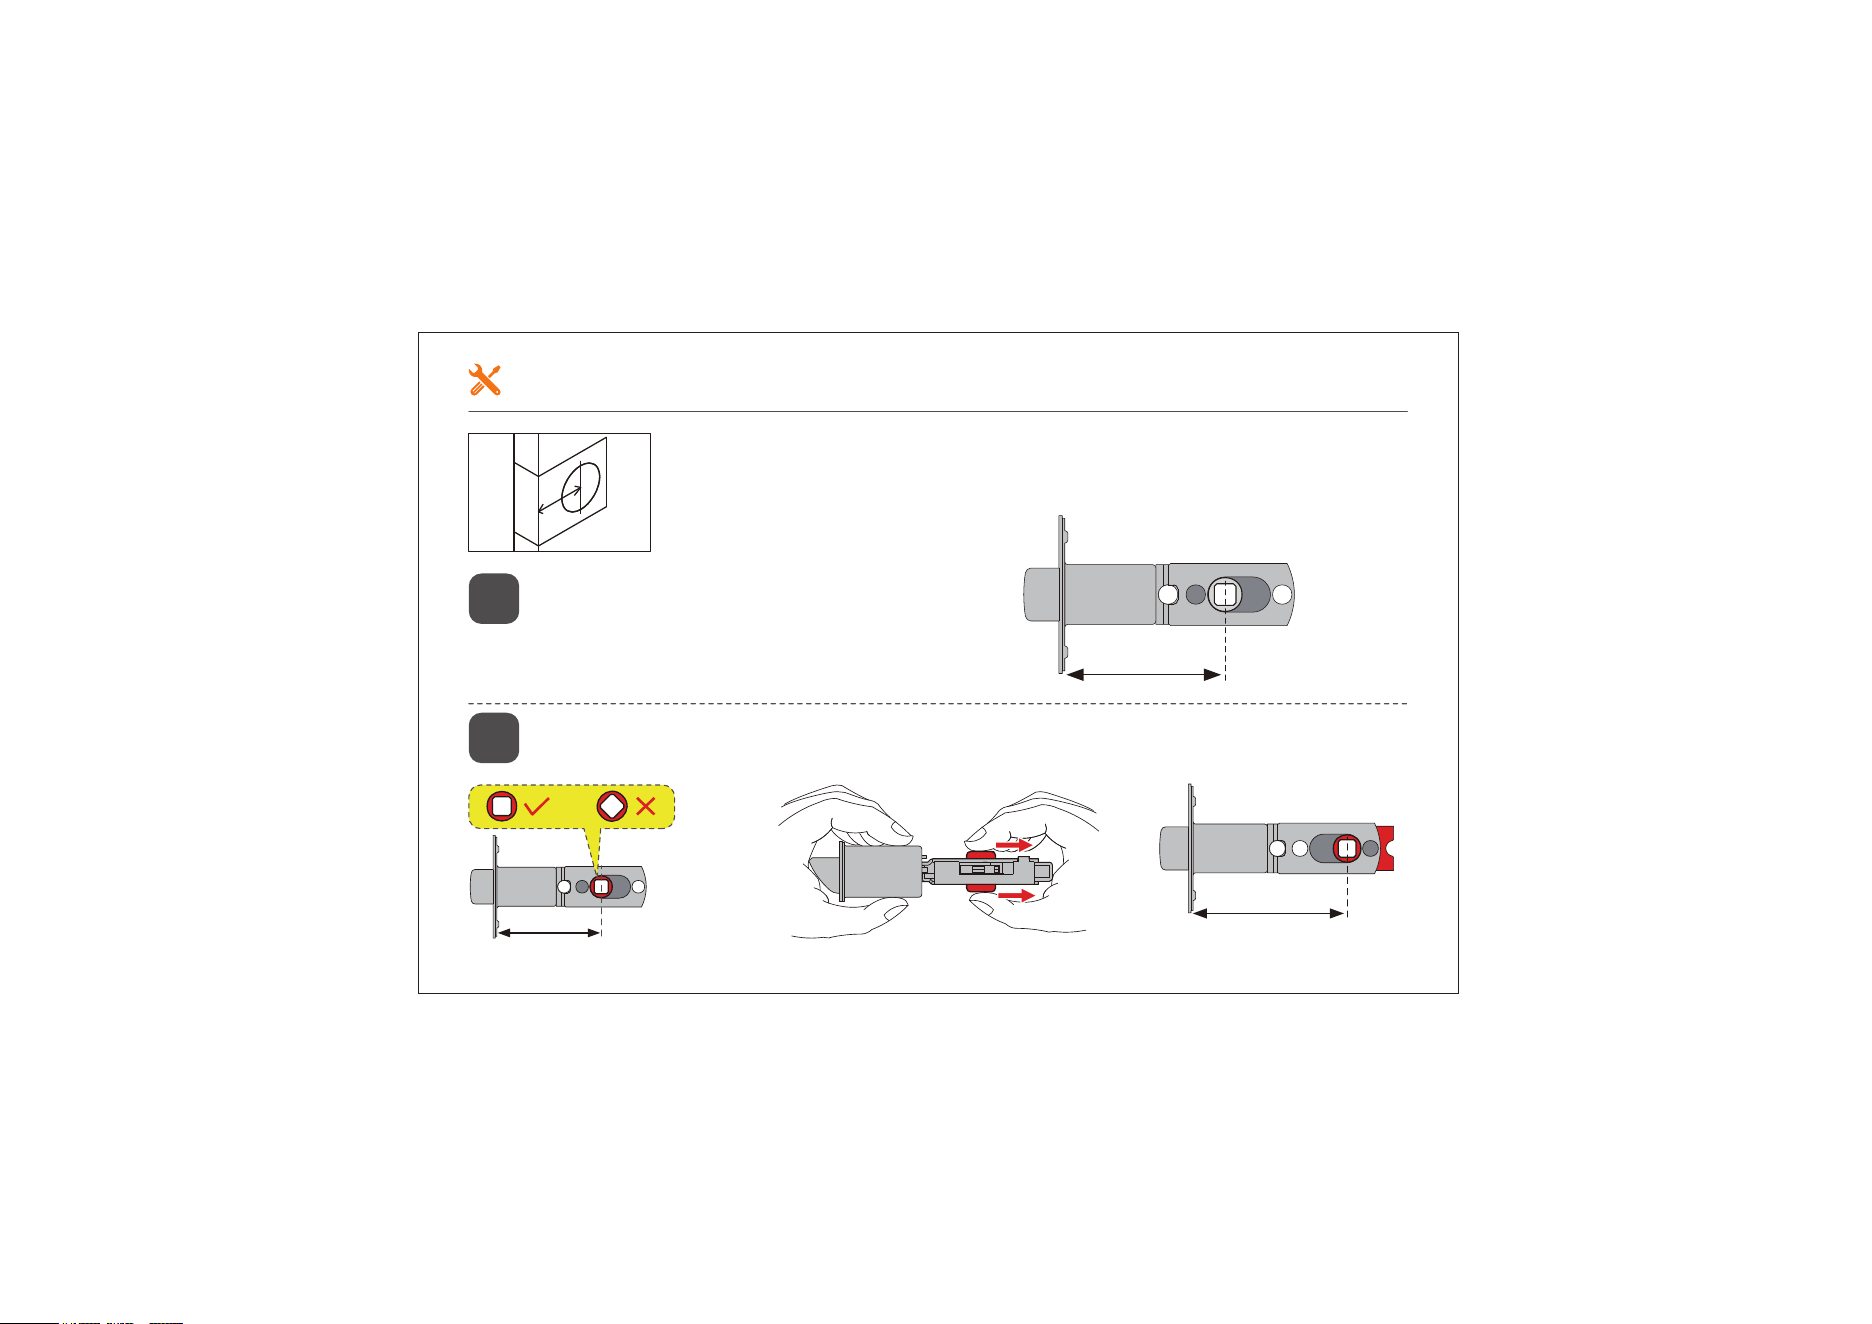
2-3/8" (60mm)
If the backset of your door is 2-3/8"
(60mm), no need to adjust the Latch.
1
2-3/4" (70mm)
2-3/8" (60mm)
If the backset of your door is 2-3/4" (70mm), please adjust the Latch.
2
Backset is the distance from the door edge to the center of
the hole in the door.
Latch Adjustment
03
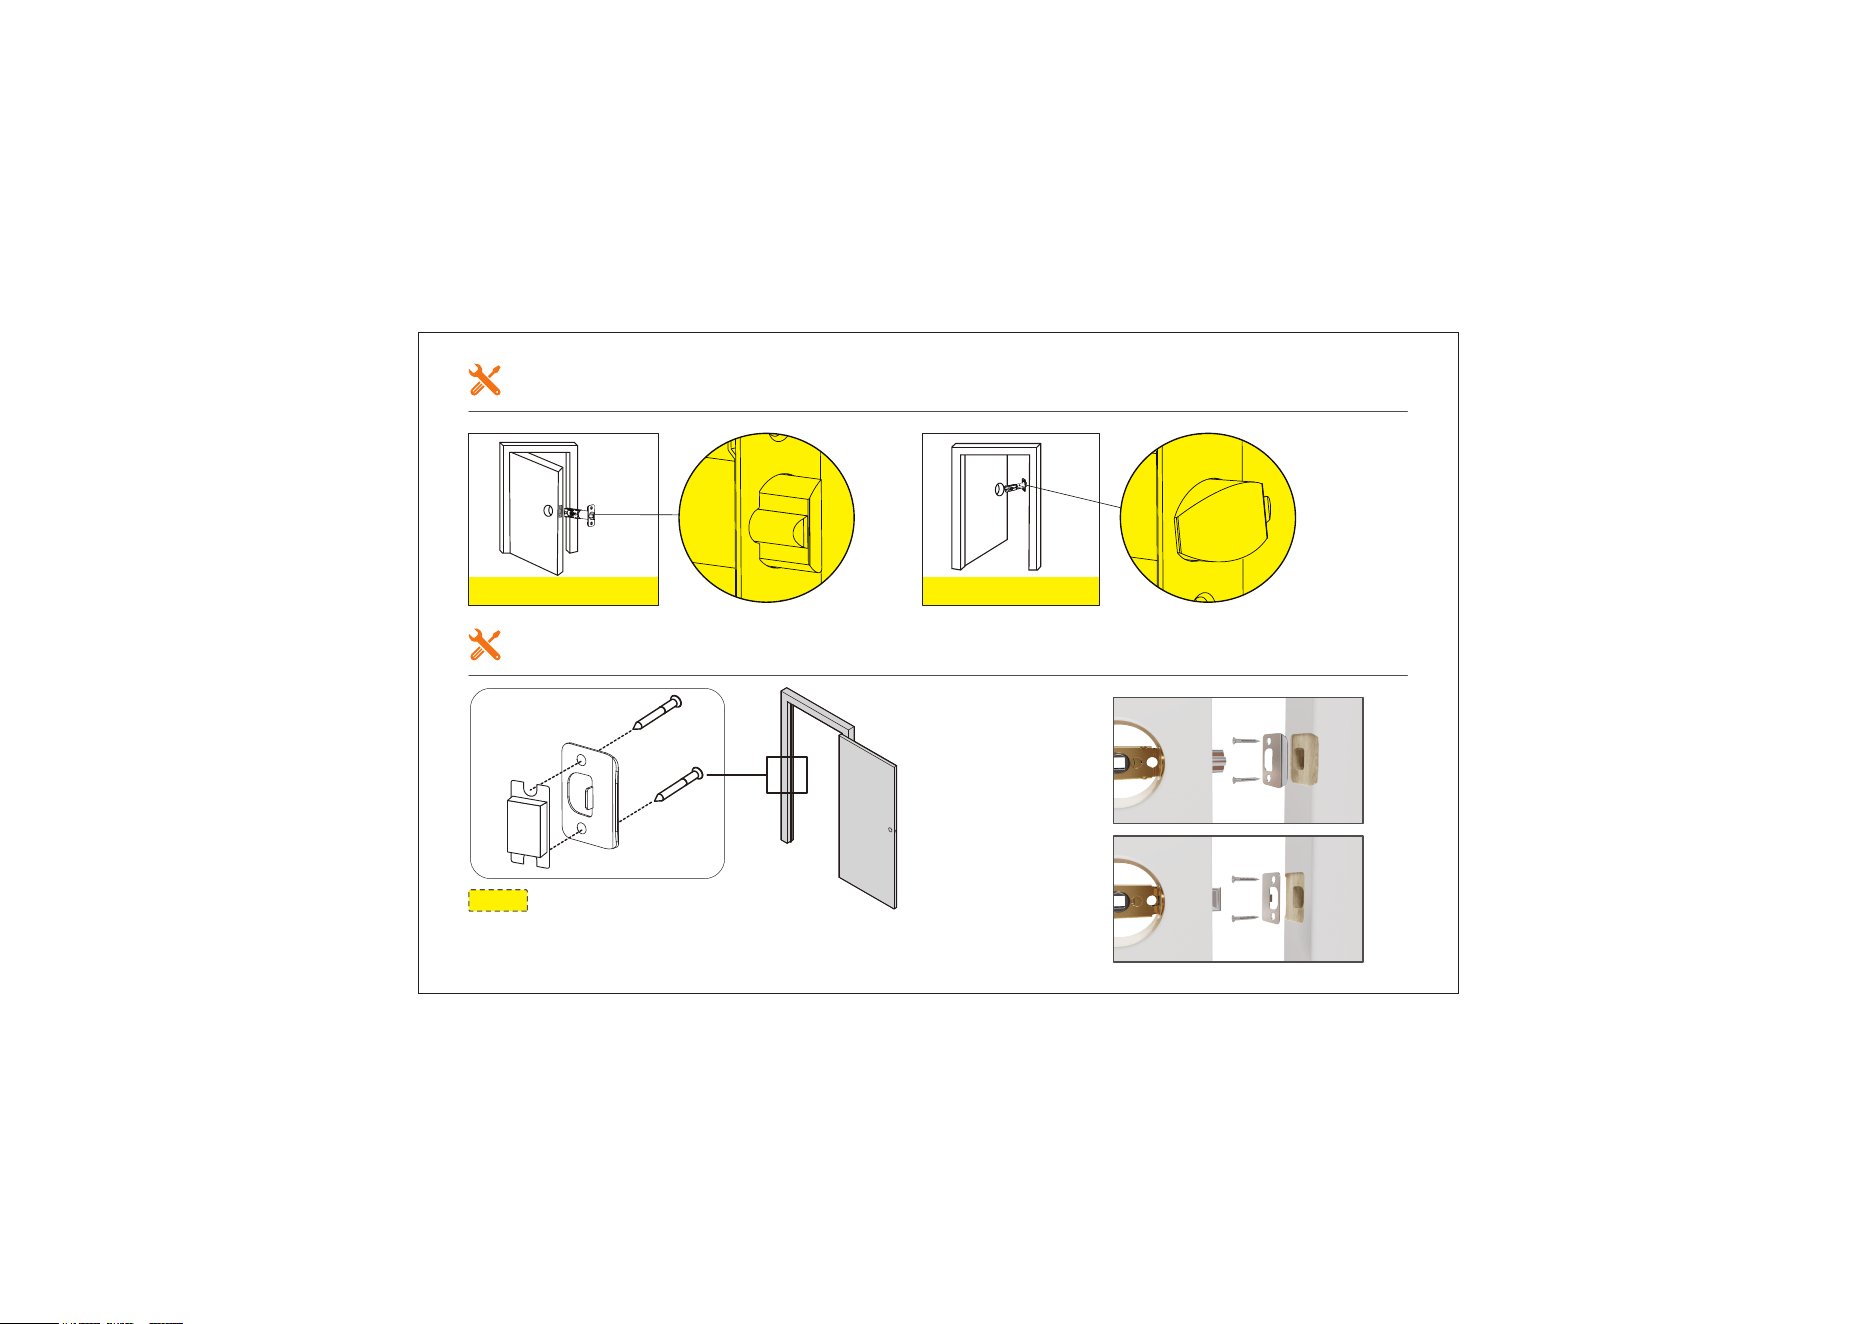
Opening outwards Opening inwards
Note: The bevel of the Latch should be
aligned to the bevel of the Strike.
Strike
Screws
(B)
Opening outwards
Opening inwards
Install the Latch
Install the Strike
04
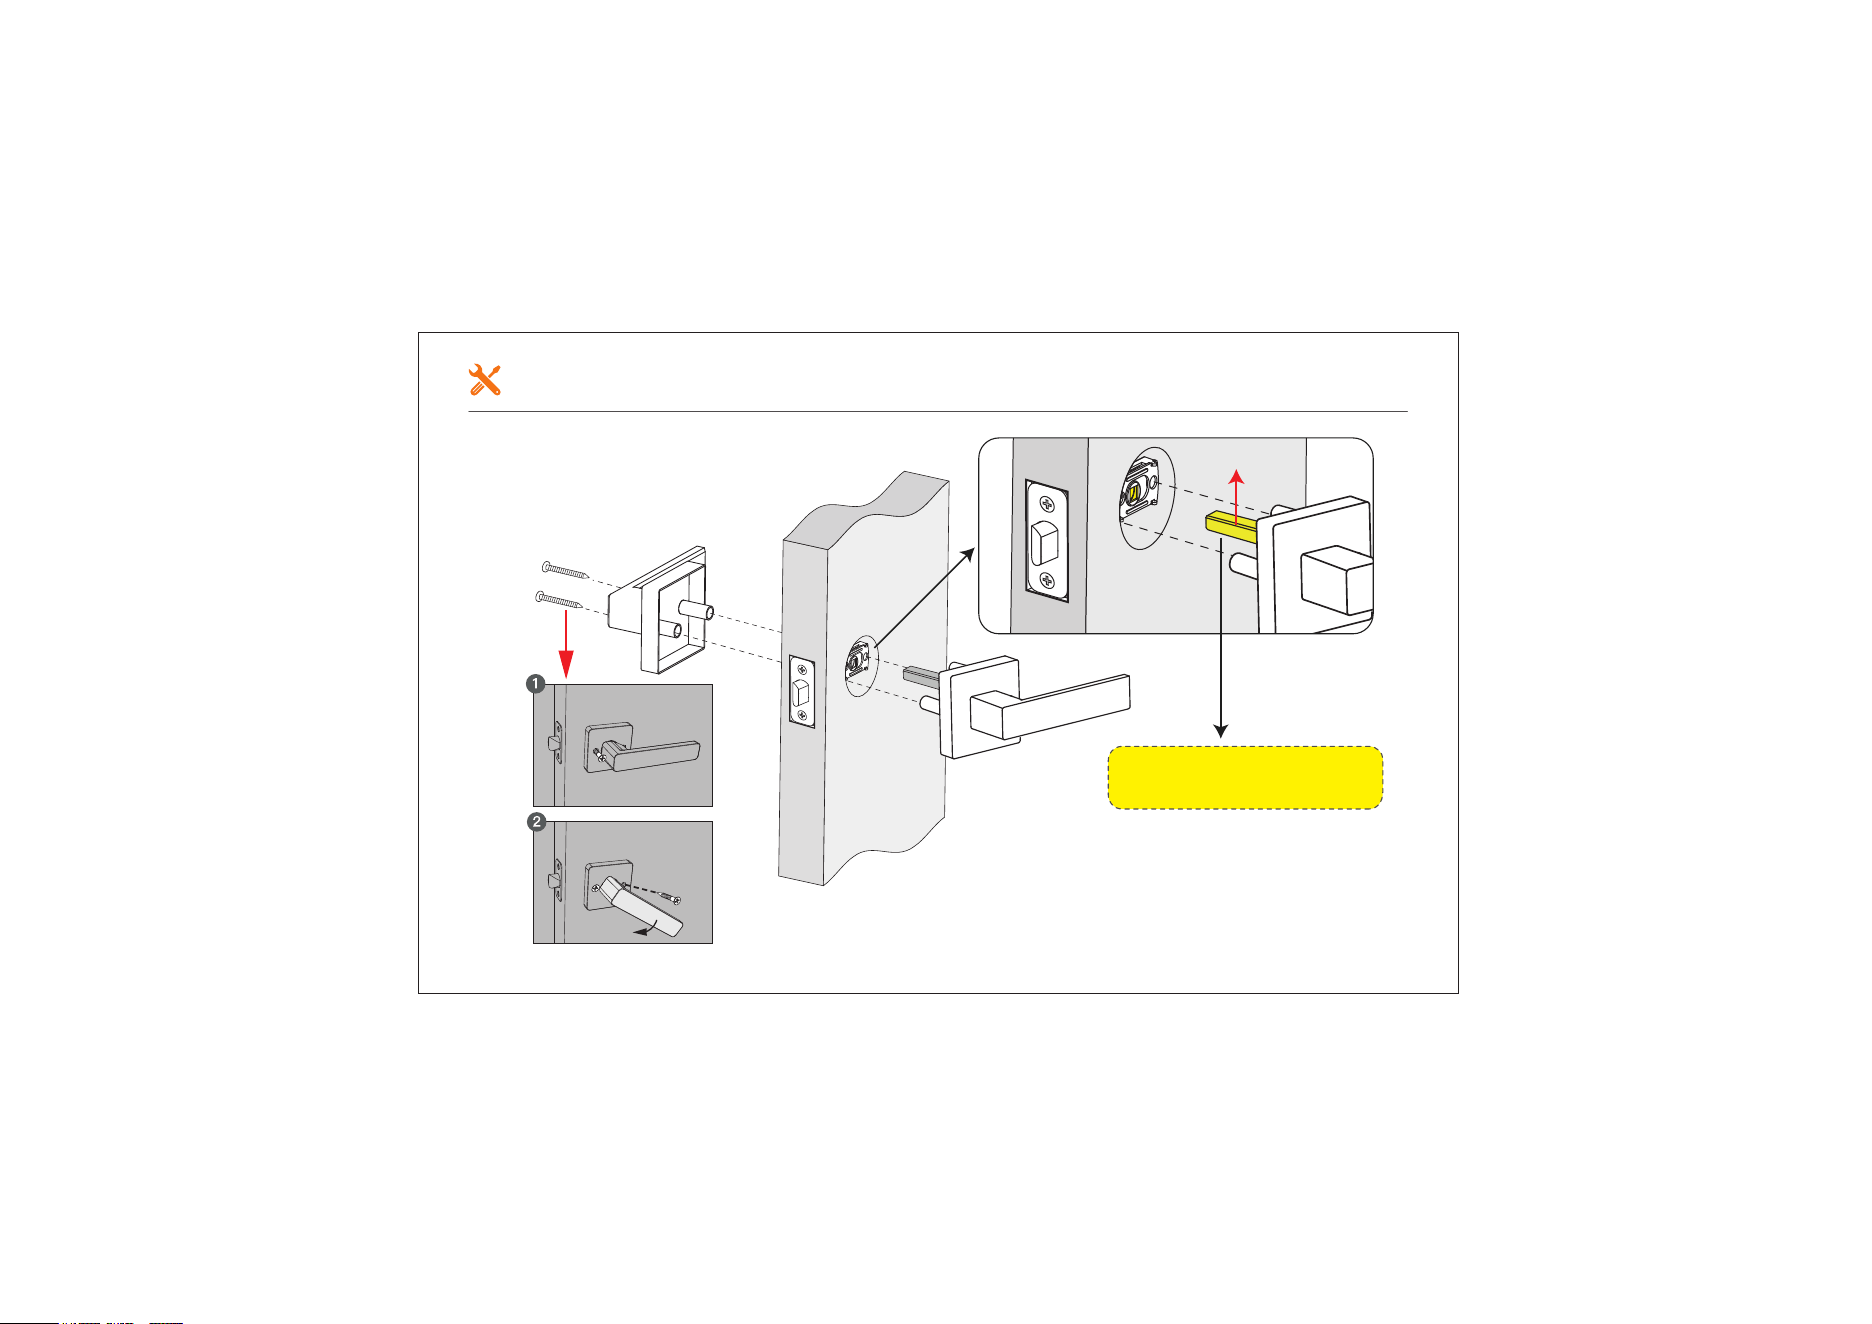
Install Front and Rear Lever
05
The Torque Blade must be
rotated aligning to the hole.
Torque Blade
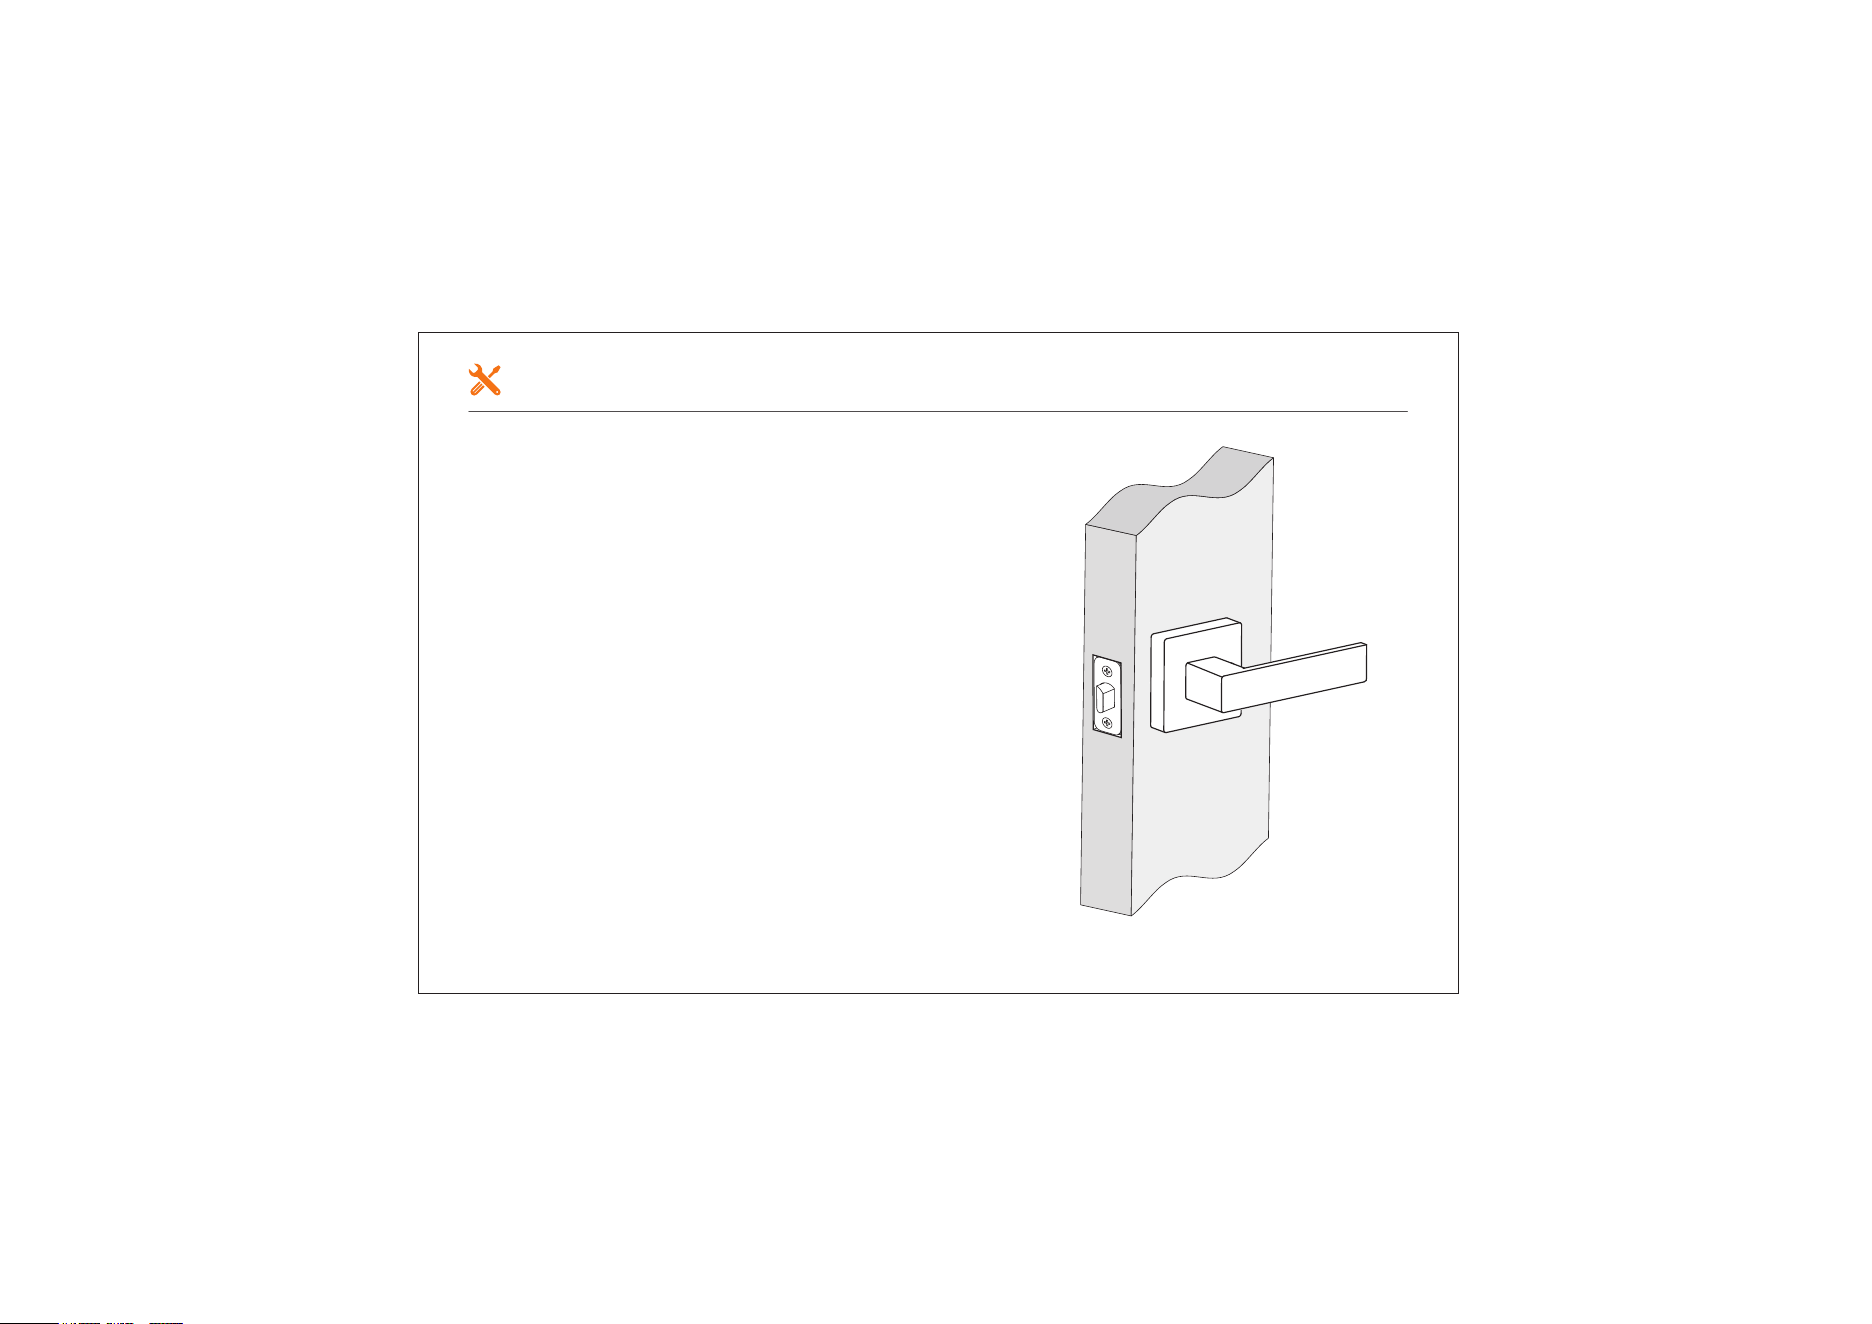
Keep the door open, checking out Front
and Rear Lever to test if it works smoothly.
Test the Lever
06

Need Help? Contact Us!
If you have any questions, please contact us at
iveise.com
(Monday-Friday 9:00am-5:00pm PST)
+1(855)400-3853
If you have your order ID, videos or images of your problem
(if necessary) ready before contacting Customer Support,
we will solve your problem faster and better.