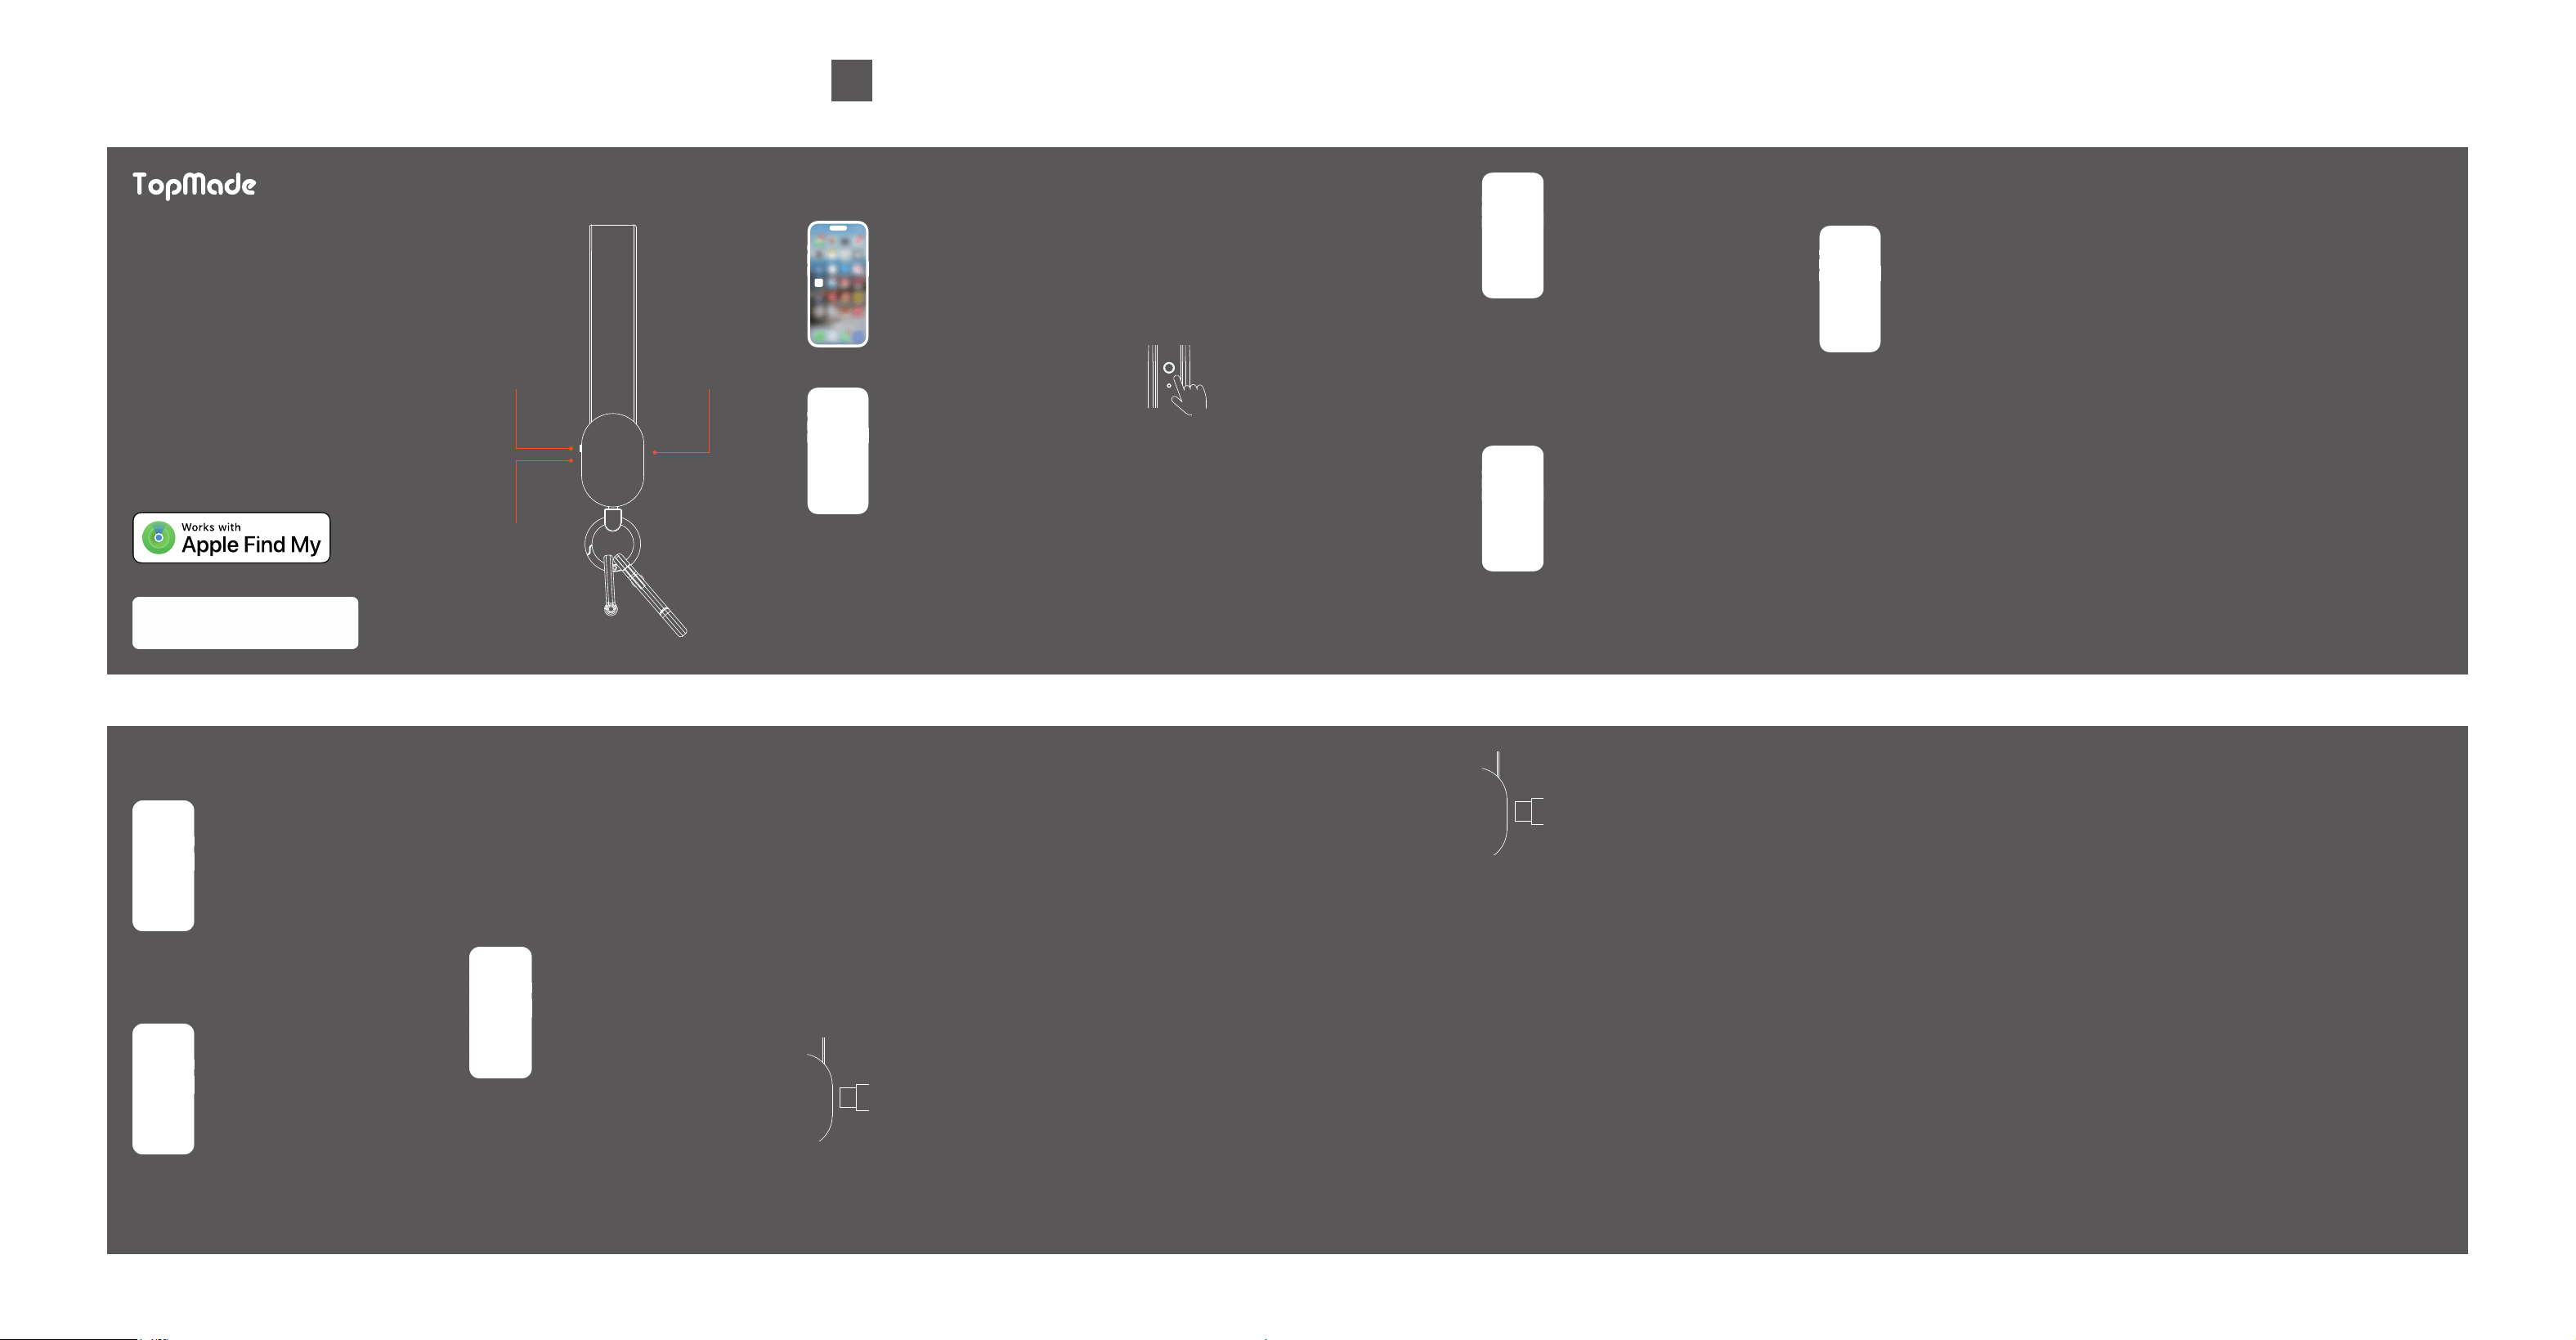
TopMade Key Finder
Power
Button
Indicator
Light
For iPhone
Setting Up Your iPhone
Compatibility
The finder is only compatible with iPhone 8
series or later phones running iOS 14.5 or
later with Two-Factor Authentication turned
on.
1. Turn on Two-Factor Authentication for
your Apple ID
On your iPhone: Go to Settings > your
name > Password & Security. Tap Turn
On Two-Factor Authentication. Then tap
Continue and follow the onscreen
instructions.
On your Mac: choose Apple menu >
System Settings (or System Preferenc-
es), then click on your name (or Apple ID).
Click Password & Security. Next to
Two-factor Authentication, click Turn On
and follow the onscreen instructions.
On the web: Go to appleid apple.com and
sign in using your Apple lD. Answer your
security questions, then tap Continue, Tap
Continue when you see a prompt to update
account security. Then tap Update
Account Security and follow the onscreen
instructions.
2. Turn on Find My
A. Go to Settings.
B. Tap your name, then tap Find My.
C. Tap Find My iPhone and turn on Find
Pairing Your Finder
1. Ensure your iPhone is set up (see
“Setting Up Your IPhone" above) and your
finder is powered on.
2. Open the Find My app.
3. In the ltems tab, tap Add New ltem.
4. Tap Other Supported Item (your iPhone
will search for your finder).
5. Once your finder is detected, tap
Connect.
6. Follow the onscreen steps to name it and
register it to your Apple ID.
7. Ensure your finder appears in ltems. lf
not, forget the device, perform a factory
reset on the finder (see "Getting Started >
Factory reset" above), then reconnect.
* Do not leave Find My app while pairing
finder.
Locating Your Finder
Locate your finder via the map
1. Open the Find My app.
2. Tap the Items tab.
3. Select your finder in the ltems list.
4. Tap Directions to open the location of
your finder and get directions in the Maps
app.
Play sound alert
1. Open the Find My app.
2. Tap the Items tab.
3. Select your finder in the ltems list and
tap Play Sound*.
* The sound alert will only play if your
My iPhone.
3. Turn on Bluetooth
4. Connect to a stable Wi-Fi or cellular
network
5. Turn on Location Services
Go to Settings > Privacy & Security >
Location Services > turn on Location
Services.
Getting Started
Power on
Short press the finder's power button once,
and a beep will sound to indicate that it is
turned on.
Power off
To turn off the power, press the power
button 3 times in a row (2 short presses
and the last long press); after hearing two
"beeps", the "finder" is turned off. If the
finder has not been paired within 10
minutes, a beep will be heard and the
power will automatically turn off. Turn on the
power to continue pairing.
Factory reset
To reset, press the power button 5 times in
a row (4 short presses and the last long
press); after hearing a beep, the "finder"
returns to factory setting.
USB-C
Charging
Port
iPhone is connected to a network. and your
finder is in Bluetooth range of your iPhone
(approx. 160f/50m).
Set up Notify When Left Behind
lf your finder is not in Bluetooth range of
your iPhone for a period of time, you will
receive a notification that your finder has
been lost (if you set up a name, the name
will be displayed, otherwise it will show
finder).
1. Open the Find My app.
2. Tap the Items tab.
3. Select your finder in the ltems list and
scroll down.
4. Under Notifications, tap Notify When
Left Behind and turn on.
Mark your finder as lost
1. Open the Find My app.
2. Tap the Items tab.
3. Select your finder in the ltems list and
scroll down.
4. Ensure Notify When Left Behind is
turned on.
5. Under Lost Mode, tap Enable, then tap
Continue.
6. Enter your phone number/email address
so that the finder of your finder can contact
you, then tap Activate.
Changing the Name of Your
Finder
1. Open the Find My app and tap the ltems
tab.
2. Select your finder in the ltems list.
3. Scroll down and tap Rename ltem.
4. Select a name from the list or select
Custom Name.
5. For Custom Name, input a name and
select an emoji.
6. Tap Done.
Removing Your Finder
Removing your finder from your Apple ID
will allow it to be activated and used by
another person.
1. Ensure that your finder is connected to
your iPhone*.
2. Open the Find My app.
3. In the Items tab, tap the finder.
4. Tap Remove Item, tap Remove and
confirm to remove.
* If not connected when removing your
finder from your Apple ID, it will no longer
be discoverable and you will need to
perform a factory reset before creating a
new connection (see "Getting Started >
Factory reset" above).
Unwanted Tracking Notifica-
tion
If your finder is separated from your iPhone
and is detected moving with another person
with an Apple device over time, that person
will receive a tracking alert message.
Safety Warnings
1. Do not expose the device to
temperatures below -10°C (14°F) or above
35°C (95°F).
2. Do not expose the device to an open
flame, submerge it in water, or expose it to
rain as this will damage the device.
3. Always check for damage to the device,
cables, or other accessories before using
the device. lf damaged, do not use the
device.
4. Do not attempt to disassemble, modify, or
use sharp objects to damage the device in
any way, as it may cause serious damage
and void the warranty.
5. Do not expose the device to corrosive
liquids, or high humidity as they will
seriously damage the device and void the
warranty.
Charging Your Finder
Use the included cable to charge.
During charging, the status light will be
orange. When fully charged, the status light
will turn green.
lt is recommended to fully charge your
finder once every 3 months.
The Apple Find My network provides an easy, secure
way to locate compatible personal items using the
Find My app on your iPhone, iPad, Mac, or the Find
Items app on Apple Watch.
To use the Apple Find My app to locate this item, the
latest version of iOS, iPadOS, or macOS is
recommended. The Find Items app on Apple Watch
requires the latest version of watchOS.
Use of the Works with Apple badge means that a
product has been designed to work specifically with
the technology identified in the badge and has been
certified by the product manufacturer to meet Apple
Find My network product specifications and
requirements. Apple is not responsible for the
operation of this device or use of this product or its
compliance with safety and regulatory standards.
Apple, Apple Find My, Apple Watch, Find My,
iPhone, iPad, iPadOS, Mac, macOS and watchOS
are trademarks of Apple Inc. IOS is a trademark or
registered trademark of Cisco in the U.S. and other
countries and is used under license.
This device can works with either the Apple Find My
network or Find Hub, but these two services cannot
operates simultaneously., Activating one will
automatically disable the other.
Find Hub helps you find and connect to what matters
in a single, secure place. Find your belongings
quickly and safely – even if your devices are offline.
Plus, seamlessly and securely share your location
with friends & family for peace of mind.
Find Hub network requires location services and
Bluetooth to be turned on. Requires cell service or
internet connection. Works on AndroidTM 9 and
above on select devices [devices or phones] and in
certain countries for age-eligible users.
Google, Android, and Find Hub are trademarks of
Google LLC.
Certified by Google to meet Find Hub specifications.
Google is not responsible for product operation or
safety standards compliance.
FCC Caution:
This device complies with part 15 of the FCC Rules.
Operation is subject to the
following two conditions: (1) This device may not
cause harmful interference, and (2)
this device must accept any interference received,
including interference that may
cause undesired operation.
Any Changes or modifications not expressly
approved by the party responsible for
compliance could void the user's authority to operate
the equipment.
Note: This equipment has been tested and found to
comply with the limits for a Class
B digital device, pursuant to part 15 of the FCC
Rules. These limits are designed to
provide reasonable protection against harmful
interference in a residential installation.
This equipment generates uses and can radiate
radio frequency energy and, if not
installed and used in accordance with the
instructions, may cause harmful interference
to radio communications. However, there is no
guarantee that interference will not
occur in a particular installation. If this equipment
does cause harmful interference to
radio or television reception, which can be
determined by turning the equipment off
and on, the user is encouraged to try to correct the
interference by one or more of the
following measures:
-Reorient or relocate the receiving antenna.
-Increase the separation between the equipment and
receiver.
-Connect the equipment into an outlet on a circuit
different from that to which the
receiver is connected.
-Consult the dealer or an experienced radio/TV
technician for help.
The device has been evaluated to meet general RF
exposure requirement. The device
can be used in portable exposure condition without
restriction.
More Specific Info
1. How long will the battery last when fully
charged?
After activating the device, it needs to be
fully charged immediately and can be
used normally for 4 months. It is
recommended to charge it every 3
months.
2. How do you know the remaining power?
iPhone 8 or Later and Android OS9 or
later will display the remaining battery
level of the device
3. How long does it take to fully charge the
battery?
1h30min
4. Charging indicator light
• Charging: Orange light
• Full Charging: Green light
User
Manual
For Google
Setup with Google Find Hub
App
1. Unlock your phone, turn on bluetooth and
the screen.
2. Power on the new device, place it close
(<20cm) to your Android phone, and your
phone will go to the pairing mode
automatically.
3. You will receive a notification on your
phone prompting you to set up the new
device.
4. Tap the notification and follow the
on-screen instructions to complete the
setup.
Find Your Finder
1. In "Find Hub" app, tap "ltems" .
2. Check your finder's last known time and
place.
Troubleshooting (for Google)
Power on
Short press the finder's power button once,
and a beep will sound to indicate that it is
turned on.
Identification mode
When you find an unknown finder device,
hold it to your phone and quickly press the
device's tracker button twice and listen for
a "beep". The finder device's identification
information will display on your phone.
Factory reset
To reset, press the power button 5 times in
a row (4 short presses and the last long
press); after hearing a beep, the "finder"
returns to factory setting.
Power off
To turn off the power, press the power
button 3 times in a row (2 short presses
and the last long press); after hearing two
"beeps", the "finder" is turned off. If the
finder has not been paired within 10
minutes, a beep will be heard and the
power will automatically turn off. Turn on the
power to continue pairing.
Re-Pairing Mode
Please "Remove from Find Hub" firstly,
power off the finder then power on to re-pair
if you want to switch to another device.
102.5*65.5MM 128克铜板纸 风琴折 双面印刷 灰色印专色