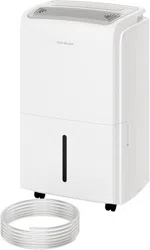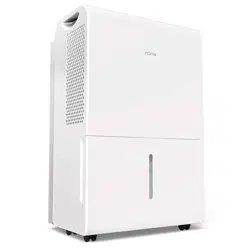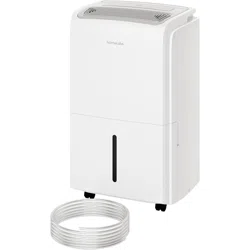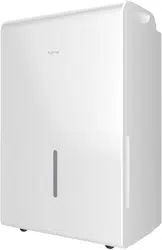
Dehumidier
Pairing
Instructions
Thank you for purchasing our hOmeLabs
Dehumidier. Please be sure to read this
user manual carefully prior to using
this appliance. If you have any product
questions, please contact Customer
Service at homelabs.com/help
Model Numbers:
HME0088
HME0089
HME0091
8 Pint, 25 Pint and
32 Pint
2
How to Pair the Device via Bluetooth
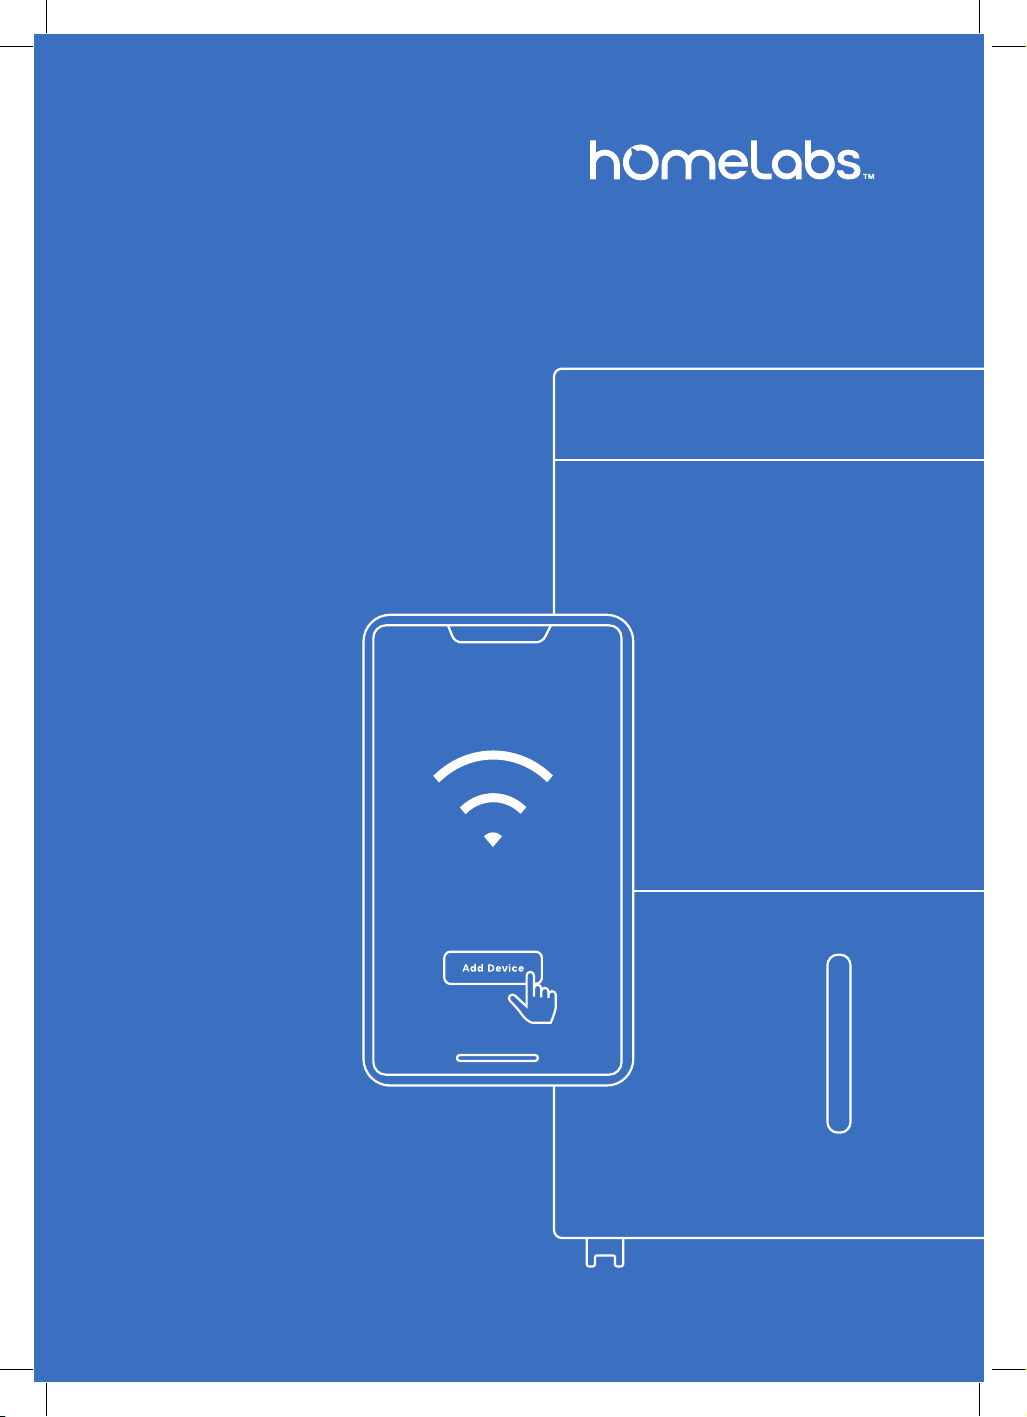
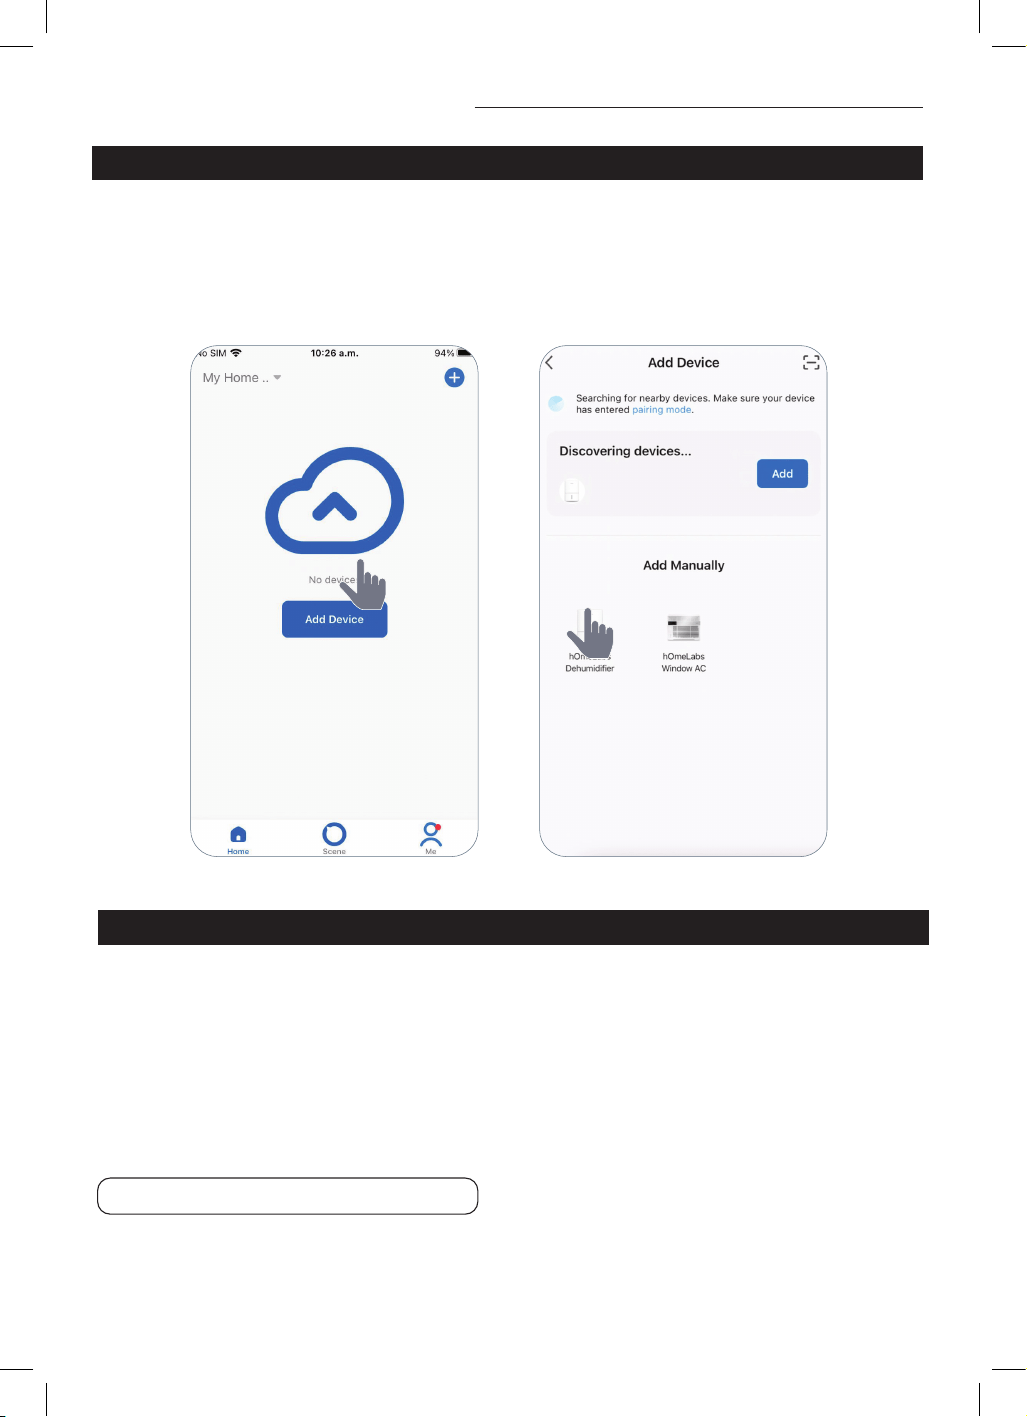
STEP 1 – ADD THE DEVICE
1. Ensure your smartphone’s Bluetooth
is on. Log in and go to the app’s
home screen. (If you do not already
have an account, you can create
one by following the instructions
provided within the application.)
2. Turn on the Dehumidier. Press
the Power button for 5 seconds.
The letters “AP” or wi indicator
should blink on the display screen.
3. Tap “Add Device” then choose “Add.”
The app will discover the device
automatically within 2 minutes.
Make managing your Dehumidier a breeze with the hOmeLabs smart app! Simply
download it from the Apple App store or Google Play store onto your compatible
mobile device. Now, enjoy the ease of controlling your device with just a tap.
Get the hOmeLabs App!
How to Download the App
3
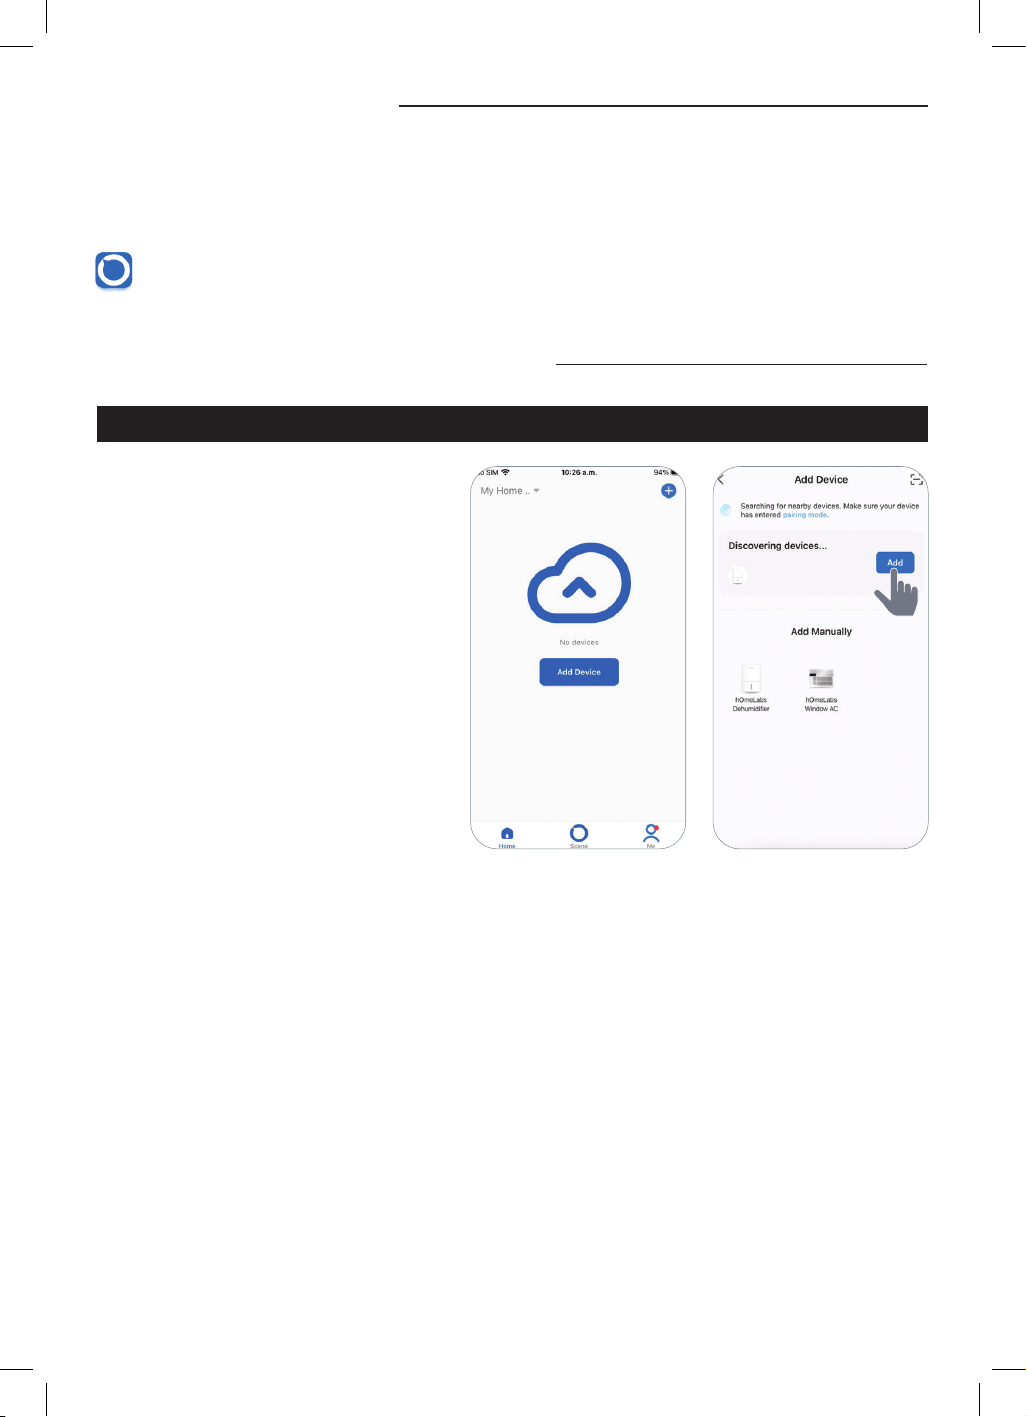
STEP 2 – SELECTING AND LOGGING INTO WI-FI NETWORK
1. Make sure your Wi-Fi network is set on “2.4GHz.”
2. Choose your existing Wi-Fi network from the list
and type in your Wi-Fi password.
3. Click “Next.”
NOTE: Have your Wi-Fi password handy.
2
STEP 3 – FINALIZING THE PAIRING (NAME DEVICE, ADD ROOM)
The App will complete the adding device
process automatically within 2 minutes.
4
How to Pair the Device Manually
STEP 1 – ADD THE DEVICE
1. Go to the app’s homepage and log in. (If you do not already have an account, you can create
one by following the instructions provided within the application.)
2. Tap “Add Device”.
3. Choose “hOmeLabs Dehumidier” from the list and tap on it.
STEP 2 – SELECTING AND LOGGING INTO WI-FI NETWORK
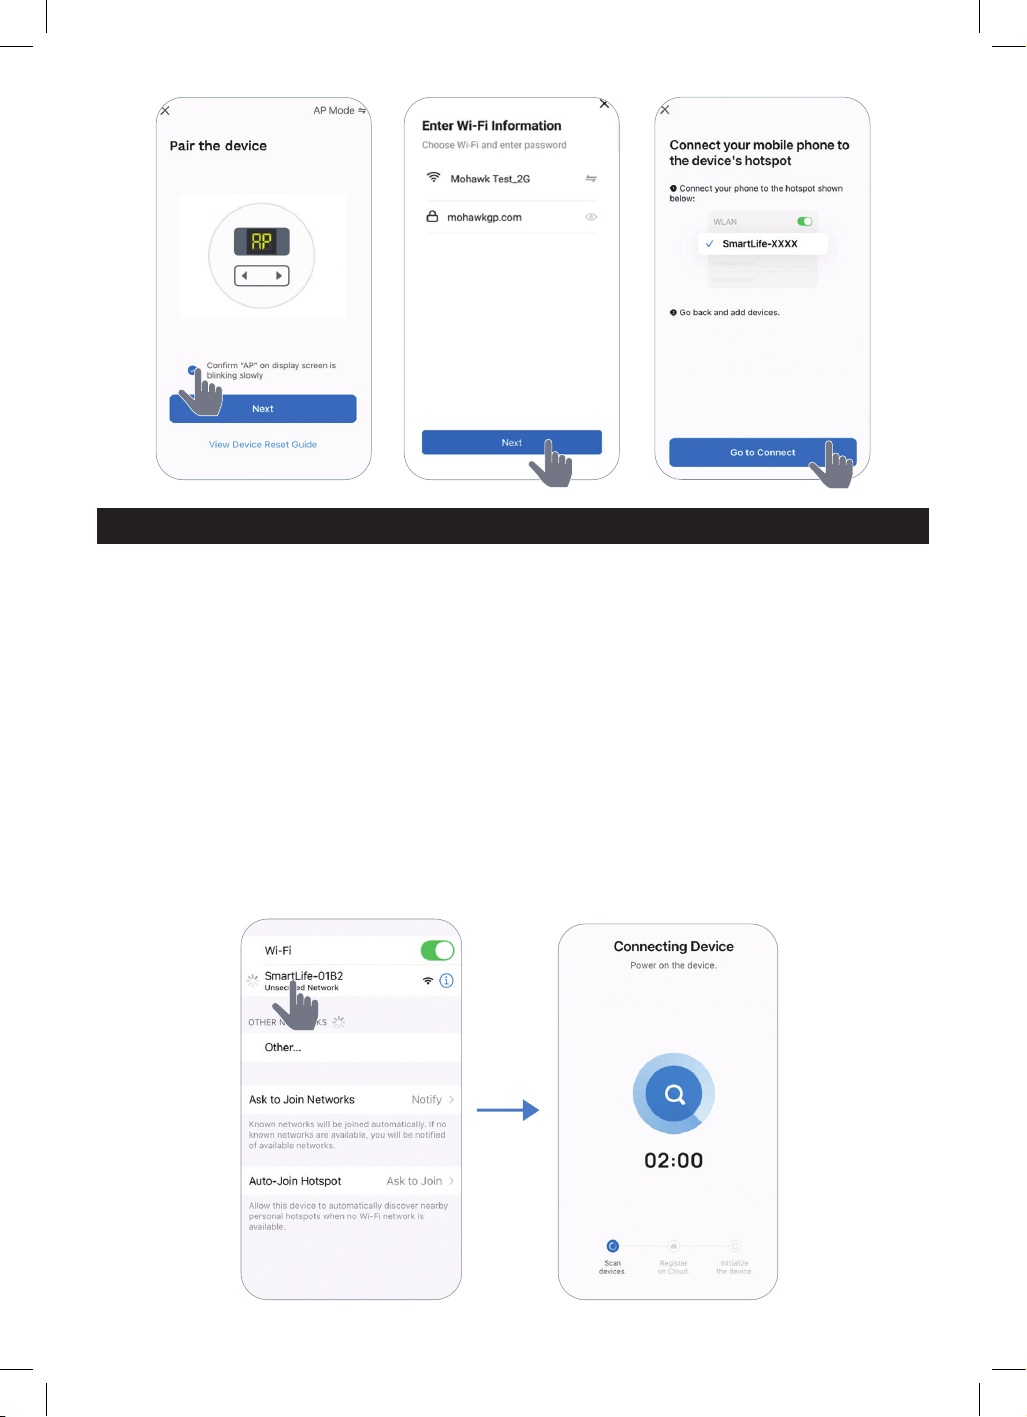
1. Press the Power button on the Dehumidier Control Panel for 5 seconds to initiate the pairing
process. Make sure the letters “AP” or wi indicator are blinking on the Dehumidier Control
Panel display.
2. On the app, tap “Conrm “AP” on display screen is blinking slowly”.
3. Tab “Next.”
4. Make sure your Wi-Fi network is set on “2.4 GHz.” Tap “Next”.
5. Choose your existing Wi-Fi network from the list and type in your Wi-Fi password.
6. Tap “Next”.
7. Tap “Go to Connect”. You will be taken to the device pairing screen. Continue to STEP 3.
NOTE: Have your Wi-Fi password handy.
5
1. Go to “Settings” page of your phone and tap “Wi-Fi.”
2. Select the device’s hotspot “SmartLife-XXXX” (alphanumeric info after “SmartLife-” may vary).
(See > Page 4 for visuals)
3. Once the hotspot is connected, tap “hOmeLabs” on the top screen OR (depending on your
operating system) return to your home screen and locate the app. The app will now be Adding
the Device. You will see alternating messages, such as:
• Ensure that the device is powered on.
• Ensure that the Wi-Fi signal is good.
• Ensure that the device is near the router.
STEP 3 – CONNECTING YOUR SMARTPHONE TO THE DEVICE WI-FI
Follow the instructions below to connect your mobile phone to the device’s hotspot.
The pairing process should be completed within 3 minutes after resetting the device.
4. The status bar will automatically progress from Scan Devices > Register on Cloud to Initialize
the Device as the pairing occurs.
6
ALEXA VOICE CONTROL
SETTINGS & FEATURES EXAMPLES OF WHAT TO SAY
Power
“Alexa, turn on <DEVICE NAME>”
“Alexa, turn off <DEVICE NAME>”
Set the Humidity
“Alexa, set the bedroom humidity to 50”
“Alexa, set the humidity on the bedroom <DEVICE NAME>
to maximum”
“Alexa, turn up the bedroom humidity”
“Alexa, decrease the humidity on the bedroom <DEVICE NAME> by 5”
Once your hOmeLabs Dehumidier is paired with the smartphone app, you can use Alexa
or Google Assistant devices to update the Dehumidier settings. Here are the phrases to use.
Dehumidier Voice Control
TIP: Before using voice control, rename the Device in the app, using either a room assignment
or your preferred shorthand (examples: 50 Pint Dehumidier, Pump Dehumidier, Living
Room Dehumidier).
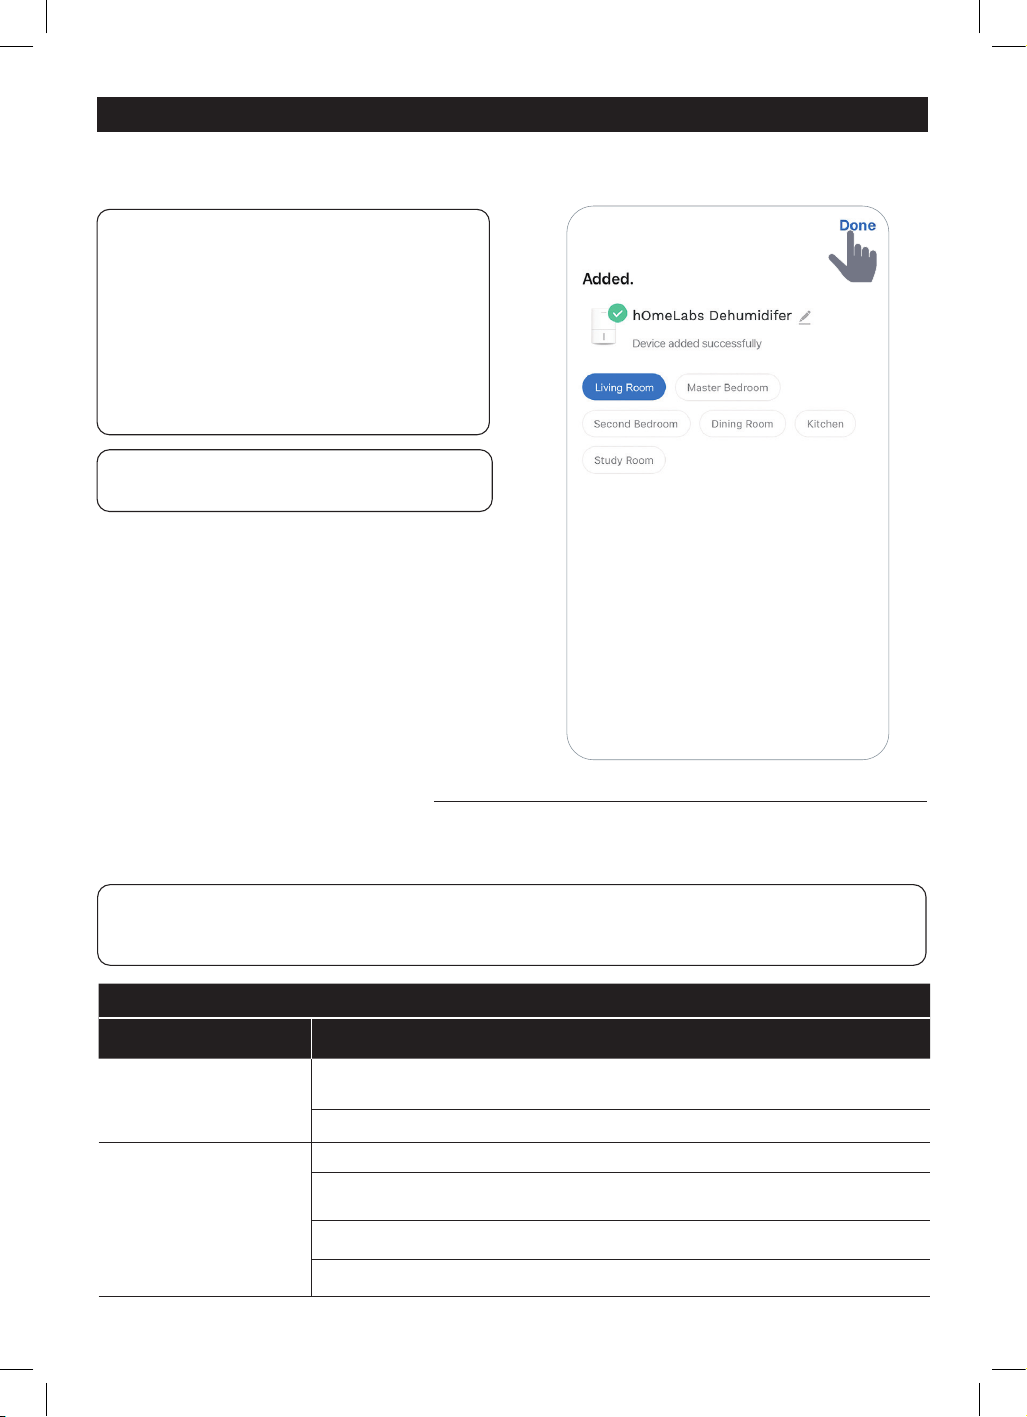
Once Added Successfully, select the room. Tap “Done.”
Congratulations! You have paired the device and can now enjoy the hOmeLabs Smart App.
STEP 4 – FINALIZING THE PAIRING (NAME DEVICE, ADD ROOM)
With the hOmeLabs App, you can control
your Dehumidier remotely, and use
your Amazon Alexa and Google Assistant
to interact with your hOmeLabs smart
products through voice commands.
(See > Page 6–7 for voice commands)
Features include:
• Turn on/off
• Set the humidity level
NOTE: We may update the app periodical-
ly to adjust the features.
7
This manual covers all items with these model numbers:
Manufacturing Information
HME0088
HME0089
HME0091
GOOGLE ASSISTANT VOICE CONTROL
SETTINGS & FEATURES EXAMPLES OF WHAT TO SAY
Power
“OK Google, turn on <DEVICE NAME>”
“OK Google, turn off <DEVICE NAME>”
Query Humidity “What is the humidity of <DEVICE NAME>?”
Set the Humidity “Set the humidity to 50”
NOTE ABOUT PLACEHOLDERS:
• <DEVICE NAME> = insert the name you assigned to the Dehumidier in the app.
• “bedroom” = insert the name of the room you want to update, as assigned in the app.
EMAIL US
homelabs.com/help
CHAT WITH US
Contact Us

Distributed by hOmeLabs™, LLC
350 Springeld Avenue, Suite #200,
Summit, NJ 07901
help@homelabs.com
homelabs.com/help
All rights reserved, hOmeLabs™.
Made in China.
For Household Use Only