USER MANUAL
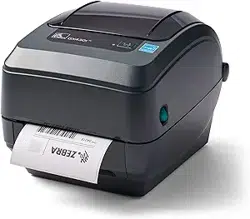
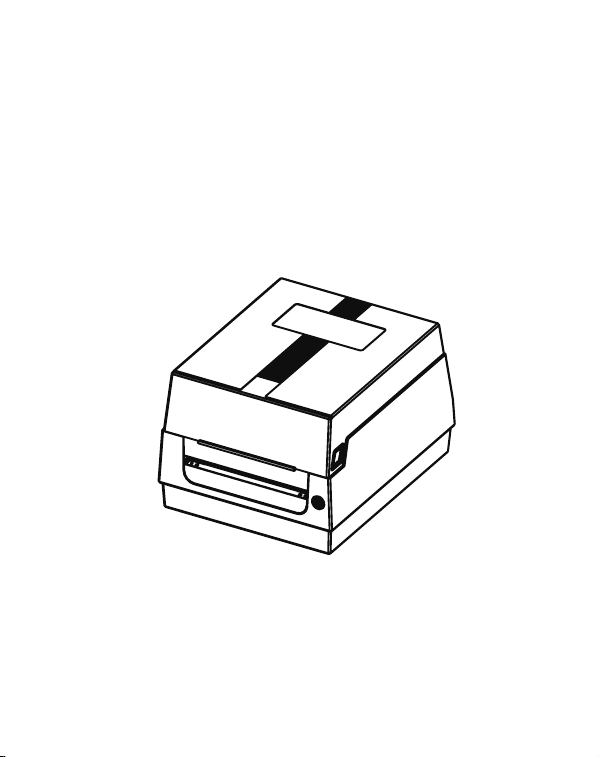
BARCODE PRINTER
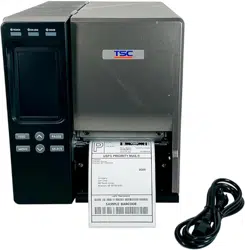
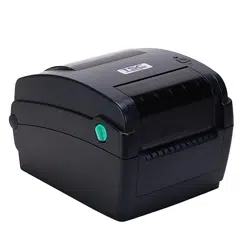
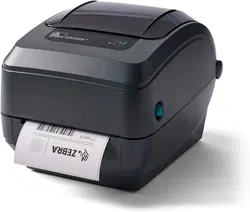
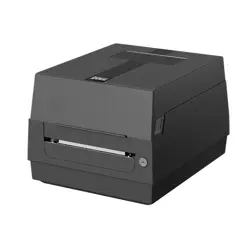
Apply to barcode printers including AT240、AT240-U、AT240-P、AT240-BT、AT240-C、AT240-W、CN2405、
JT452、JAR-2、CP42、D2401、QR888、TC240、QR-2、E126、S226、N326、W426、PC2、CA62、JT-42、
JT-25、AT340、AT340-U、AT340-P、AT340-BT、AT340-C、AT340-W、CN3404、JT453、JAR-3、CP43、
D3401、TC340、QR-3、E135、S225、N325、W425、PC3、CA53、JT-43、JT-35、AT640、AT640-U、
AT640-P、AT640-BT、AT640-C、AT640-W、CN6404、JT456、JAR-6、CP46、D6401

AT240、AT240-U、AT240-P、AT240-BT、AT240-C、AT240-W、CN2405、JT452、JAR-2、CP42、
D2401、QR888、TC240、QR-2、E126、S226、N326、W426、PC2、CA62、JT-42、JT-25、AT340、
AT340-U、AT340-P、AT340-BT、AT340-C、AT340-W、CN3404、JT453、JAR-3、CP43、D3401、
TC340、QR-3、E135、S225、N325、W425、PC3、CA53、JT-43、JT-35、AT640、AT640-U、
AT640-P、AT640-BT、AT640-C、AT640-W、CN6404、JT456、JAR-6、CP46、D6401
Contents
10
11
12
13
15
16
17
18
1.Packing List
2.Appearance and Components
3.Loading Roll Media
4.Loading Transfer Ribbon
5.Printer Operation
6.Bluetooth Connecting and Usage
7.How to Choose Transfer Ribbon
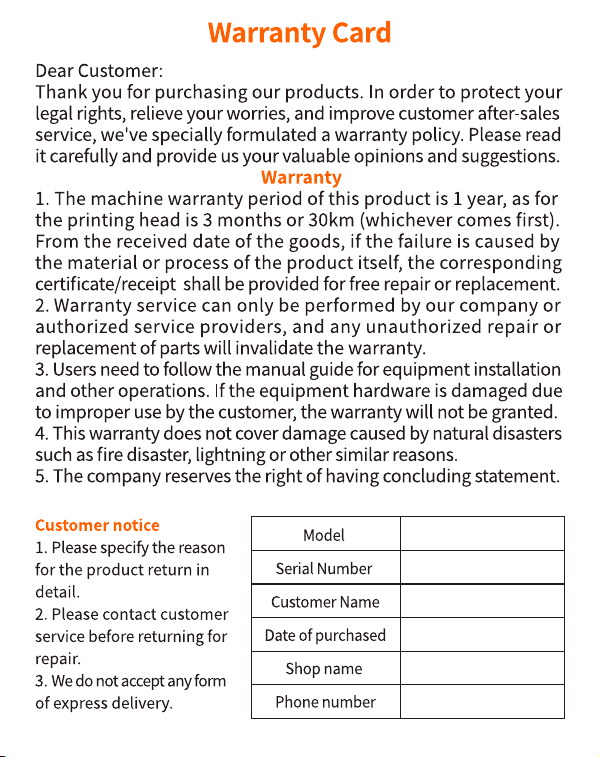
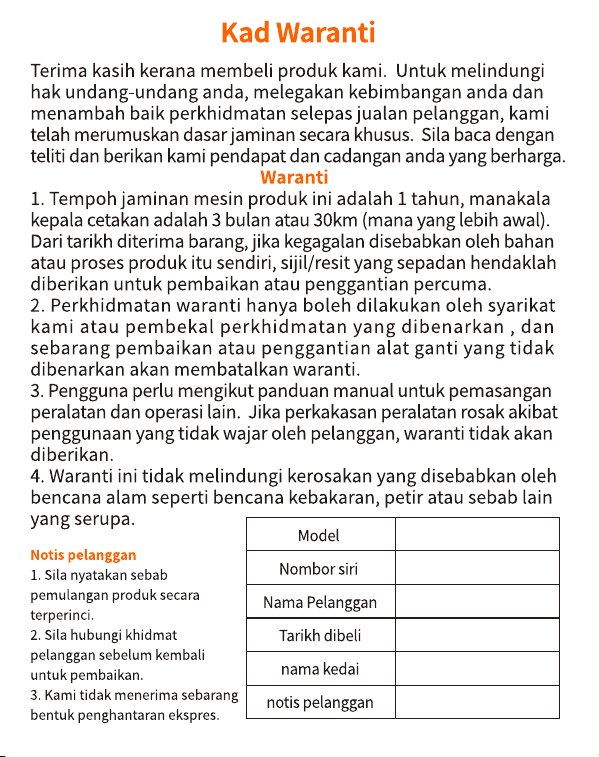
8.Product Warranty Card
The following conventions are used throughout this manual to help you better understand the information.
About This Manual
This manual provides you with product usage and installation information etc. Please read the manual
carefully and follow the instruction before you start to use this printer.
Indicates a hazardous situation caused by improper use, could result in property
loss, physical severe injury or death.
Indicates a hazardous situation caused by improper use, could result in physical
harm or product failure.
Indicates the information listed can help you better use the product or extend the
product service life.
Warning:
Caution:
Note:
International Conventions
Preface
⸺ 1 ⸺⸺ 1 ⸺
After unpacking, check the appearance of printer, make sure you have all
parts. Contact the seller if you found any defective or missing.
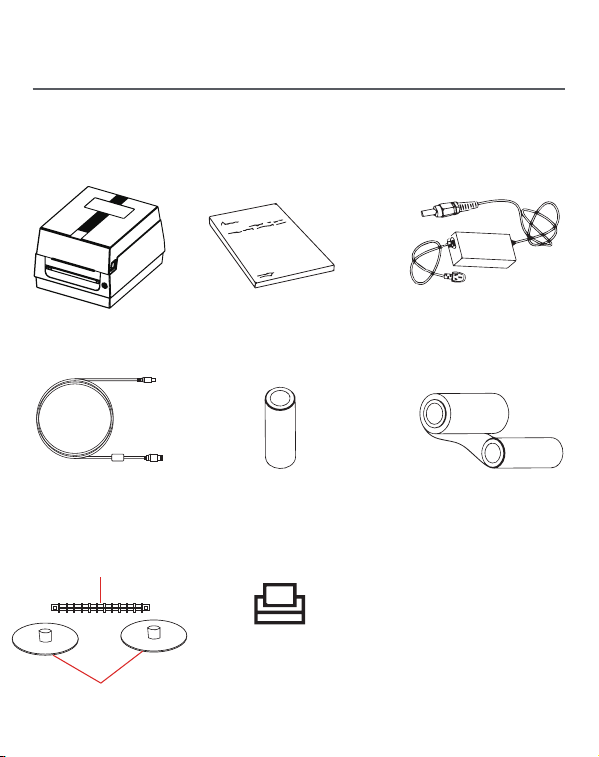
1 Packing List
Printer User Manual
Power Adapter
Transfer Ribbon
(for test)
USB Cable
(Image shown is for illustration purposes only.
Actual product may vary.)
Media Carriage
Media Cutting Blade
Paper Core of
Transfer Ribbon
Note
As the product is improving continuously, all
specifications, accessories and programs are
subject to practical models. Information in this
manual is subject to change without notice.
⸺ 2 ⸺
2 Appearance and Components
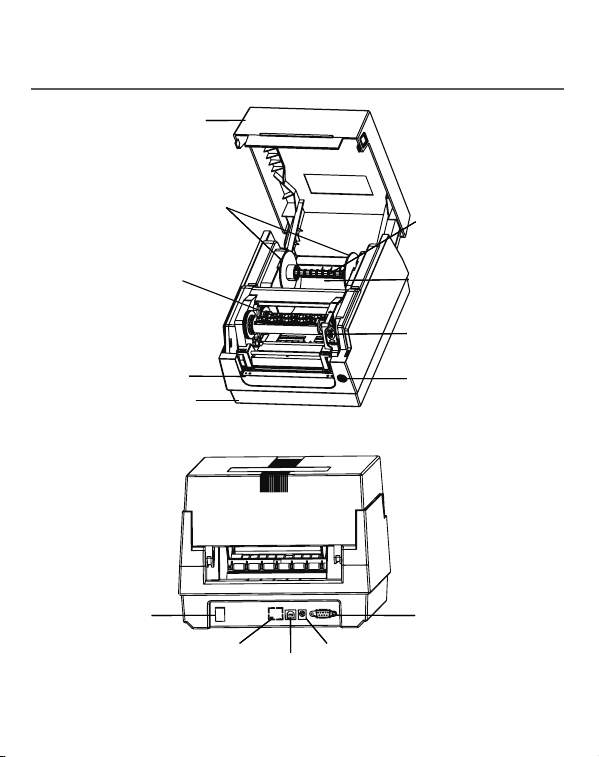
Top Cover
Media Cutting Blade
Media carriage
Media Position
Printhead Module
Release Latch
Feed Button
(with Indicator Light)
Serial Interface
(Optional)
Power Receptacle
USB Interface
Ethernet Interface
(Optional)
Power Switch
Ribbon Recycle Roll
Media Cutting Blade
Base
⸺ 3 ⸺
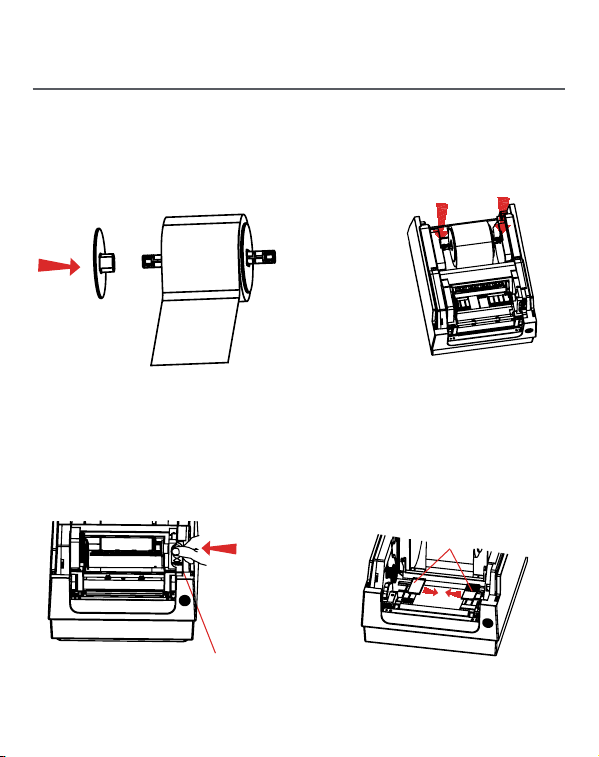
1.Open the top cover; Thread the media
through the media carriage, then
stabilized the roll media by two media
locks.
2.Put the ready roll media into the
interior media position.
3.Push the module release latch lever
toward the rear of the printer to open
the printer module. Pull the media until
it reaches the printer roller.
4.Unlock the media guides to adjust
their position. Make sure the media is
under the bail, and is right at the center
of two media guides.
3 Loading Roll Media
Push toward
the rear
Module release
latch lever
Media guides
⸺ 4 ⸺
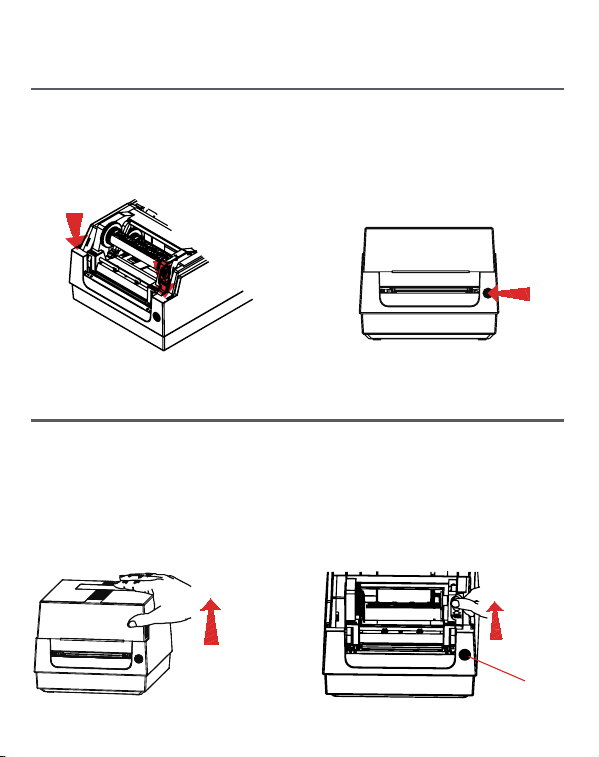
5.Lock the printer module, and close
the top cover until you hear a clear
“Clip” sound, which means the printer
is being closed properly.
The following steps are only for thermal transfer mode (Thermal mode doesn’t need
transfer ribbon)
1.Open the top cover. 2.Push the module release latch lever
toward the rear of the printer to open
the printer module. Pull the media
until it reaches the printer roller.
6.Press feed button, feed the media out
of the printer.
3 Loading Roll Media
4 Loading Transfer Ribbon
Feed Button
Open upward
Push toward
the rear
Module release
latch lever
⸺ 5 ⸺
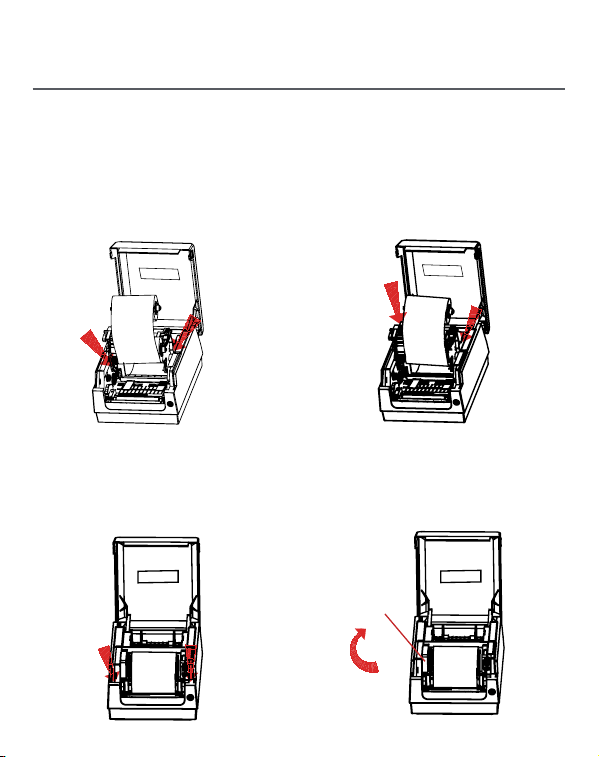
3.Load a new transfer ribbon. Rotate
the ribbon to align with adaptable roll
release, then align the left side of the
ribbon core to the left supply hub, then
the right hub. (Make sure the coated
side of ribbon is facing outward)
4.Place an empty ribbon core on
printer’s take-up spindles. Rotate the
ribbon core until the notches align and
lock into the left side of the take-up
hub, then right side.
5.After loading the ribbon, straighten it,
then close the printer module. Press
two sides downward to stabilize it until
.dnuos ”pilC“ raelc a raeh uoy
6.Rotate the gear of recycle ribbon,
straighten the ribbon without wrinkles.
Then align the transfer ribbon to the
slewing roll.
4 Loading Transfer Ribbon
Left side first
Then right side
Left side first
Then right side
Gear
Rotating
direction
⸺ 6 ⸺
1. Steps of media calibration and setting
1) Make sure the media is loaded properly, close the top cover and then turn off the
printer.
neht ,dnuos ”iD“ a raeh uoy litnu sdnoces 3 rof nottub deef sserp ,retnirp eht tratseR )2
release the button. The printer is switching into Smart Learning Mode.
esaeler neht ,dnuos ”iDiD ,iD“ a raeh uoy litnu nottub deef sserp :lebal tset a tnirP )3
the button. The printer will print a test label.
5 Printer Operation
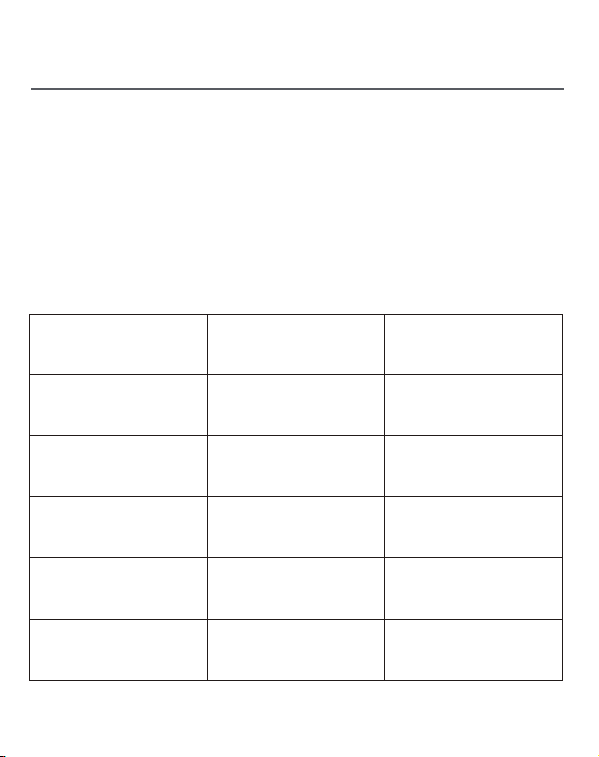
Possible
Error
The phototube has failed
to test the media gap
Paper jam
The media is running out
The printhead needs
to cool down
The printhead
module is open
Flashing Red
Flashing Red
Flashing Red
Flashing Red
Flashing Red
Remove jammed paper
Load a new roll media
1.Inspect media path;
2.Inspect the phototube
Indicator
Light Status
Resolution
2. Troubleshooting
The printing will be terminated until
the printhead cools down to normal
temperature. When it cools down, it
will resume printing and execute the
previous printing orders
automatically.
Lock the printhead
module, until you hear a
“Clip” sound

1.For mobile phones of Android
Step 1: Turn on the printer
Step 2: Search device in Bluetooth interface, select the printer and
connect. The original password is 0000 or 1234. When the Bluetooth
pairing done.
Step 3: Open the APP, link the printer and print.
2.For mobile phones of iOS
Step 1: Turn on the printer and Bluetooth.
Step 2: Open the APP, link the printer and print.
6 Bluetooth Connecting and Usage
Notes
1.It supports the devices with Bluetooth.
2.Make sure Bluetooth is on when you process the connection.
3.IOS devices can use APP or mini program to connect without PIN code
matching.
⸺ 7 ⸺