Hearth & Home Technologies • Courtyard Stainless Steel Liner Kit Installation Manual • 4150-941 Rev. A • 02/23
This Stainless Steel Liner kit is designed for use on the
models shown in the chart above. Read these instructions
thoroughly before beginning installation.
CAUTION: Allow appliance to cool completely if it has been
in operation.
NOTE: Some models may require removal of a screen
panel, log assembly or refractory before installation of the
stainless liner kit.
KIT CONTENTS:
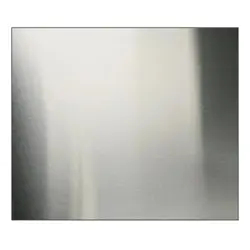
• (1) Rear Stainless Steel Panel
• (1) Left Stainless Steel Panel
• (1) Right Stainless Steel Panel
• (4) #8 x 1/2" Screws
TOOL REQUIRED:
Phillips head screwdriver
INSTRUCTIONS:
Remove grate, Log Set, Media and Refractory:
1. Remove grate, log set and media, if installed.
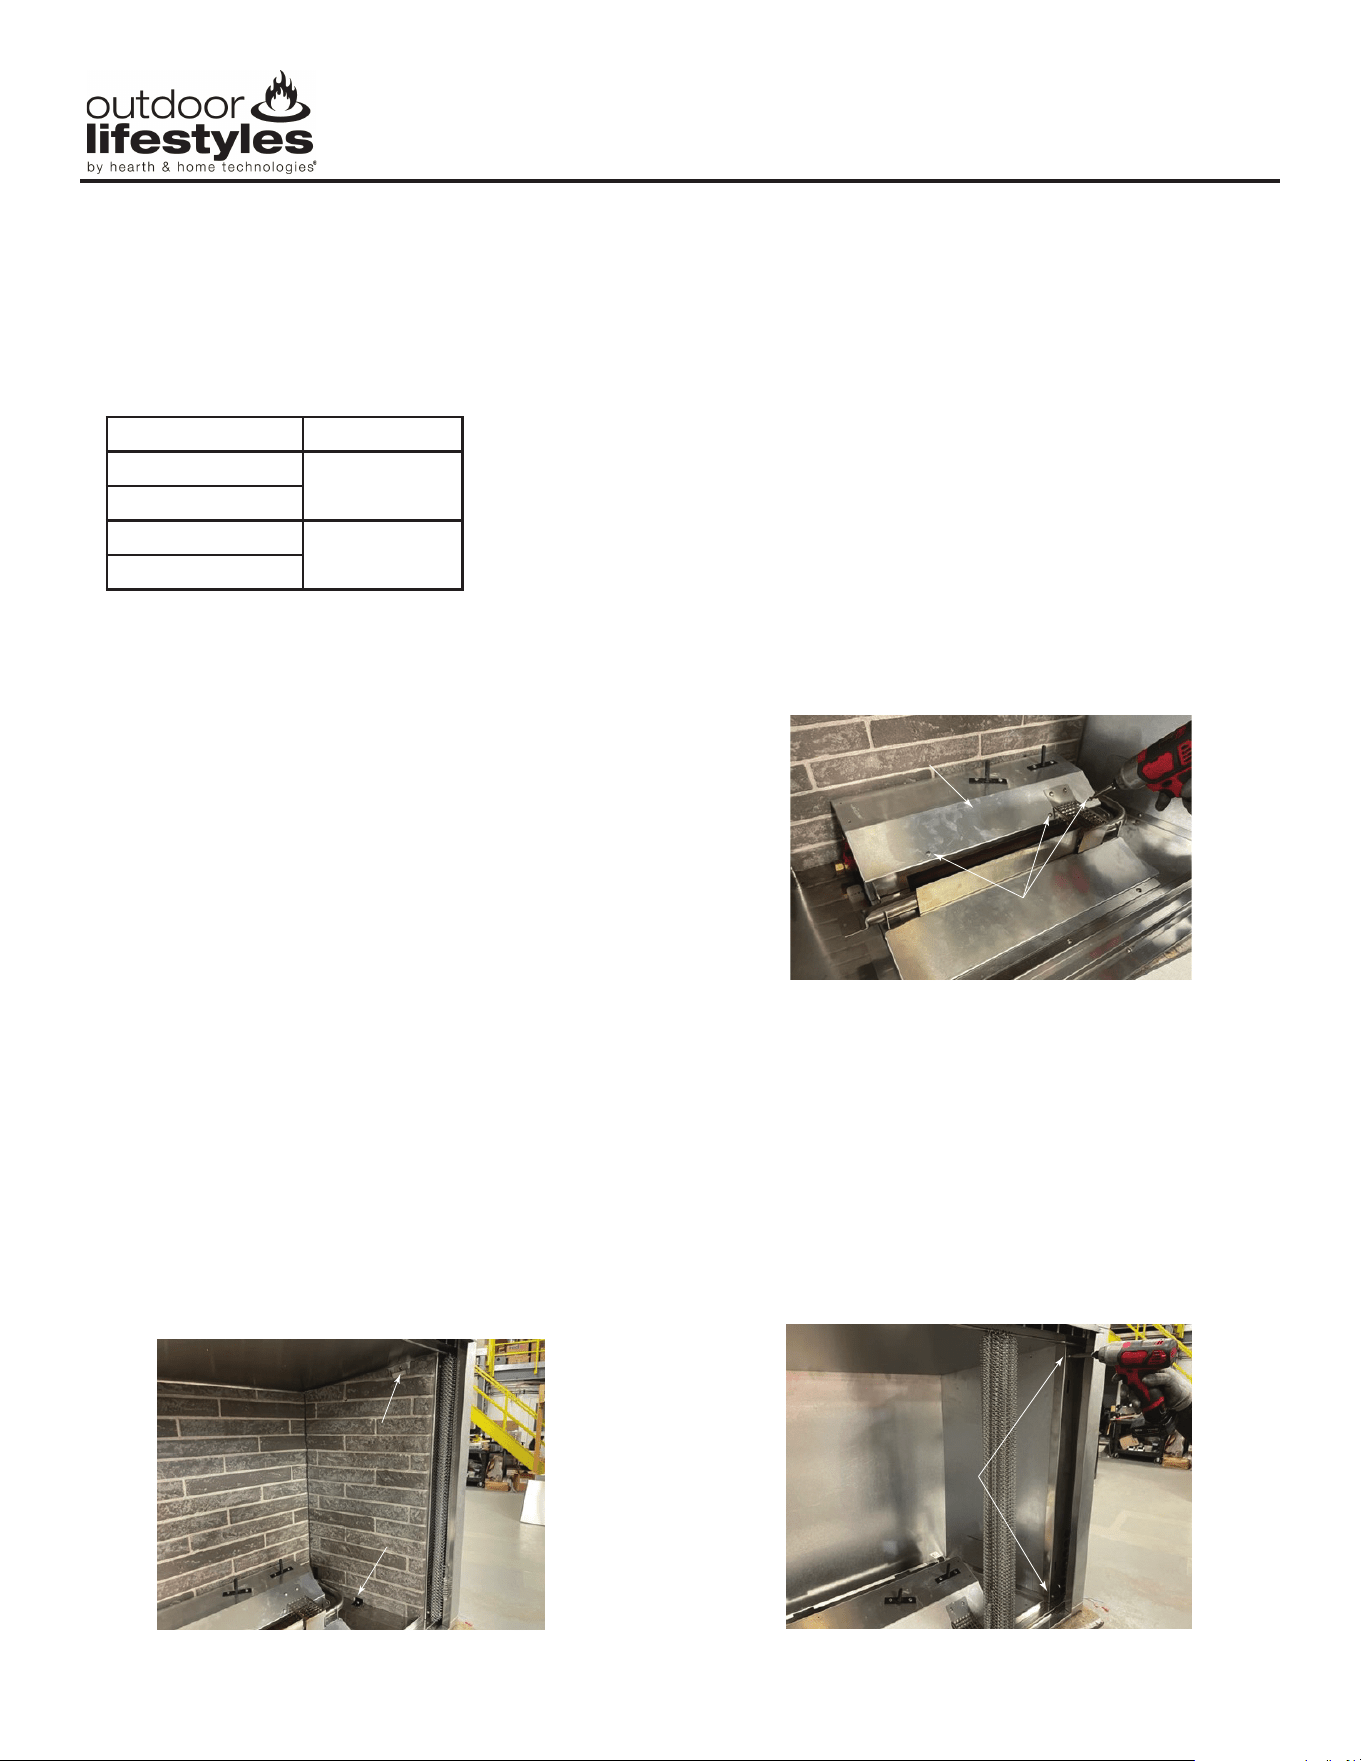
2. Remove refractory, if installed, by removing brackets at
the top and bottom of each side panel. See Figure 1.
Tilt refractory top edge towards the center of the appli-
ance and lift out. Repeat on other side.
3. To remove rear refractory, it is necessary to remove the
Burner Rear Cover. Remove (3) screws securing cover,
lift cover to remove and set aside. See Figure 2.
Figure 1
Figure 2
Model(s) Kit
ODCOUG-36NR
ODCOUG-36SSL
ODCOUG-36TS
ODCOUG-42NR
ODCOUG-42SSL
ODCOUG-42TS
Installation
Instructions
This kit has been tested for use with specic Hearth & Home Technologies products. Check with your local building code
agency before you begin installation to ensure compliance with local codes, including the need for permits and follow-up
inspections. If you encounter any problems regarding code approvals, or if you need clarication of any of the instructions
contained here, contact your Hearth & Home Technologies dealer. For the dealer nearest you, please visit www.hearthn-
home.com.
4. To remove rear refractory panel, tilt top edge towards
the center of the appliance and lift out.
5. Use a shop vac or small brush to clean debris left from
refractory panels to ensure a at surface for the stain-
less steel panels to sit upon.
Remove Side Covers:
6. Remove screws (2) securing the right and left side cov-
ers. Pull side covers towards to the center of appliance
and remove. See Figure 3.
Note: Side covers will no longer be needed.
Courtyard Stainless Steel Liner
Models: ODCOUG-36SSL, ODCOUG-42SSL
Figure 3
Top Bracket
Bottom Bracket
Burner Rear Cover
Screws
Screws
Hearth & Home Technologies • Courtyard Stainless Steel Liner Kit Installation Manual • 4150-941 Rev. A • 02/23
Please contact your Hearth & Home Technologies dealer with any questions or concerns. For the
location of your nearest Hearth & Home Technologies dealer, please visit www.hearthnhome.com.
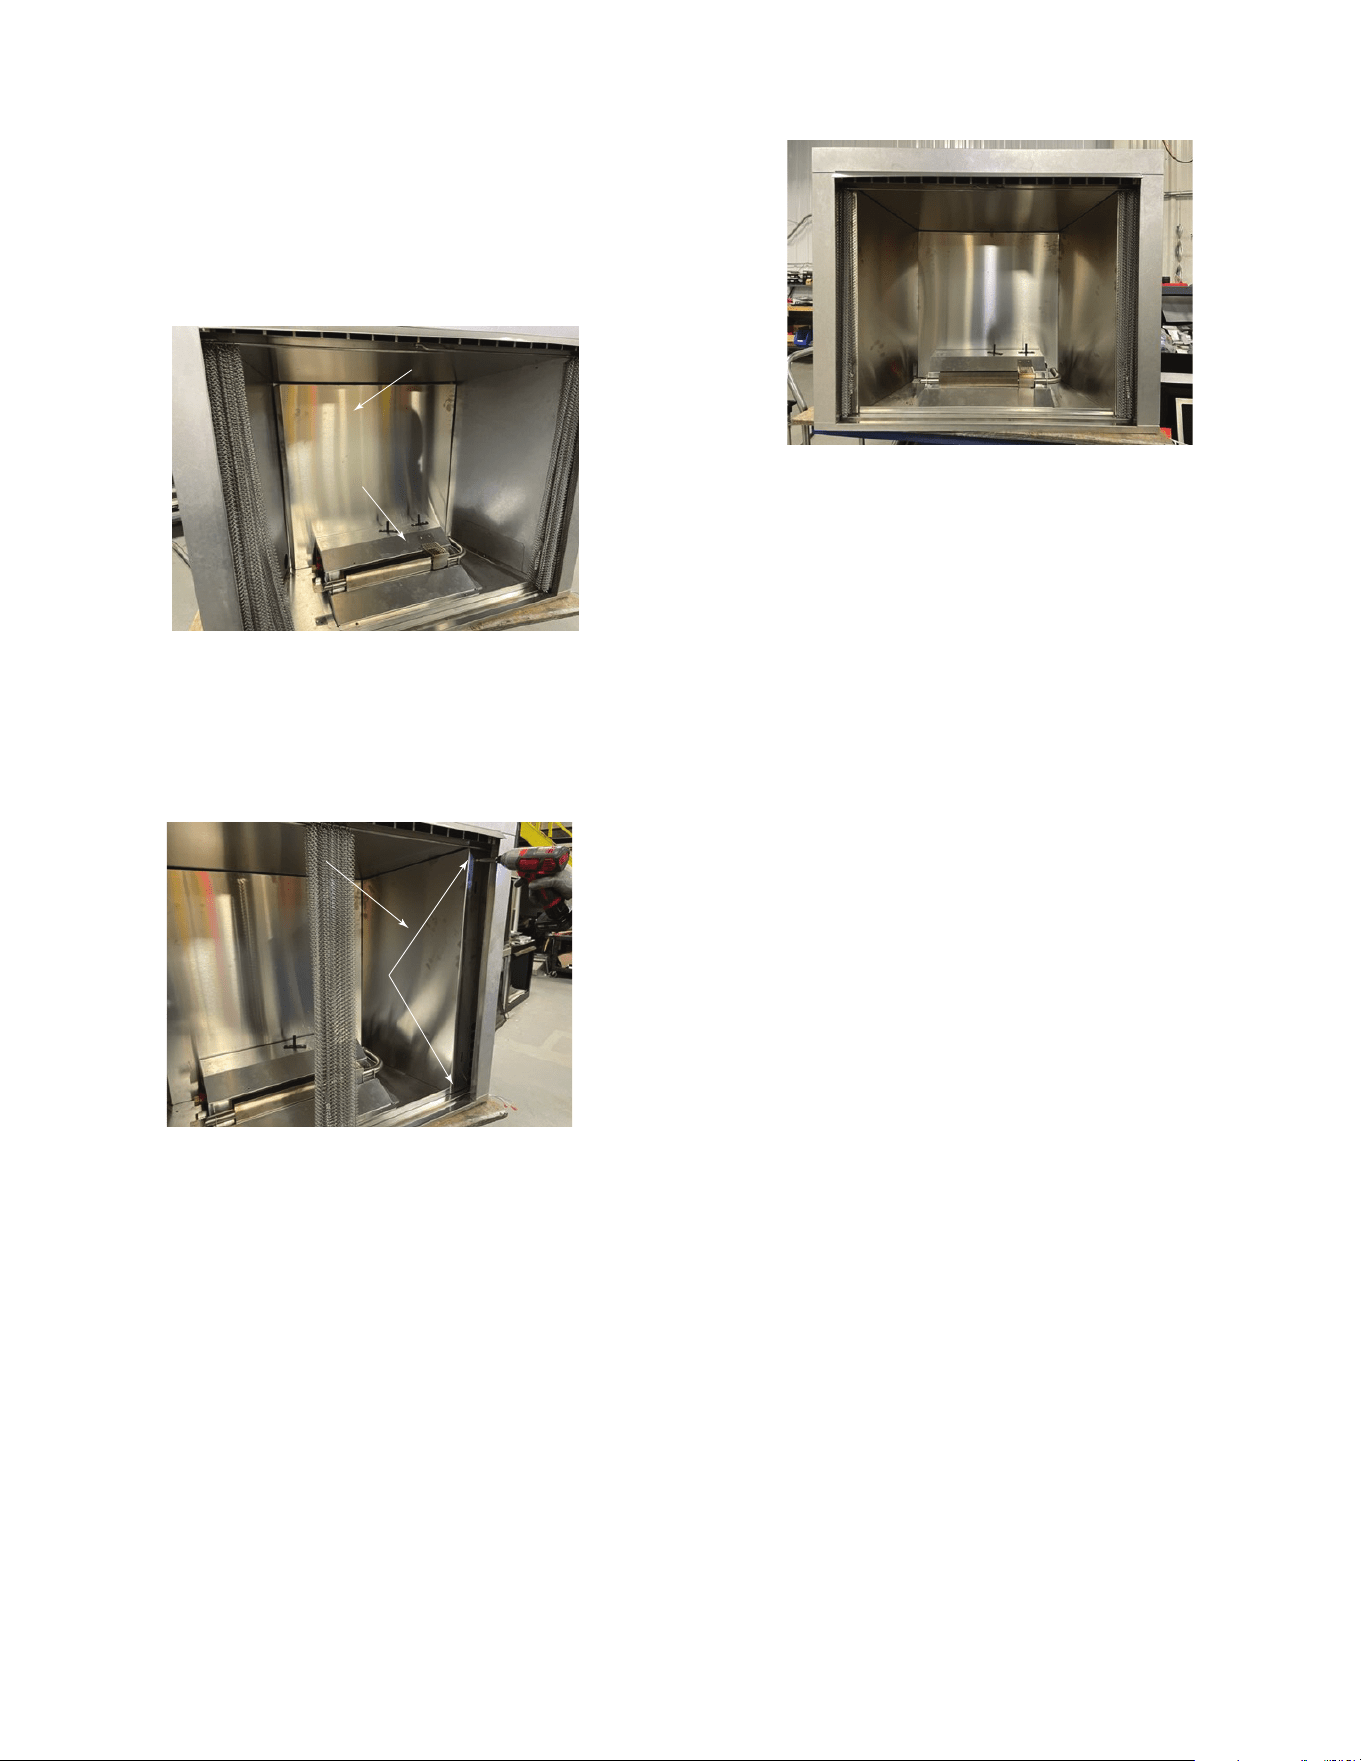
7. Carefully remove protective coating from new stainless
steel panels.
8. Lift rear stainless panel up and over the rear edge of
the burner assembly, place panel against appliance
rear wall. Reinstall Burner Rear Cover with (3) screws
removed in Step 3. See Figure 4.
Note: Rear stainless panel is secured in place by the side
panels and will need to be held in place while installing
Burner Rear Cover.
9. Position right stainless panel against rebox side and
slide towards the rear of the rebox until side panel con-
tacts the rear panel. Secure right side panel with (2)
screws provided. See Figure 5.
Figure 4
Figure 5
Figure 6
10. Repeat for left stainless panel Installation. See Figure
6.
11. Using cleaner designed for use on stainless steel. Ap-
ply cleaner to a terry cloth and wipe appliance following
the grain of the stainless. Do not spray cleaner directly
onto the appliance. Remove any ngerprints present
after installation.
12. Reinstall grate, log set and media.
Burner Rear Cover
Rear Stainless Panel
Right Stainless Panel
Screws