09
1.Press to turn on/off Alarm Clock 1.Once Alarm Clock 1 setting successfully,
the Alarm Clock 1 icon will display on the screen.
When the alarm goes off, press will activate Snooze Mode,and the alarm will
sound again in 5 minutes.The Snooze icon will display on the screen.
Press and hold down for 3 Seconds,the alarm clock will be turned off.
a.Hour Setting
Press and hold down to enter the Alarm Clock
Setting Mode. Hour Setting [Black digital will start flashing
when in setting mode],Rotating knob to adjust Hour,
press to next step.
d.Hour Setting
When Date Setting finished,press to enter Hour Setting.
Hour Setting [Black digital will start flashing when in setting
mode],Rotating knob to adjust hour,press to next step
e.Minutes Setting
When Hour Setting finished,press to enter Minutes
Setting. Minutes Setting [Black digital will start flashing when
in setting mode],Rotating knob to adjust minutes,
Time setting are done.
Alarm Clock Setting
10
Plug the Type-C cable(included) into the charging port and then connect the Type-C
end to an available power source to charge the device.
When the devices connected to the Type-C (included) for charging you can also use
the Type-C or USB connection out put to charge the phone and other device.
3 Modes:All 7 days / Weekday / Weekend
Rotating knob to choose.
Alarm clock setting are done.
Type-C Input Port Type-C Output Port
USBOutput Port
Power Port
11 12 13
05
12 11
SD Card
Reset Button
1
Left Knob
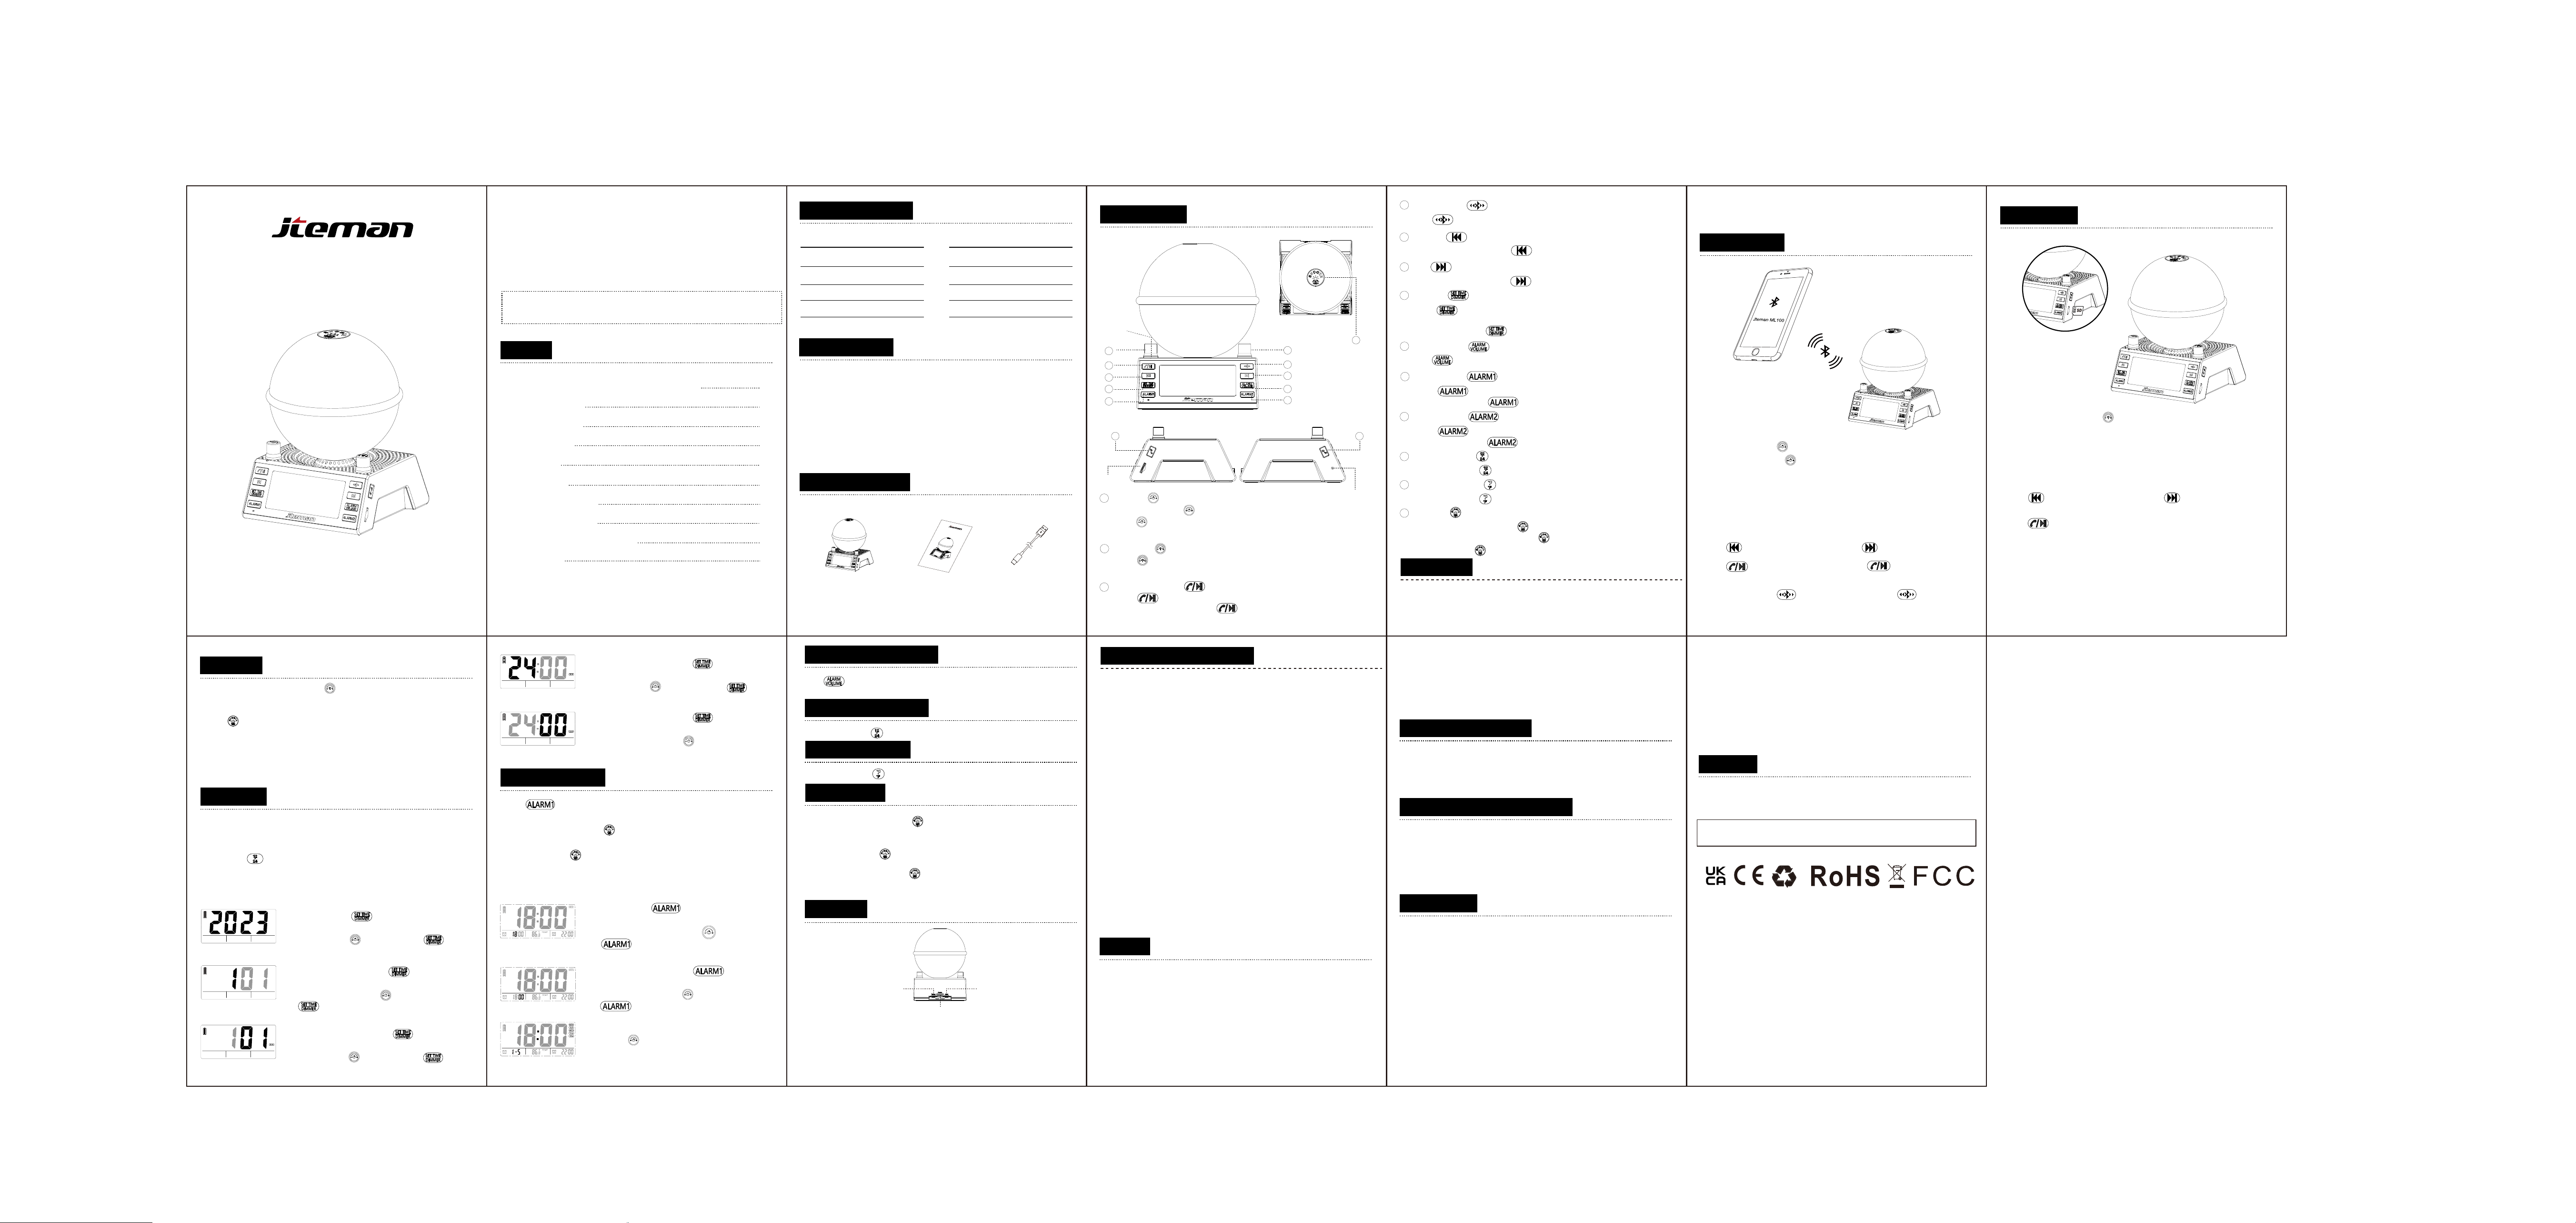
a.Press and hold down 1.5 seconds to power the Bluetooth speaker on.
b.Press to switch between Bluetooth/SD card mode.(No SD card can not switch)
c.Rotating knob to adjust the volume.
2
Right Knob
a.Press to turn of/off the light.
b.Rotating knob to adjust the light brightness.
3
Play/Pause/Answe
a.Press to answer and hang up phone calls with handsfree speakerphone.
b.Bluetooth/SD Card mode,press Pause or resume playback.
7
Time Set
a.Press to adjust the sreen brightness
(0% / 10% / 50% and 100% brightness).
b.Press and hold dowm 1.5 seconds to enter Time Setting Mode.
8
Alarm Volume
Press to adjust the Alarm Volume(20% / 40% / 60% / 80% and 100%).
5
Previous
Bluetooth/SD Card Mode,press to return to the previous track.
6
Next
Bluetooth/SD Card Mode,press to to skip to the next track.
4
Bluetooth Pair
Press to disconnect and connect Bluetooth.
9
Alarm Clock 1
a.Press turn on/off Alarm Clock 1.
b.Press and hold dowm 1.5 seconds to enter the Alarm Clock 1 Setting Mode.
10
Alarm Clock 2
a.Press turn on/off Alarm Clock 2.
b.Press and hold dowm 1.5 seconds to enter the Alarm Clock 2 Setting Mode.
11
12/24-Hour Time
Press and hold down to switch 12/24-Hour Time Mode.
12
Temperature Mode
Press and hold down to switch Temperature mode°C/°F.
13
SNOOZE
a.When the alarm goes off, press will activate Snooze Mode,and the alarm will sound
again in 5 minutes.Press and hold down for 3 Seconds,the alarm will be tuned off.
b.Light Mode,Press to adjust the mode of light.
Night Light Bluetooth Speaker
with Alarm Clock
User Manual
Model No. :ML100
01
04
1
LED Indicator
3
5
7
9
2
4
6
8
10
13
Button Function
02
Thank you for purchasing our product.
In order to make full use of the new Night Light
Bluetooth Speaker with Alarm Clock,we kindly
invite you to read these instructions prior to use.
Before using this product,please use the original
charging cable start by charging the unit for 4 hours.
Contents
Product Parameters,Features,Accessories
Button Function
Bluetooth Mode
SD Card Mode
Light Mode
Time Setting
Alarm Clock Mode
Charging Interface
03
06
07
08
10
Important Safety Instructions
11
08
09
04
03
Product Specification
Product Features
Product Accessories
Product Model: ML100 Product Material: PC+ABS
Product N.W.: 545g
Charging Time: 3hours
Product Output: 2A
Bluetooth Name: Jteman ML100
Bluetooth version : Bluetooth 5.0
Speaker Power: 4Ω5W
Prodcut Input: Type-C 5V 1AProduct Size: 130*125*169mm
·Portable mini speaker.
·Built-in microphone.
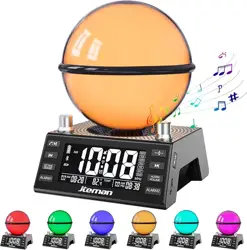
·7 colors,3 light modes.
·Screen display:Date,time,week,temperature and alarm clock.
·Two sets of alarm clock with flexible settings can help you
manage your time effectively and avoid missing important events.
Night Light Bluetooth Speaker
with Alarm Clock
*1
USB-A to Type-C
Charger cable
*1
User Manual
*1
Night Light Bluetooth Speaker
with Alarm Clock
User Manual
Model No. :ML100
1
06
2.Using the Bluetooth setting on your device search for new devices and select 'Jteman
ML100'.When successfully paired,a voice prompt will announce the connection, the
LED Indicator will display a solid blue light and Bluetooth icon will display on the screen.
3.Rotating knob to adjust the volume(0-31 level).[ U00-U31 ]will display on the screen.
Bluetooth Mode
1.Press and hold down 1.5 seconds to power on and the device will enter the Time
Mode automatically,press again to switch Bluetooth Pair Mode,the LED Indicator
will start flashing blue and the Bluetooth icon will flashing on the screen.
4.Press to return to the previous track,Press to skip to the next track.
5.Press to pause or resume playback.Press to answer and hang up
phone calls with handsfree speakerphone.
6.Press and hold down to disconnect Bluetooth,Press again will pair
the last device automatically.
07
1.In the Bluetooth Mode,Press to switch SD Card Mode.
[No SD card can not switch].
2.Insert SD card and start playing music.
3.Rotating knob to adjust the volume(0-31 level).[ U00-U31 ] digital will display on
the screen.
5.Press to pause or resume playback.
SD Card mode
08
1.When the device is turned on,press to turn on/off the light.
2.Rotating knob to adjust the light brightness.
3.Press to switch the color of lamp.(7colors,3 light modes)
[ 001-009 ] digital will display on the screen.
a.Single Mode:[ 001-007 ] --Warm White / Red / Green / Blue / Yellow / Cyan / Purple.
b.7 Color racehorse:[ 008 ]
c.63 Color cycle gradient color:[ 009 ]
1.When power on and the Bluetooth successfully paired,the date will be
automatically calibrated (some Android phones may require confirmation of
device trust authorization).
2.Press 12/24 to switch 12/24-Hour Time Mode.
3.The time setting steps are as follows(when in setting mode,a voice
prompt will announce and the Black digital will display flashing).
a.Year Setting
Press and hold down to enter the Time Setting Mode.
Year setting[Black digital will start flashing when in setting
mode],Rotating knob to adjust year,press to next step.
b.Month Setting
When Year Setting finished,press to enter Month
Setting. Month Setting [Black digital will start flashing when
in setting mode],Rotating knob to adjust month,
press to next step.
c.Date Setting
When Month Setting finished,press to enter Date Setting.
Date Setting [Black digital will start flashing when in setting
mode],Rotating knob to adjust date,press to next step.
Light mode
尺寸100*150,mm
Note:
4.Press to return to the previous track,Press to skip to the next track.
Time setting
Two set of Alarm Clock,3 Modes:All 7 days / Weekday / Weekend
b.Minutes Setting
When Hour Setting finished,press to enter Minutes
Setting. Minutes Setting [Black digital will start flashing when
in setting mode],Rotating knob to adjust minutes,
press to next step.
Volume of Alarm Setting
Press
to choose the Volume of Alarm.[Default display volume of alarm is : 60]
12/24-Hour Time Mode
Press and hold down to switch 12/24-Hour Time Mode.
Temperature Mode
Press and hold down to switch Temperature Mode ℃/℉.
SNOOZE Mode
a.When the alarm goes off, press will activate Snooze Mode, and the
alarm will sound again in 5 minutes.The Snooze icon will display on the screen.
Press and hold down for 3 Seconds,the alarm will be turned off.
b.In the case of non-alarm press to adjust the screen brightness.
Important Safety Instructions
Warning
Installation & Connection
Disposal & Recycling information
FCC warning
Email:[email protected]
Disclaimer
1. Read these instructions.
If your device freezes or stops responding.you can try pressing the reset button to
restart the device.The reset button is a small hole that requires a small needlesuch
as a pin to push into. Press the reset button will turn off the device.Press the power
button again the device will enter a full-screen display mode and after 3 seconds the
device will restarts.Please note that the device's time and alarm clock needs to
berecalibrated after the restart.
2. Keep these instructions.
3. Heed all warnings.
4. Follow all instructions.
5. Clean only with a dry cloth.
6. Do not block any ventilation openings. Install in accordance with
themanufacturer's instructions.
7. Do not install near any heat sources suchas radiators, heat registers,
stoves, or other apparatus(including amplifiers) that produceheat.
8. Protect the power cord from being walked on or pinched particularlyat
plugs, convenience receptacles, and the point where they exit from
the apparatus.
9. Only use attachments/accessories specified by the manufacturer.
10.Unplug this apparatus during lightning storms or when unused
forlong periods of time.
11.Refer all servicing to qualified service personnel. Servicing is required
when the apparatus, power-supply cord or plug has been damaged
inany way or does not operate normally.
12.Use this phone stand speaker only with an agency approved power
supply adapter which meets local regulatory requirements(eg,UL,
CSAVDE,CCC)in accordance with the manufacturer'sspecifications.
1. This is not a toy. Keep this product and its accessories away from
young children.
2. Do not drop the product.
3. Do not cover the product, as this may cause overheating.
4. Placing your ears too close to the speaker could damage your hearing.
5. Do not listen for an extended period of time at a high sound
pressure level.
6. Do not install the product in an area that impedes access to the
power Source.
Version:ML100-2A
7.The internal battery is not end-user replaceable Do not attempt to
remove the battery from this product.
8.Do not expose the battery to excessive heat such as direct sunlight,
naked flame or similar.
9.Make sure this product. including cables and power source are
completely dry before charging the internal battery.
1.Use only standard USB-C cables connected to a USB power source to
charge this product.
2.No naked flame sources, such as lighted candles, should be placed
on or near the apparatus.
1.This device complies with part 15 of the FCC Rules. Operation is subject to the
following two conditions: (1) this device may not cause harmful interference, and
(2) this device must accept any interference received, including interference that
may cause undesired operation.
2.Any changes or modifications not expressly approved by the party responsible for
compliance could void the user's authority to operate the equipment.
NOTE: This equipment has been tested and found to comply with the limits for a
Class B digital device, pursuant to Part 15 of the FCC Rules. These limits are
designed to provide reasonable protection against harmful interference in a
residential installation. This equipment generates, uses and can radiate radio
frequency energy and, if not installed and used in accordance with the instructions,
may cause harmful interference to radio communications. However, there is no
guarantee that interference will not occur in a particular installation.
3.If this equipment does cause harmful interference to radio or television reception,
which can be determined by turning the equipment off and on, the user is encouraged
to try to correct the interference by one or more of the following measures:
-- Reorient or relocate the receiving antenna.
-- Increase the separation between the equipment and receiver.
-- Connect the equipment into an outlet on a circuit different from that to which the
receiver is connected.
-- Consult the dealer or an experienced radio/TV technician for help.
The device has been evaluated to meet general RF exposure requirement. The
device can be used in portable exposure condition without restriction
Stated play time is calculated using a random selection of music,played
at medium volume.
Electrical products, cables, batteries, packaging,and the manual, should
not be mixed with general household waste, For proper recycling, please
take these products to a designated collection point where they will be
accepted free of charge or return them to your local retailer. Correct
product disposal saves resources and prevents negative effects on human
health and the environment.
FCC warning
13
Reset Button