AUTOMOBILE CHASSIS LAMP | USER MANUAL
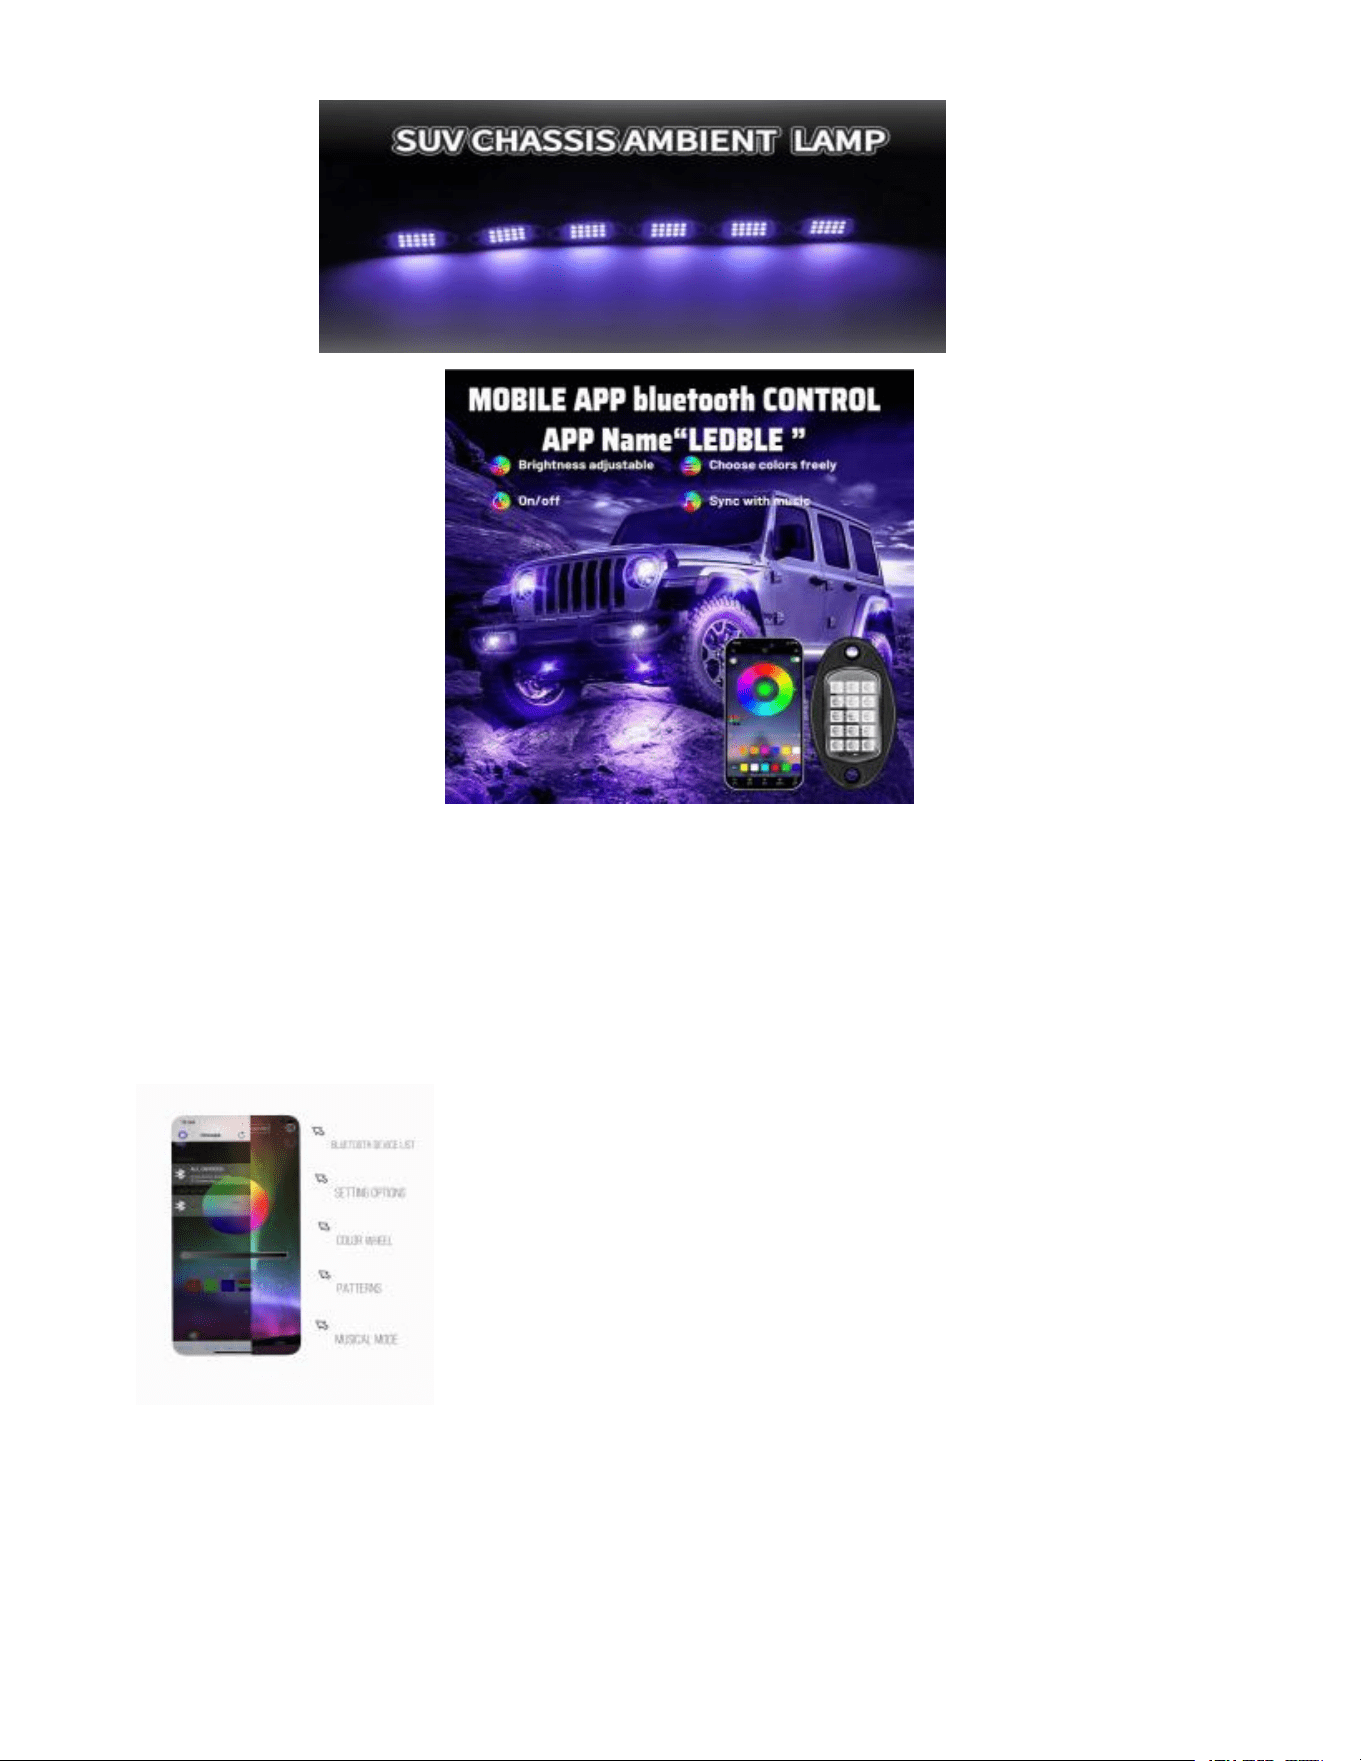
PRODUCT NAME:SUV CHASSIS AMBIENT LAMP
PRODUCT SMD:5050*15LED
WORKING VOLTAGE:12V
WATERPROOF:IP67
COLOR:RGB
SPECIFICATIONS:4IN1,6IN1,8IN1,10IN1,12IN1 HOW TO USE
DOWNLOAD APP SOFTWARE
STEP1:DOWNLOAD THE "LED BLE"APP WITH YOUR MOBILE PHONES BY SCANNING THE QR CODE ON
USER MANNUAL OR SEARCH THE "LED BLE"APP IN APP STORE OR GOOGLE PLAY STORE.
STEP2:AFTER THE APP DOWNLOAD SUCCESSFULLY, YOU NEED TO TURN ON BLUETOOTH FUNCTION
ON YOUE PHONE FIRSTLY,THEN PLUG IN THE STRIP LIGHT, THEN OPEN THE APP,YOUR APP WILL PAIR
WITH THE STRIP LIGHT AUTOMATICALLY AND YOU CAN CONTROL IT.
AUTOMOBILE CHASSIS LAMP | USER MANUAL
TROUBLE SHOOTING
1.CHECK IF THE POWER SUPPLY OF THE LIGHT STRIP IS NORMAL.
2.CHECK IF THE BLUETOOTH IS TURN ON.
3.CHECK IF THERE ARE OTHER MOBILE PHONE ARE CONNECTED, BLUETOOTH4.0 ONLY SURPPOT
CONNECTIONS ONE TO MARY,DOES NOT SURPPOT MANY TO MANY.
4.PLEASE CHECK THE NETWORK, REFRESH ,AND TRY IT AGAIN.
Product image is illustrative; actual kit appearance and accessories may vary.
1. Product Overview
The Automobile Chassis Lamp is a colorful decorative lighting product intended for installation beneath a compatible
vehicle. It uses LED light beads, operates from a nominal 12 V DC vehicle power source, and is described as
remote-controlled in the supplied product introduction.
2. Technical Specifications
Product name
Colorful Automobile Chassis Lamp
Rated working voltage
DC 12 V
Stated output power
3.6 W
Stated lamp length
Approximately 1.5 m
LED type
5050 LED lamp beads
Power source
12 V vehicle battery / compatible 12 V DC supply
Control method
Remote control
Note: The supplied product introduction does not specify the number of light strips, connector type, fuse rating, IP
protection rating, remote-control button functions, or included accessories. Verify these details against the delivered
product before installation.

AUTOMOBILE CHASSIS LAMP | USER MANUAL
3. Safety Instructions
Installation should be performed by a qualified automotive technician familiar with vehicle electrical systems.
Switch off the vehicle ignition and disconnect the negative battery terminal before making electrical connections,
where permitted by the vehicle manufacturer.
Use only a compatible 12 V DC supply and appropriate circuit protection. Never connect directly to a higher-
voltage source.
Route the wiring away from exhaust components, moving suspension or steering parts, sharp edges, and hot
surfaces.
Do not drill or fasten through brake lines, fuel lines, wiring harnesses, or structural components.
Secure all lamps and wires so they cannot loosen during driving or contact the road.
Do not install lighting where it obscures mandatory vehicle lamps, license plates, or safety systems.
Observe local road-traffic rules: external decorative lighting may be restricted or prohibited on public roads.
Do not assume water resistance or suitability for pressure washing unless a verified protection rating is supplied.
4. Preparation Before Installation
Confirm that the vehicle has a compatible 12 V electrical system and adequate battery capacity.
Inspect each lamp, wire, connector, controller, and remote (if supplied) for visible damage.
Identify suitable mounting points along the underside or side sills of the vehicle.
Clean and dry all mounting surfaces; remove grease, dust and loose material.
Prepare suitable installation tools, automotive-grade fixing materials, wire protection and an appropriately rated
fuse, as recommended by a qualified installer.
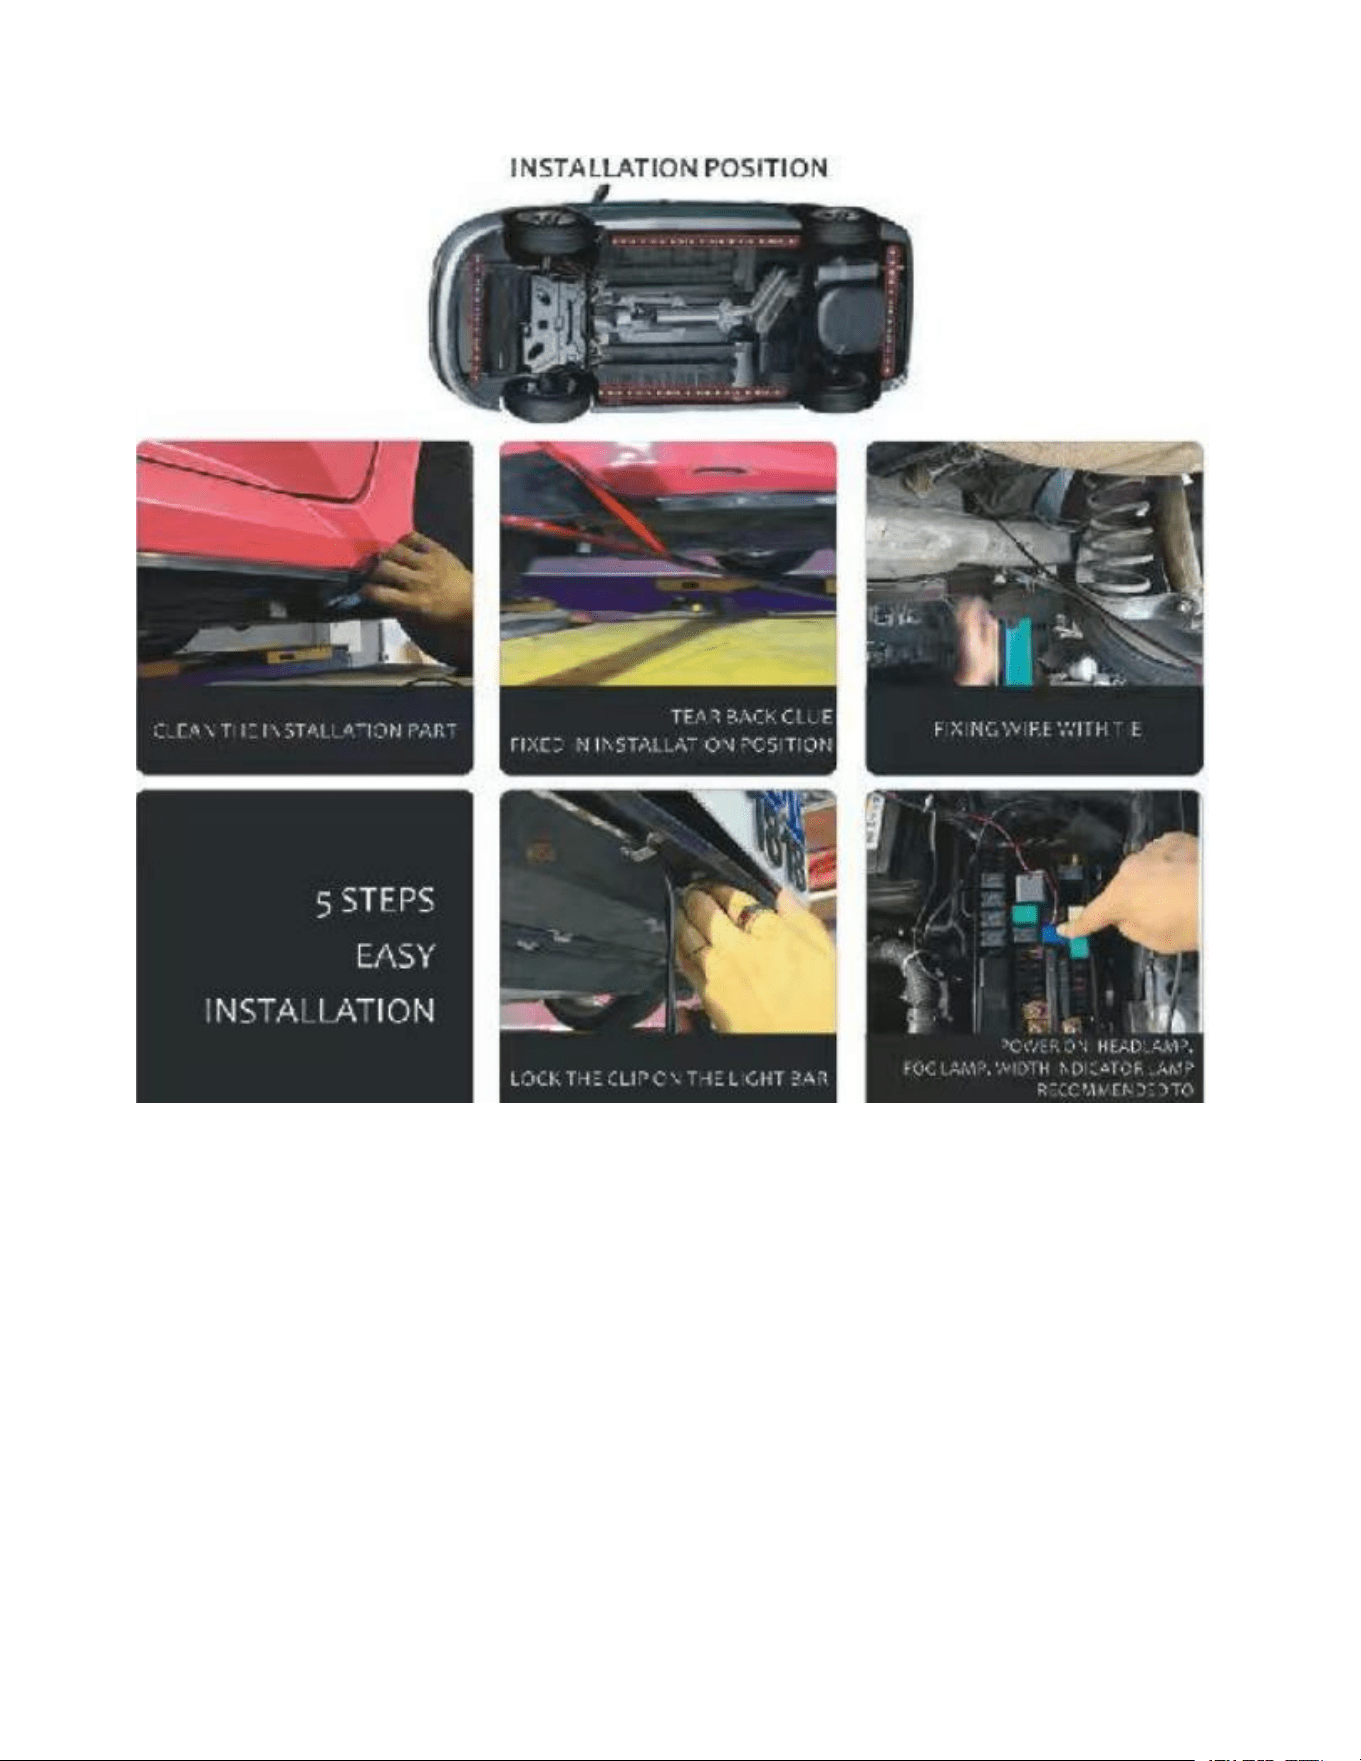
5. Installation Procedure
The following sequence reflects the mounting and wiring concept depicted in the supplied installation illustration;
exact hardware and connection details depend on the delivered kit.
Step 1 — Identify and clean the mounting areas
Choose underbody locations with adequate road clearance, away from heat sources and moving parts. Clean each
installation surface thoroughly.
Step 2 — Position the LED lamps
Trial-fit the strips or lamp assemblies along the intended chassis/side-sill positions. Check cable routing and ensure
the light output is not blocked.
Step 3 — Secure the mounting points and wiring
Fix the lamps using mounting hardware suitable for the vehicle and the supplied product. Route and secure wires
with automotive-grade clips or ties; protect against abrasion.
Step 4 — Lock the lamps and inspect the installation
Tighten or lock each mounting clip/fastener. Gently check that the lamp units cannot shift, contact moving parts, or
hang below safe vehicle clearance.
Step 5 — Connect the 12 V power supply and test
Connect the controller/lighting to a correctly protected 12 V DC circuit, observing confirmed polarity and the
manufacturer’s wiring diagram. Restore power and test operation before returning the vehicle to service.
AUTOMOBILE CHASSIS LAMP | USER MANUAL
Installation Reference
Reference imagery reproduced from the supplied product introduction; wiring colors, fuse location and connector
pinout are not defined by the source.
AUTOMOBILE CHASSIS LAMP | USER MANUAL
6. Operating Procedure
1 — Pre-use inspection
Confirm that the vehicle is stationary and safely parked. Check that all lamp units and wiring are securely attached.
2 — Energize the system
Enable the installed 12 V power circuit or lighting switch, as configured by the installer.
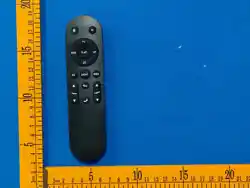
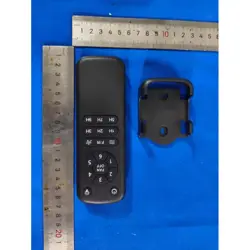
3 — Use the remote control
Operate the lighting using the supplied remote control. Select only functions identified on the actual remote or
controller; button mapping was not provided in the source material.
4 — Check illumination
Check that the lamps respond correctly and that no unit flashes unexpectedly, overheats, or becomes loose.
5 — Switch off after use
Turn off the lighting system when not required to reduce vehicle-battery discharge.
7. Basic Troubleshooting
Issue
Suggested check
No light output
Check whether the 12 V supply is enabled, the circuit
fuse is intact, and the confirmed power connections are
secure.
Intermittent or flickering lights
Inspect for loose connectors, damaged cables, poor
ground connections, or a low supply voltage.
Remote control does not respond
Check the remote battery (if replaceable), line of sight
or operating distance, and whether the controller is
receiving power.
Only part of the light works
Inspect the affected segment and its wiring. Do not
bypass damaged wiring or protection devices.
Overheating, smell or visible damage
Switch off power immediately and have the system
inspected by a qualified technician.
8. Maintenance and Storage
Inspect mountings, cabling and connectors periodically and after driving on rough roads.
Clean lamp surfaces gently with a soft, lightly dampened cloth only when the electrical system is powered off.
Avoid aggressive solvents and high-pressure water exposure unless permitted by verified product specifications.
Replace damaged components rather than operating the system in an unsafe condition.
If the vehicle will be stored for a long period, isolate the aftermarket lighting circuit where practicable.
9. Important Product Information
This document is based on the one-page product introduction supplied for the Automobile Chassis Lamp.
Dimensions, performance and electrical values are reproduced as stated; no additional performance claims, IP
ratings, certifications, or remote-control modes are asserted. For installation-specific wiring diagrams and accessory
details, refer to the documentation supplied with the actual kit.

FCC Caution:
This device complies with part 15 of the FCC Rules. Operation is subject to the following two conditions: (1) this
device may not cause harmful interference, and (2) this device must accept any interference received, including
interference that may cause undesired operation.
Any changes or modifications not expressly approved by the party responsible for compliance could void the
user's authority to operate the equipment.
NOTE: This equipment has been tested and found to comply with the limits for a Class B digital device, pursuant
to Part 15 of the FCC Rules. These limits are designed to provide reasonable protection against harmful
interference in a residential installation. This equipment generates, uses and can radiate radio frequency energy
and, if not installed and used in accordance with the instructions, may cause harmful interference to radio
communications. However, there is no guarantee that interference will not occur in a particular installation.
If this equipment does cause harmful interference to radio or television reception,which can be determined by
turning the equipment off and on, the user is encouraged to try to correct the interference by one or more of the
following measures:
-- Reorient or relocate the receiving antenna.
-- Increase the separation between the equipment and receiver.
-- Connect the equipment into an outlet on a circuit different
from that to which the receiver is connected.
-- Consult the dealer or an experienced radio/TV technician for help.
To maintain compliance with FCC’s RF Exposure guidelines, This equipment should be installed and operated
with minimum distance between 20cm the radiator your body: Use only the supplied antenna.