Installation Instructions
48203-1201
TSR Top-Down Mounting Kit
Important! When using this method of roof top unit installation, an electric heat element must not be
installed. If an electric heater is to be installed, the standard interior frame mounting method must be used
to allow access to the heater from below.
When using this top-down installation method, the vehicle must be structured with a minimum 0.200"
thick 6061-T6 aluminum plate embedded in the vehicle roof for the roof top unit mounting screws to
engage.
1. Remove roof top unit plastic shroud.
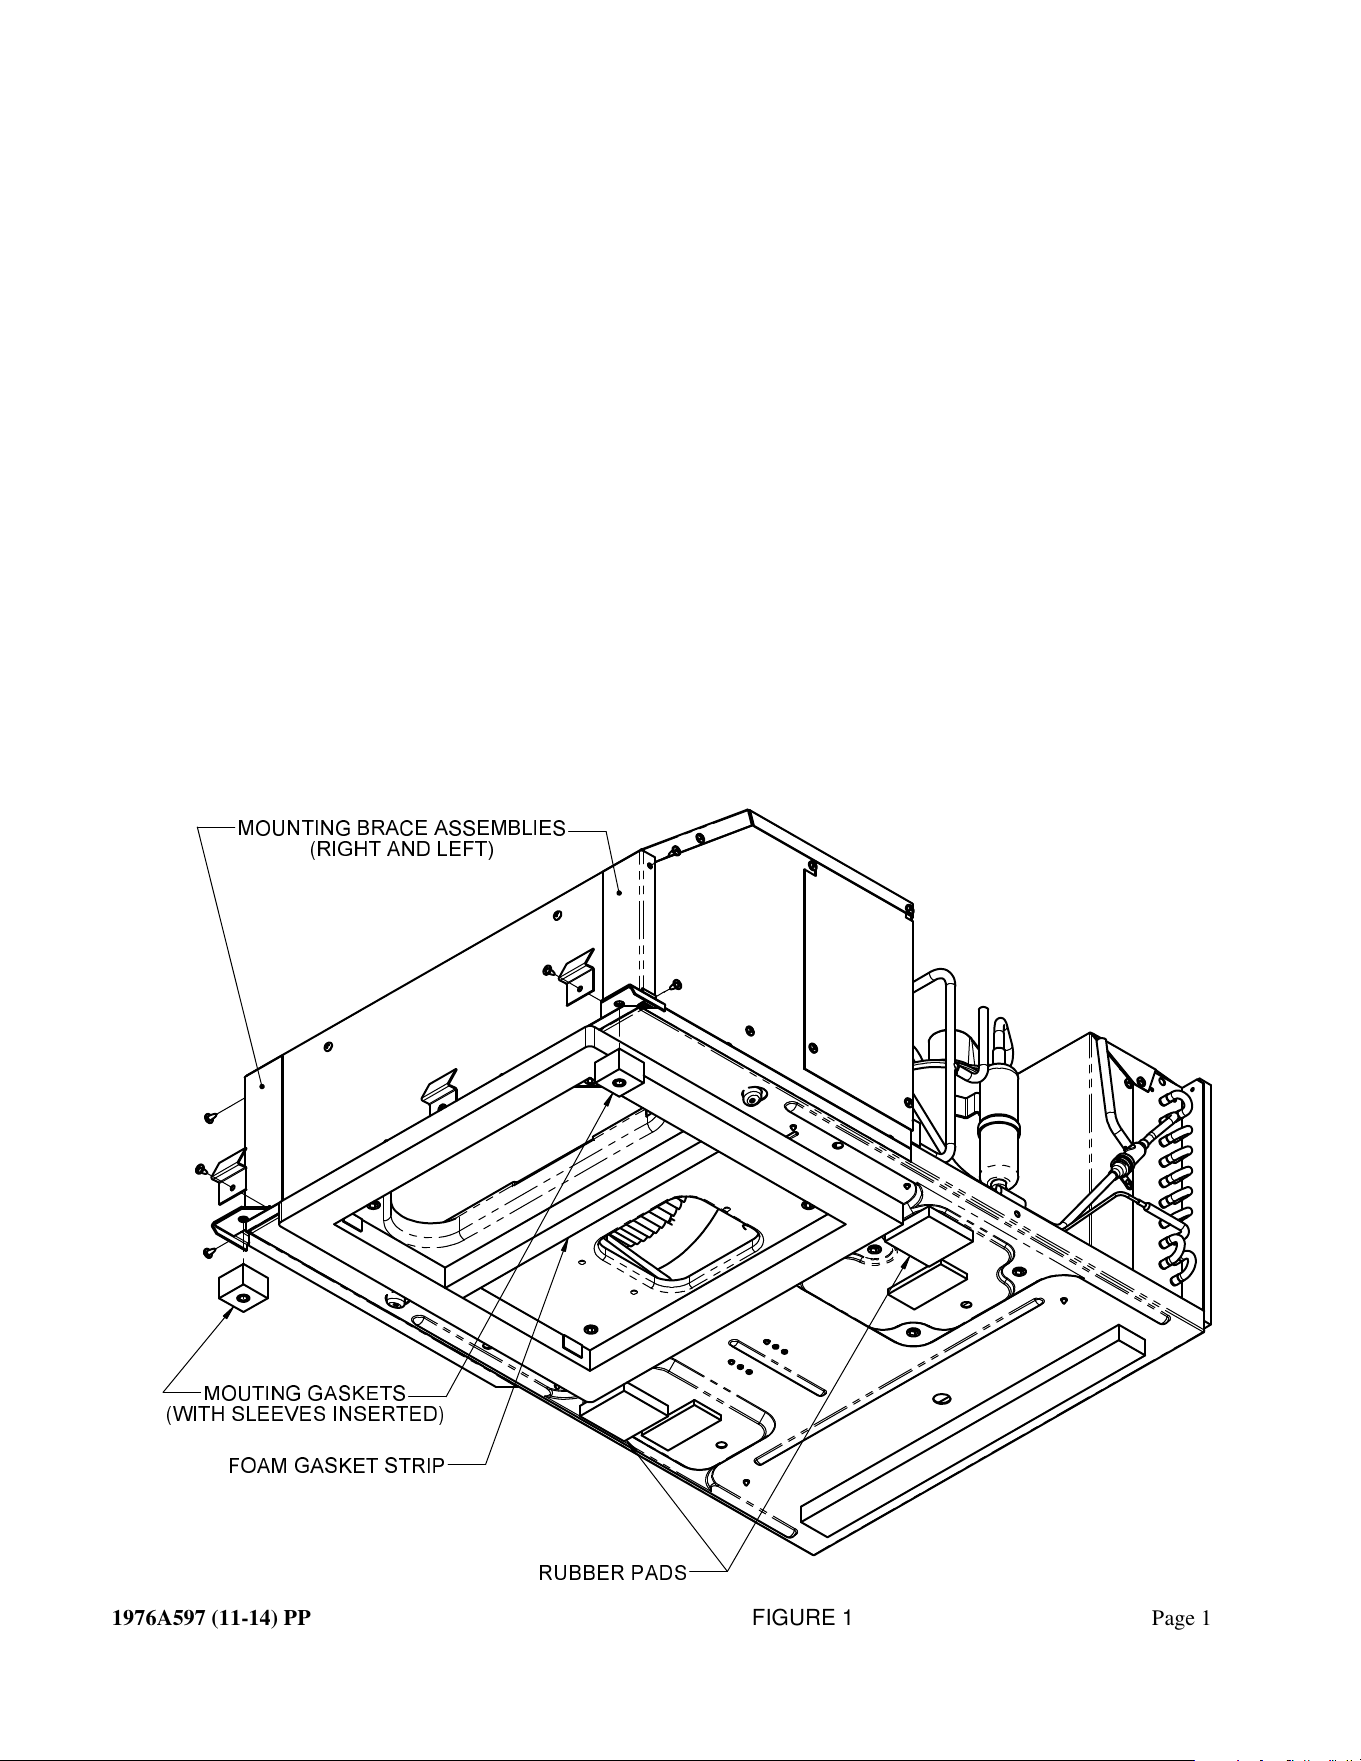
2. At each of the front corners of the rooftop unit, remove the 2 screws along the side and 1 screw &
clip in the lower-front as shown in Figure 1. Re-use these components to attach the 2 mounting
brace assemblies. See Figure 1.
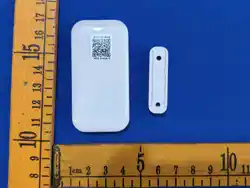
3. Insert a nylon sleeve into each of the mounting gaskets and apply them to the bottom of the
mounting braces as shown in Figure1.
4. Apply the 2 rubber pads to the bottom of the unit base pan on the depressed areas as shown in
Figure 1.
5. If needed, install foam gasket strip to bottom of unit basepan (as shown in Figure 1) or to top of roof
structure to separate supply and return air ductwork.
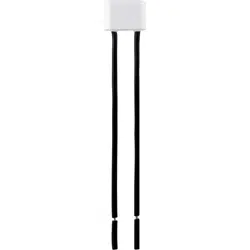
FOAM GASKET STRIP
(WITH SLEEVES INSERTED)
MOUNTING BRACE ASSEMBLIES
(RIGHT AND LEFT)
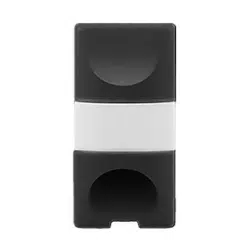
MOUTING GASKETS
RUBBER PADS
1976A597 (11-14) PP FIGURE 1 Page 1

6. Remove the 2 sheet metal screws through the unit bulkhead flange as indicated in Figure 2.
7. Apply silicone to the bottom of the roof top unit 14 x 14 gasket and align over the opening in the
vehicle roof for installation.
8. Using 2 self-drilling screws and gasketed washers, run the screws down through the mounting
braces, through the spacers and into the vehicle roof. Tighten screws just until the spacers pull
down to the roof. Thread the remaining screws with gasketed washers through the bulkhead flange
holes and tighten until the unit gasket has been evenly compressed. Use care to NOT STRIP the
screws. See Figure 2.
9. Apply silicone to the top of each mounting screw head and re-install the roof top unit plastic shroud.
Figure 2 Page 2