IF YOU NEED HELP OR HAVE A QUESTION, WE’VE GOT YOU COVERED. GIVE US A CALL AT 877.333.7108
Replacement Manual
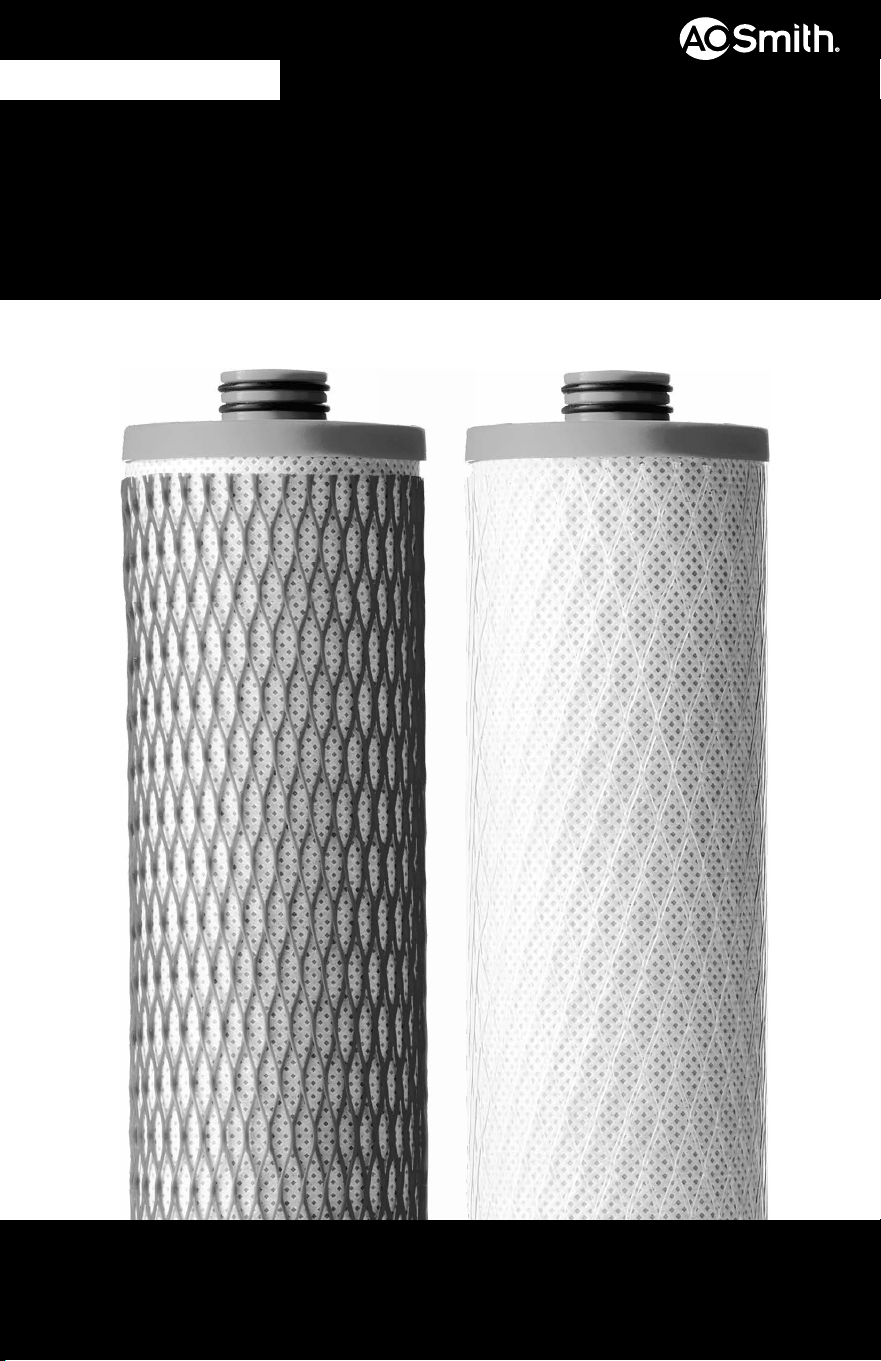
CARBON & CLARYUM
®
FILTERS
FOR USE WITH AO-US-RO-4000
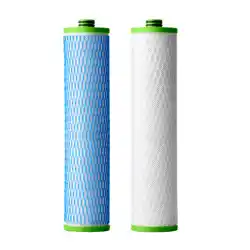
AO-4000-CARBON
NEED HELP? GIVE US A CALL 877.333.7108
INSTALLATION GUIDE
2
1. Turn off COLD water valve. Release pressure from system by turning on dedicated faucet
until water stops owing.
2. Unbox lter cartridge replacements and remove plastic.
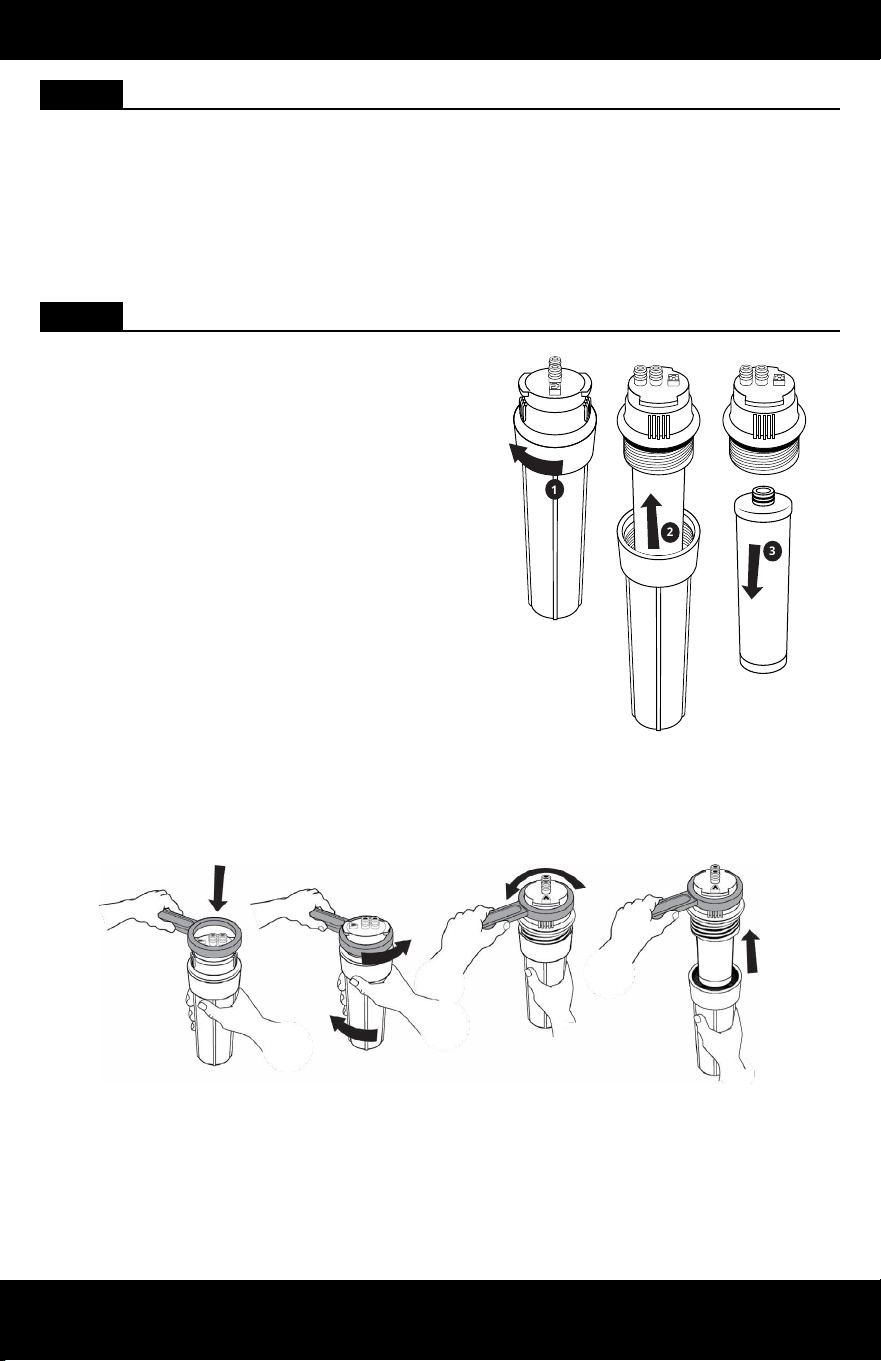
STEP 1 Prepare for Installation
STEP 2 Remove Filter Cartridges
1. Remove Stage 1 and Stage 3 sumps from
the system manifold by rotating the sumps
to the left and pulling down.
2. Holding the sumps over the sink, unscrew
the top of the sump from the bottom by
turning the bottom portion to the left.
Pour excess water down the drain. Then,
pull down on each lter cartridge to
disconnect the lter cartridge from the top
half of the sump.
3. Discard both lter cartridges.
Note: If sumps are too tight to disconnect
by hand, please use plastic wrench provided
with original system.
1
2
3
NEED HELP? GIVE US A CALL 877.333.7108
INSTALLATION GUIDE
3
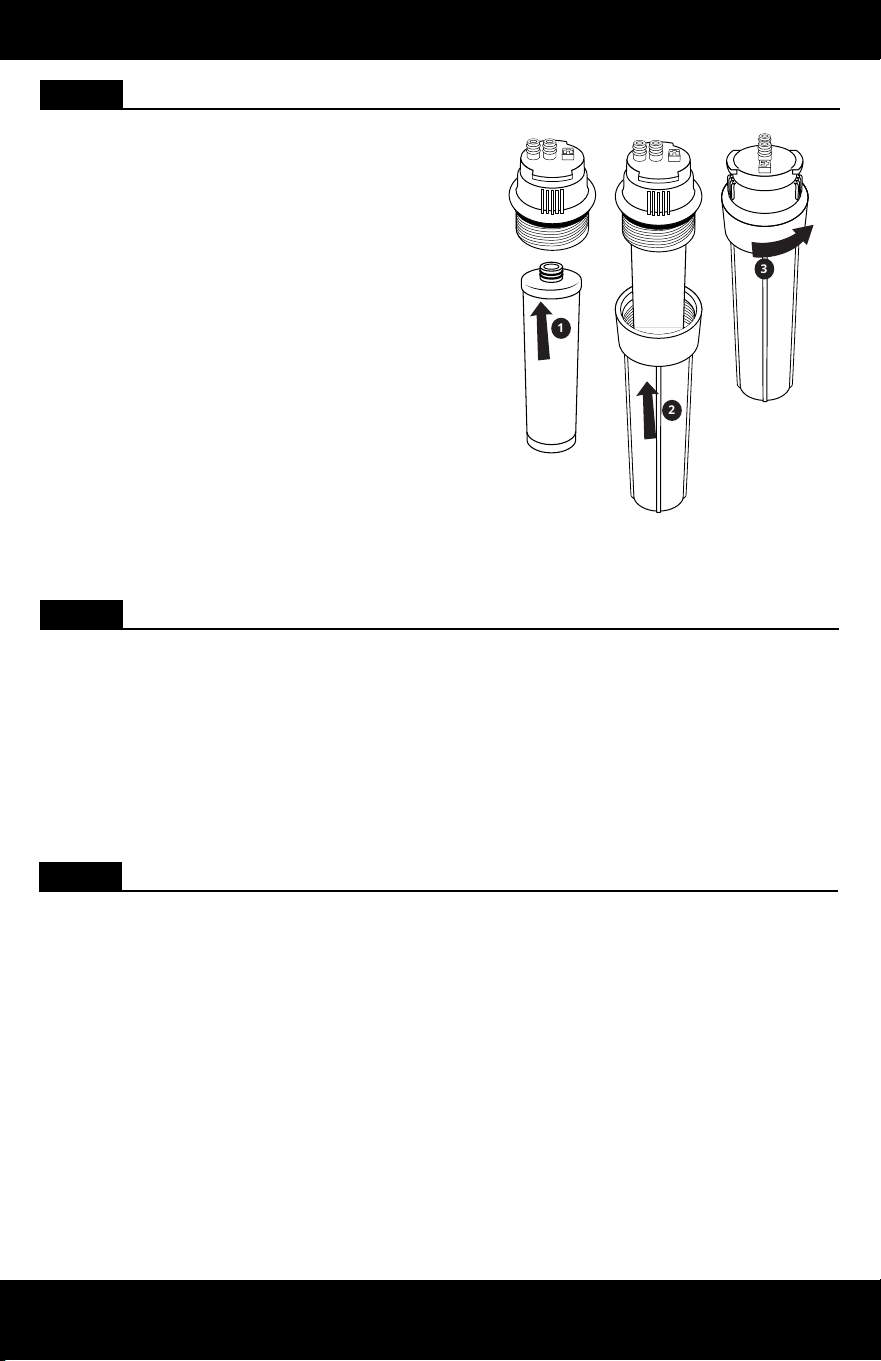
STEP 3 Attach Cartridges
1. Press new lter with clear netting to the
top of Stage 1 sump. Reattach the bottom
of the sump by ensuring connection points
are correctly aligned, then turn to the right
to tighten.
2. Continue this step for Stage 3 using the
new lter with the blue netting.
Note: Do not use tools to tighten. Hand
tighten only.
3. Set aside Stage 1 and Stage 3 sumps
and follow steps 4-5 to change the
Remineralizer. To prevent water from
owing, do not reattach Stage 1 and 3 at
this time.
3
2
1
STEP 5 Flush and Check for Leaks
1. Slowly turn on the cold water valve. Conrm the dedicated faucet is off and allow water
tank to rell completely.
Note: It will take 2 hours for the water tank to rell.
2. Once the tank has completely lled, inspect for leaks. If there are no leaks, ush the
lter cartridges by turning on the dedicated faucet and allowing the water to run
through the system until there is no pressure coming out of the dedicated faucet.
Note: Do not drink ushed water.
3. Turn off the dedicated faucet and allow 2 hour for the pressure to build in the system.
Once complete, your system is ready for use.
STEP 4 Reattach Sumps
1. Reattach sumps to the system manifold with Stage 1 on the left and Stage 3 on the right
to the top housing. Ensure all connection points are aligned. Push the top of the sump
into the bottom of the top housing and turn the sump to the right. Ensure the sump is
fully attached and locked into Stage 1 on the left and Stage 3 on the right.
Note: Ensure sumps are not on an angle while reattaching. This may result in damage to
the o-ring.
A. O. Smith Corporation
11270 W Park Pl #170, Milwaukee, WI 53224
877.333.7108
System certied by IAPMO R&T against NSF/ANSI Standards 42,
53, 401 for reduction of claims specied on Performance Data
Sheet and at www.IAPMO.com.
• Rated capacity: 365 gallons (1,382 liters)
Care
To clean system manifold, wipe exterior with a damp cloth. Do not use any strong abrasive
cleaning agent or solvent cleaner.
NOTICE
Safeguards
• If you experience a hose connection leak, disconnect and re-set the hose.
• Do not use with water that is microbiologically unsafe or of unknown water quality
without adequate disinfection before or after the system.
• Systems certied for cyst reduction may be used on disinfected waters that may contain
lterable cysts.
CARE & SAFEGUARDS
4
Scan to view the AO-US-RO-4000 replacement video.
For the full list of contaminants ltered, scan to view
the AO-US-RO-4000 Performance Data Sheet.
